
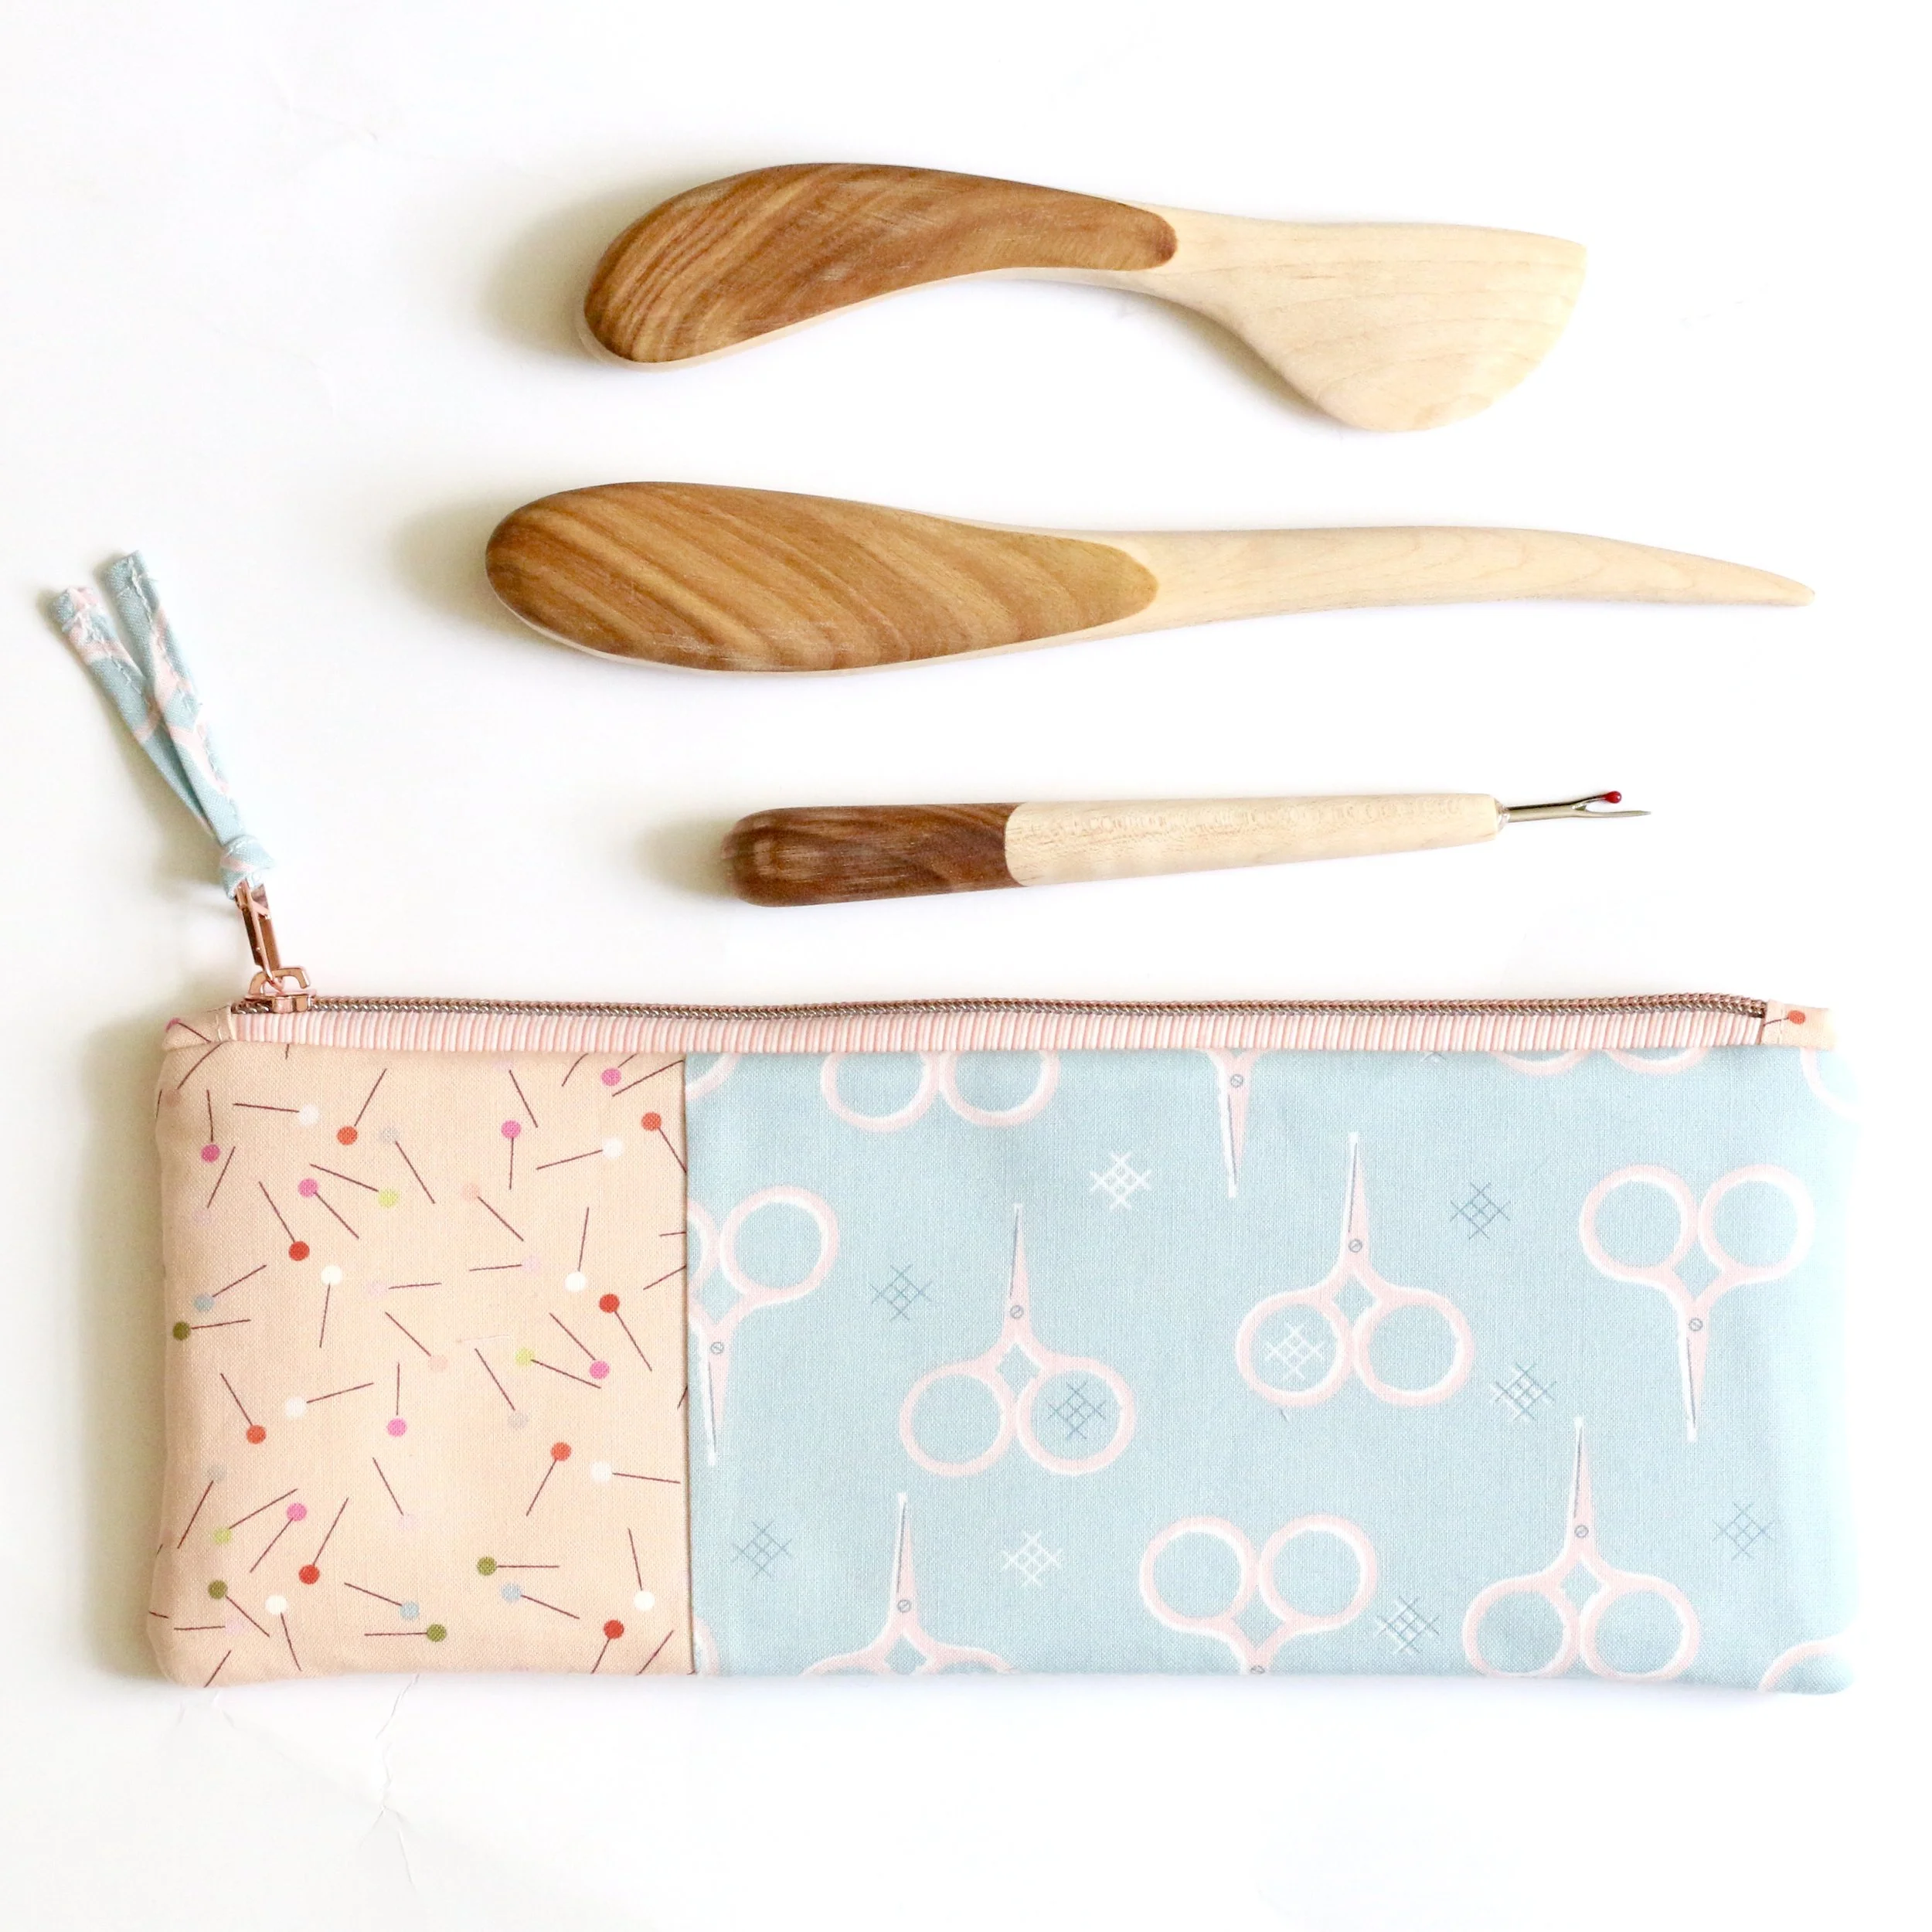
Quilting Tool Pouch Tutorial
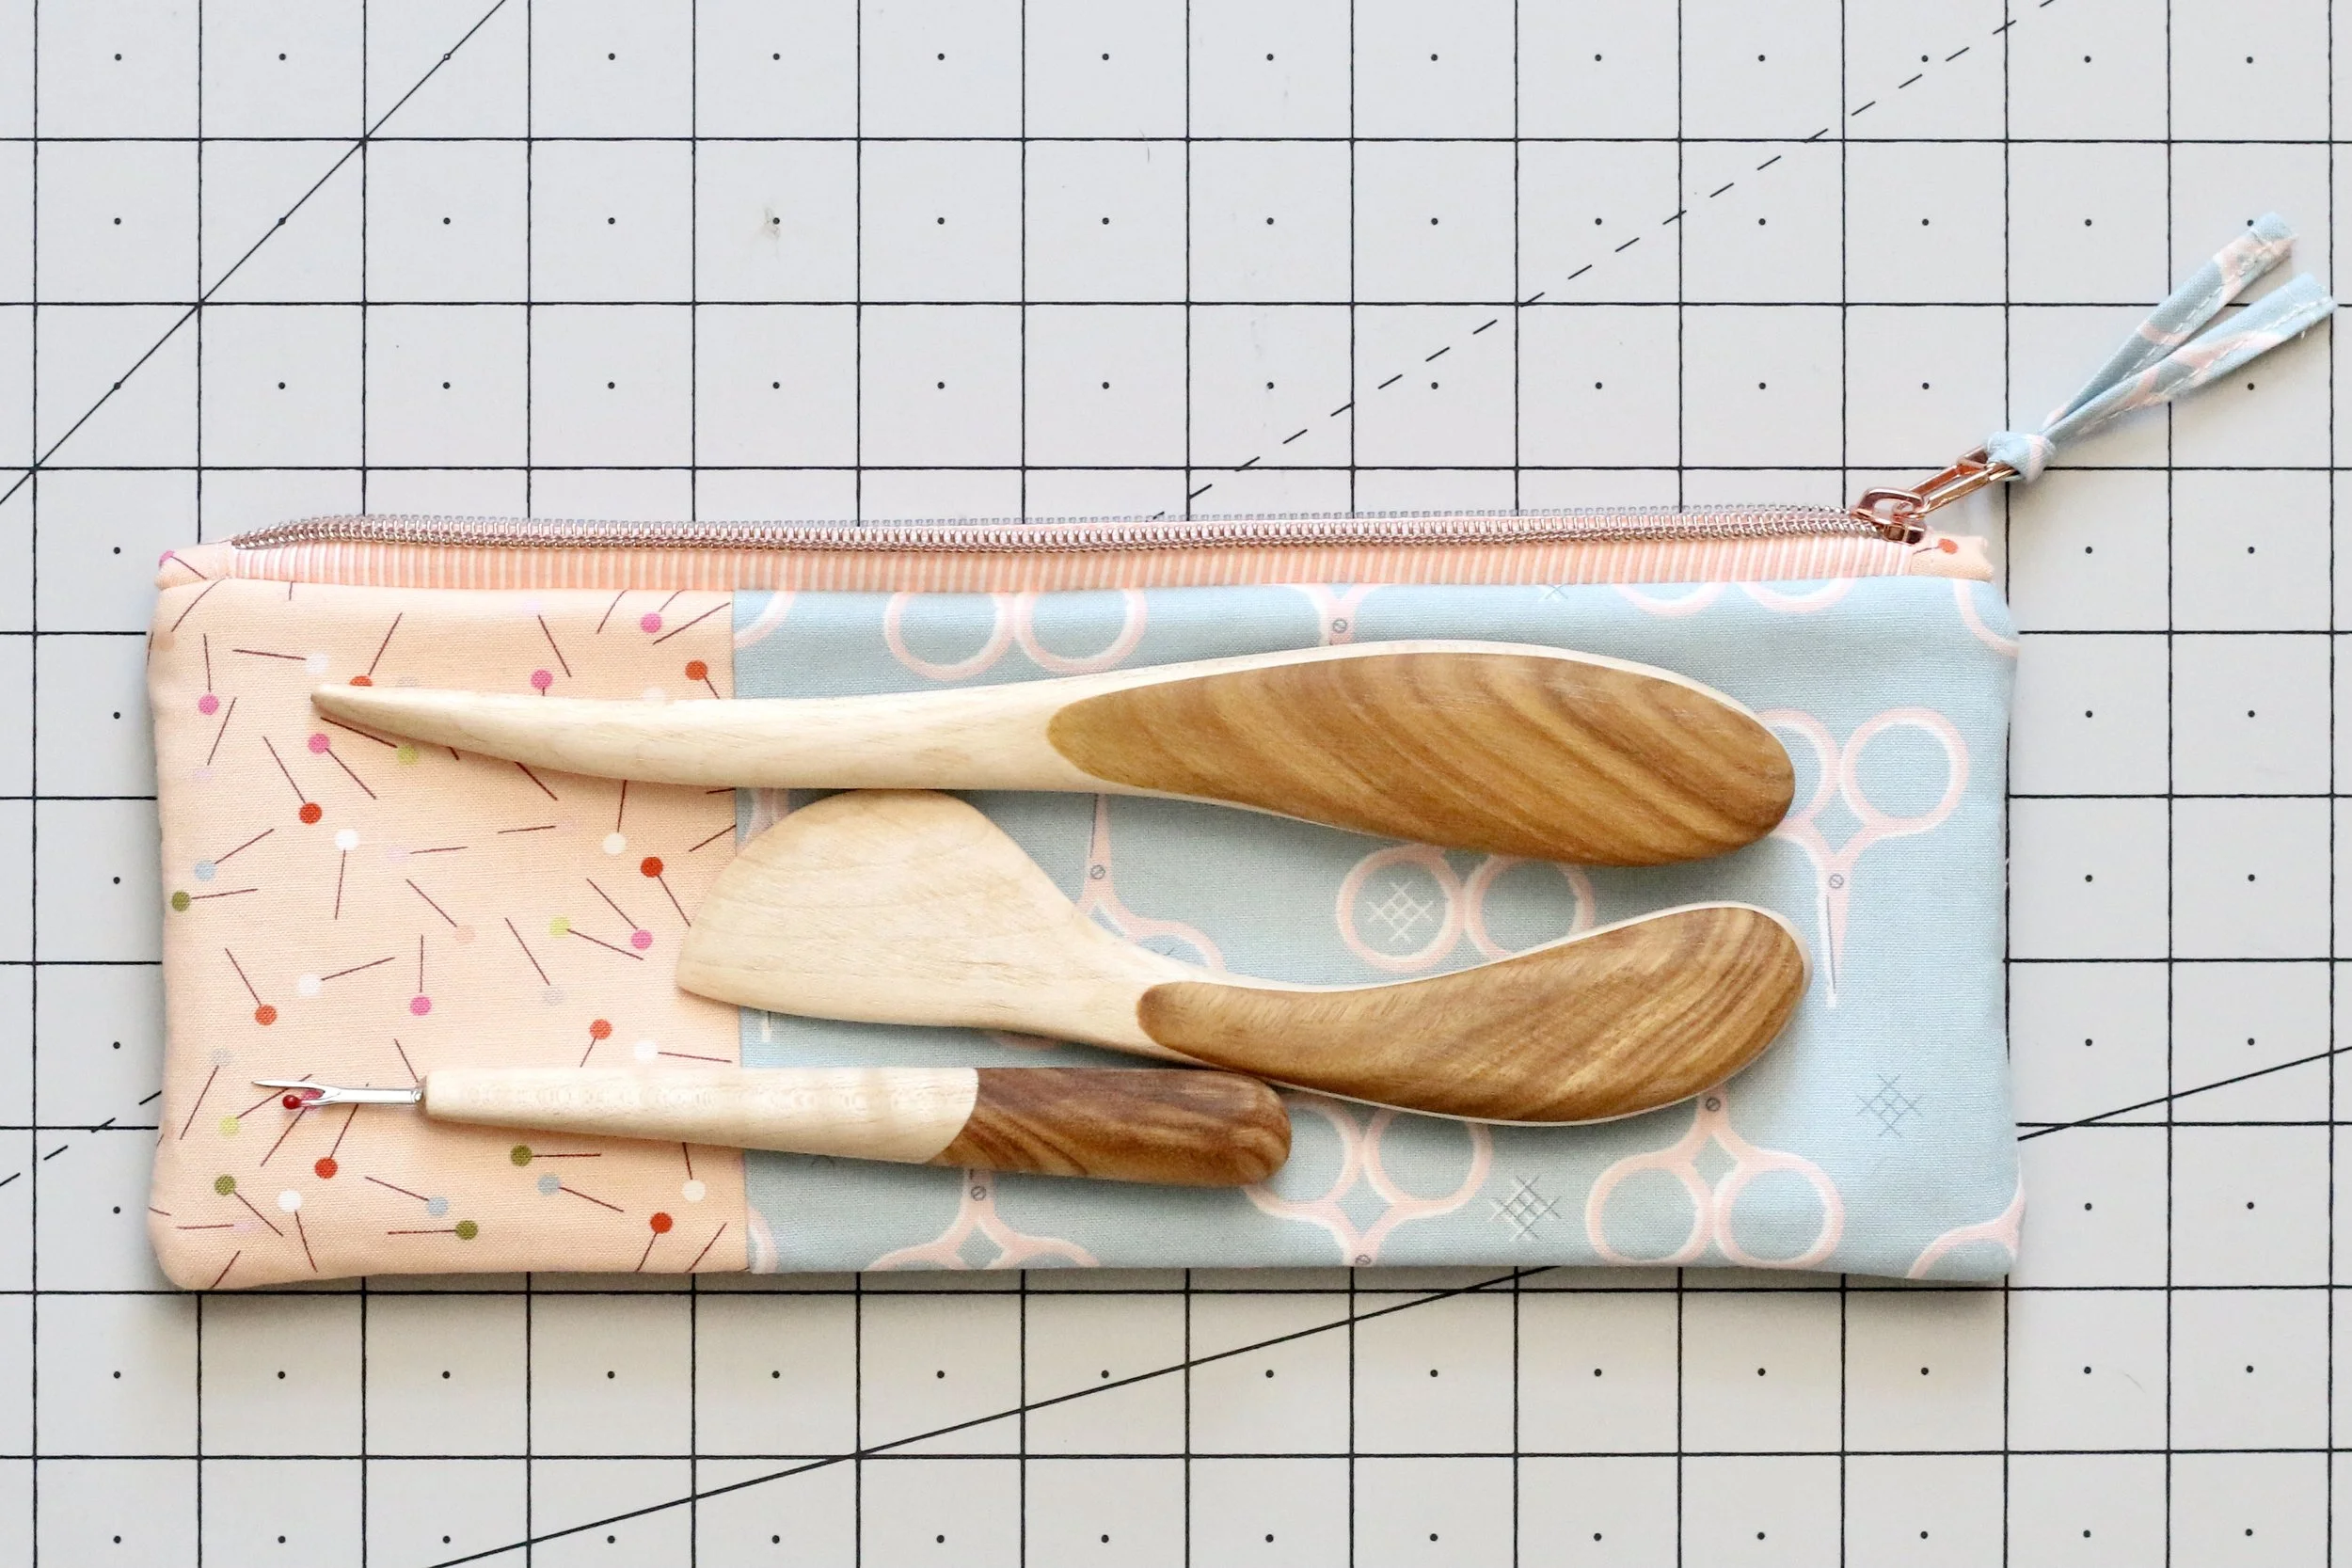
Want to make a perfect little pouch for your favorite quilting tools? This pouch was designed for a set of handmade wooden tools by Modern American Vintage, but of course you could use it for whatever you have! I will walk you through each step to create your own super cute quilting tool pouch.
*Finished size is approximately 11-1/2” x 4-1/2”.
What you need:
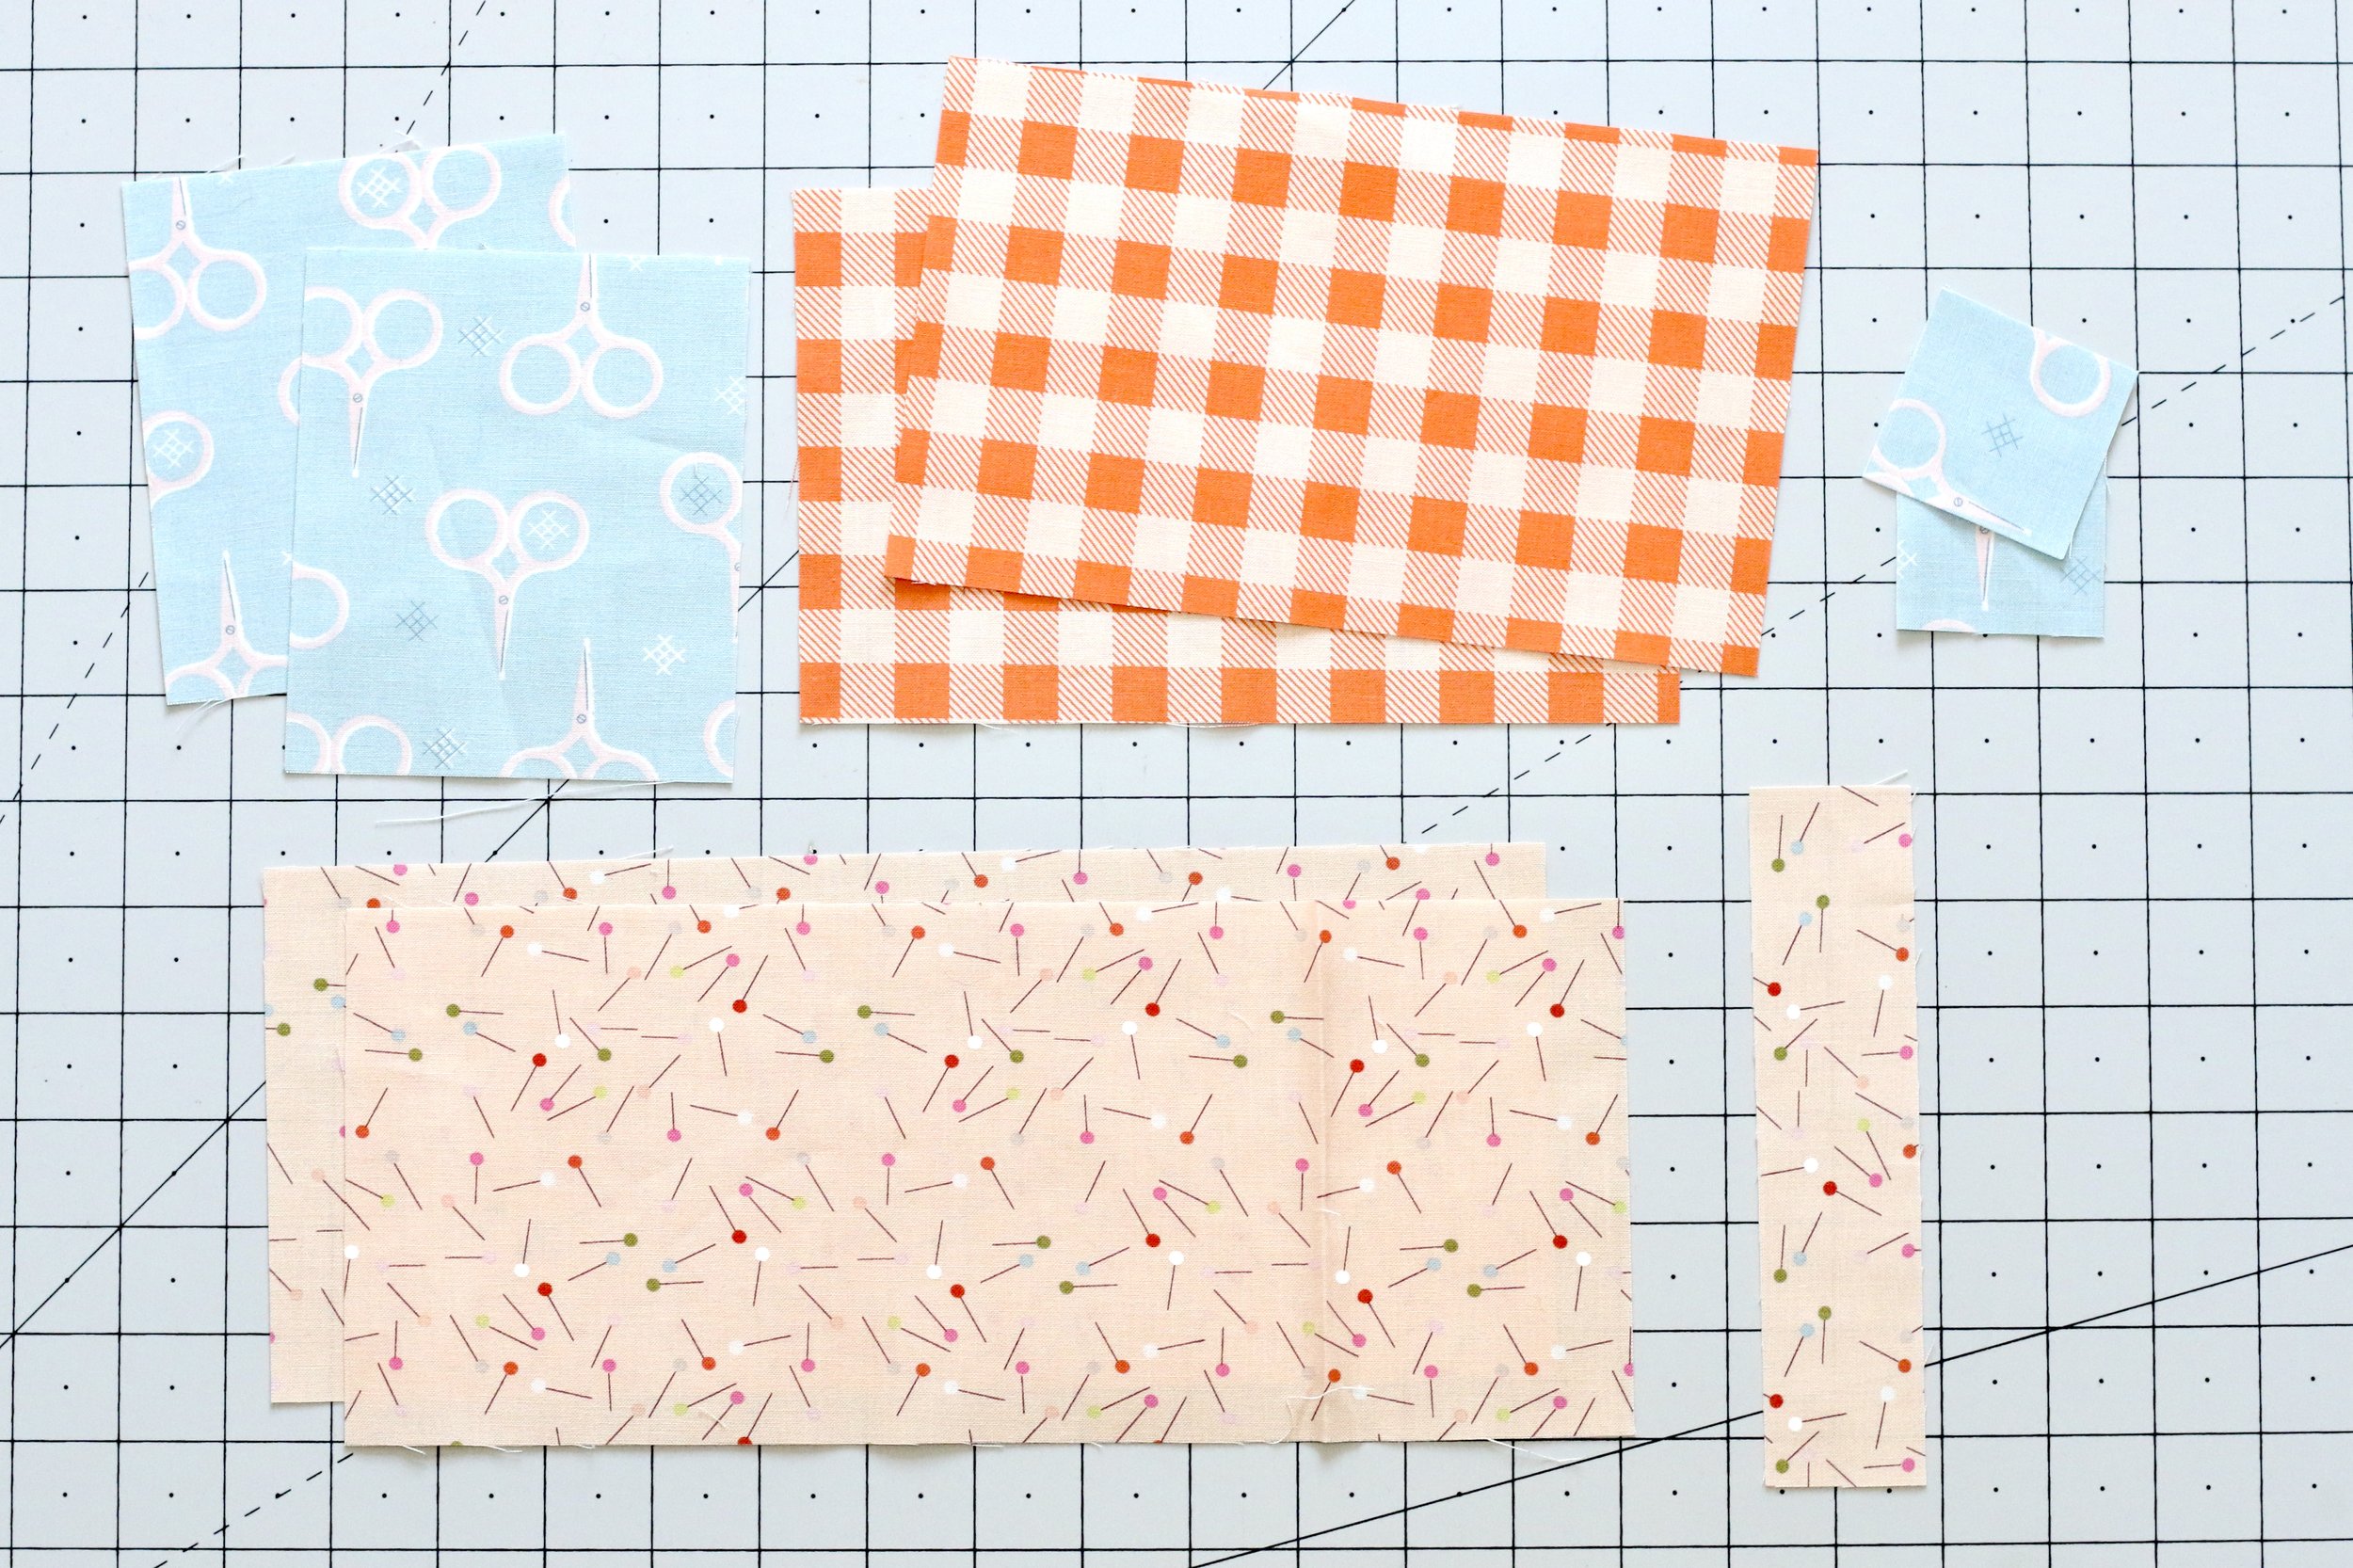
*I am using fabrics from the collection Make Time by Aneela Hoey for Moda Fabrics.
- Exterior Main Fabric: Cut (2) 8-1/4” x 5”
- Exterior Coordinating Fabric: Cut (2) 4-1/4” x 5”
- Zipper Tabs: Cut (2) 2” x 2”
- Zipper Pull: Cut (1) 1-1/4” x 6-1/2”
- Interior fabric: Cut (2) 12” x 5”
- SF 101 woven fusible interfacing: Cut (2) 12” x 5”
- Fusible fleece: Cut (2) 12” x 5”
- 11” zipper + zipper pull (You can use zipper by the yard or purchase a regular nylon zipper and trim it to 11”.)
Making the pouch:
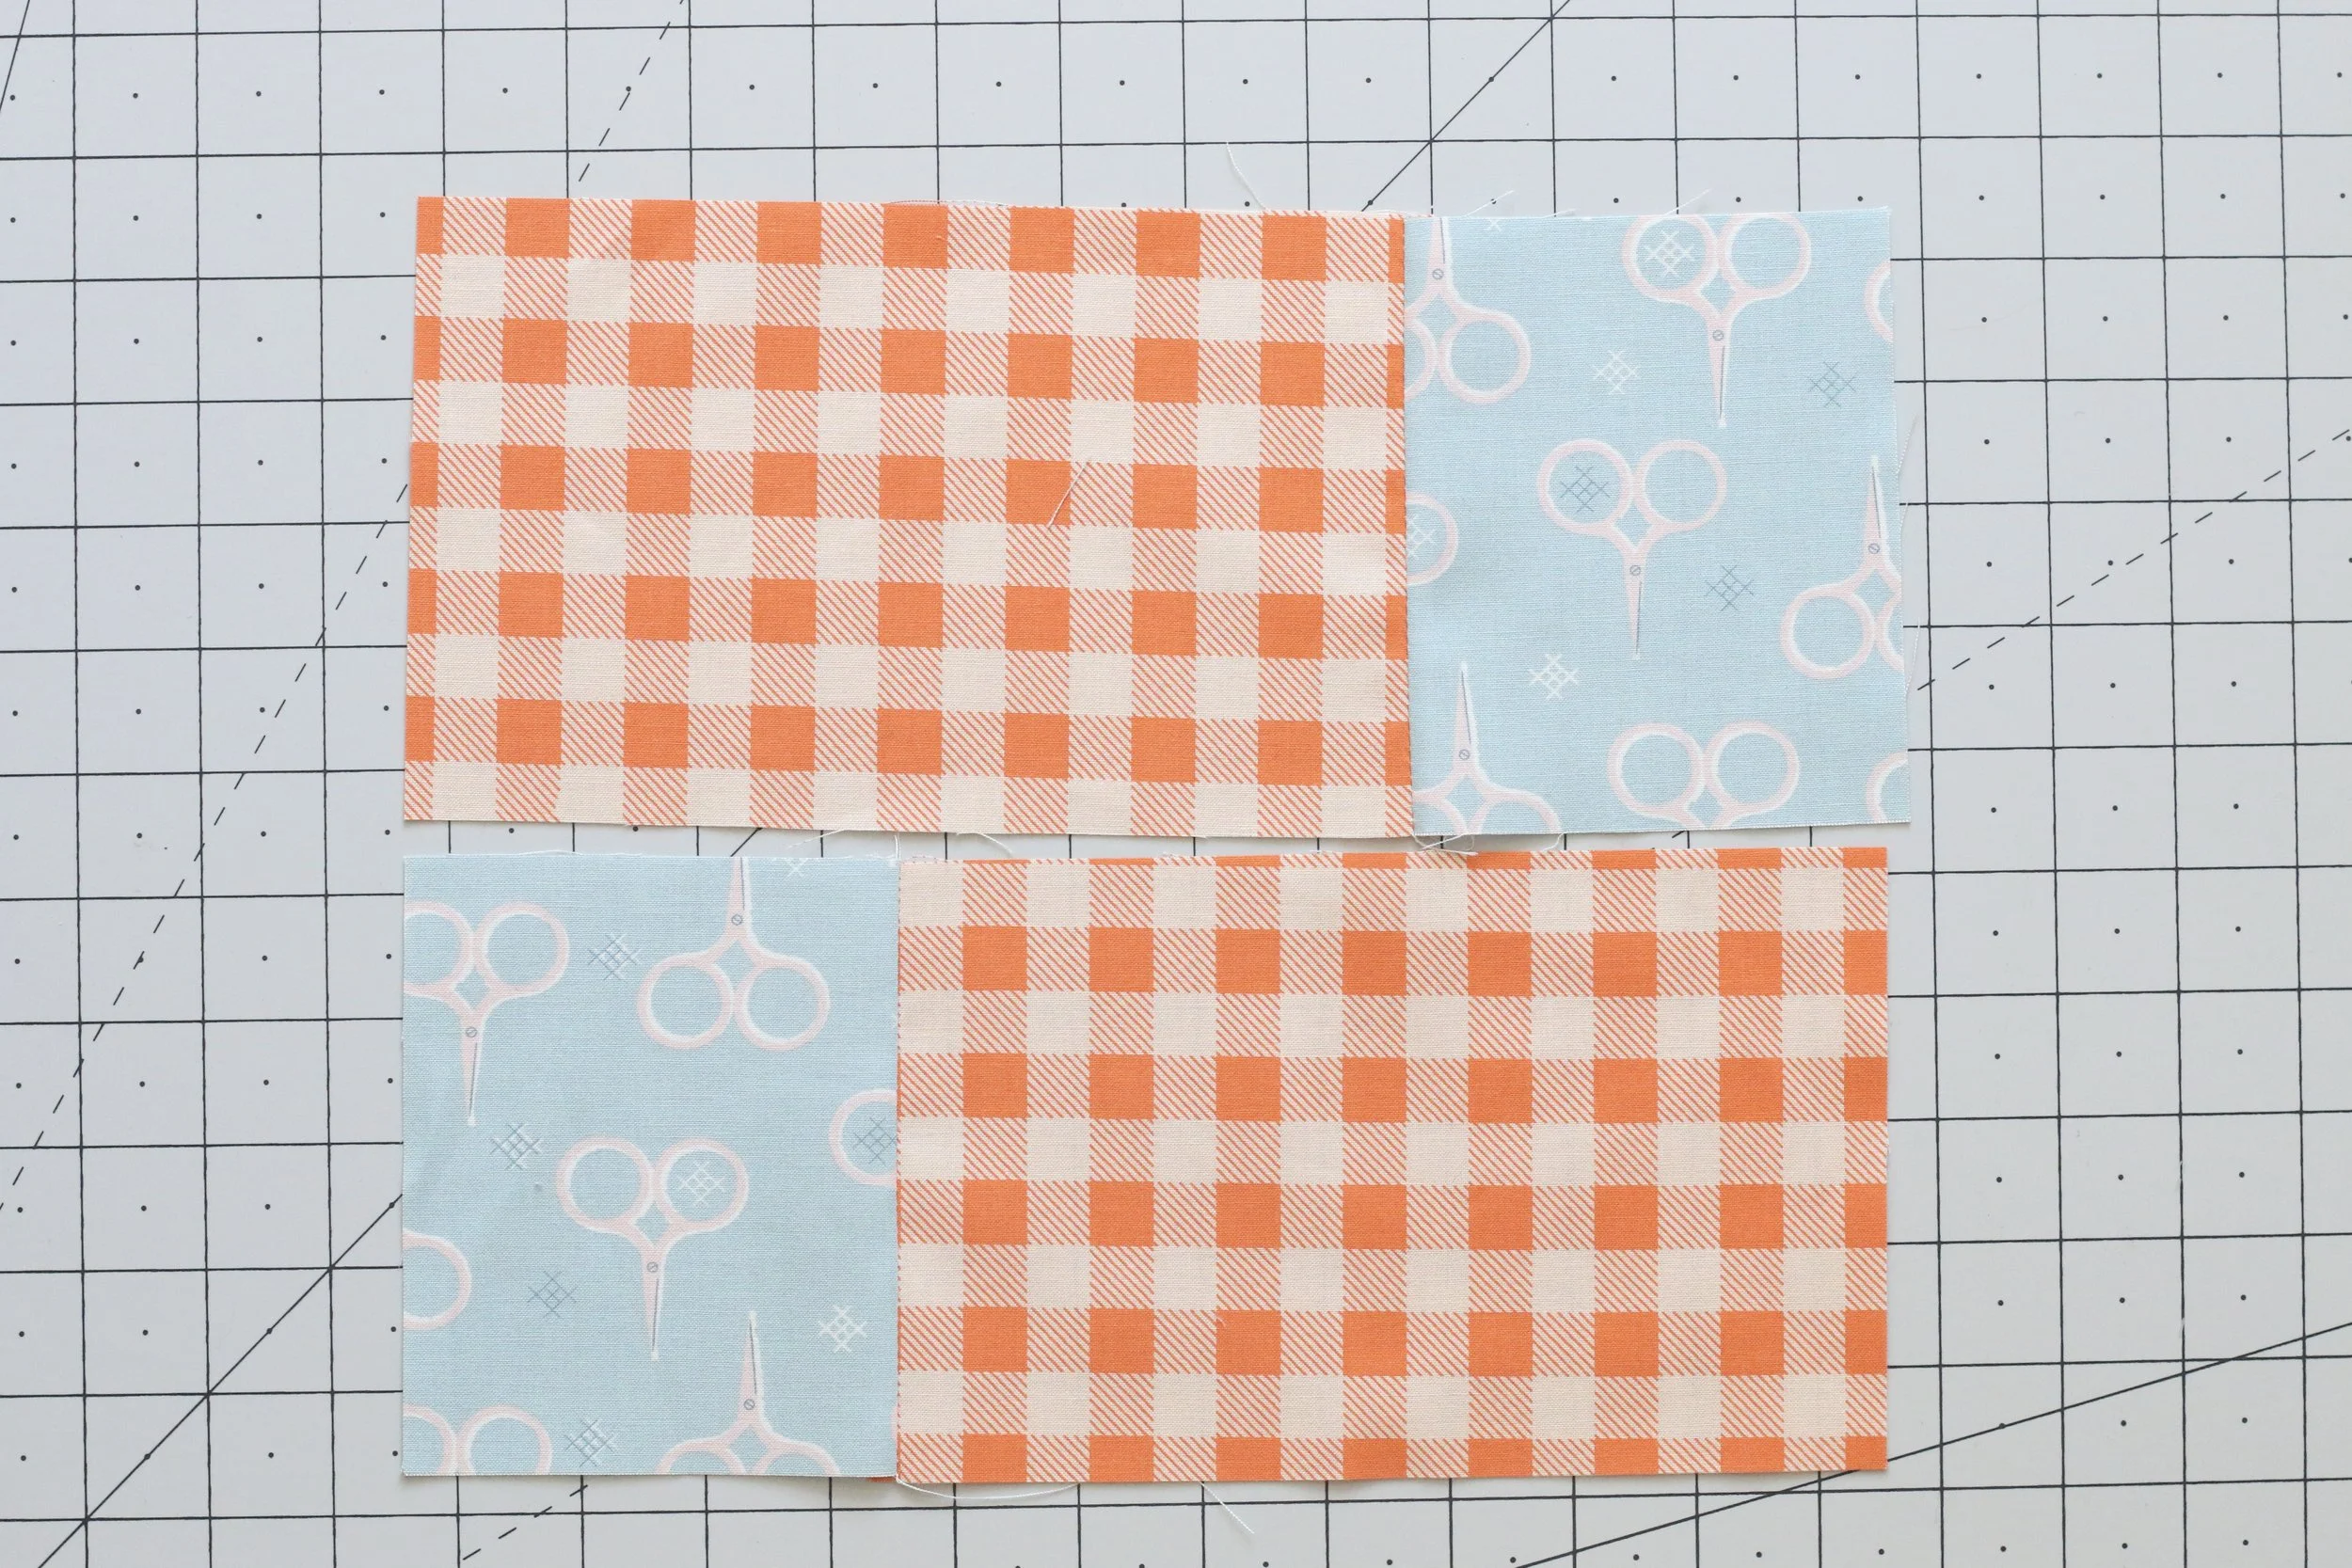
1. Cut out all of the pieces and sew together each set of exterior fabrics (main and coordinating) along the 5” edge. These will now be called the exterior panels.
*If you’re using directional fabric, sew the coordinating fabric pieces onto opposite sides of each of the main fabric pieces.
2. Adhere the SF101 first, then the fusible fleece onto the wrong side of the exterior panels, using the package instructions.
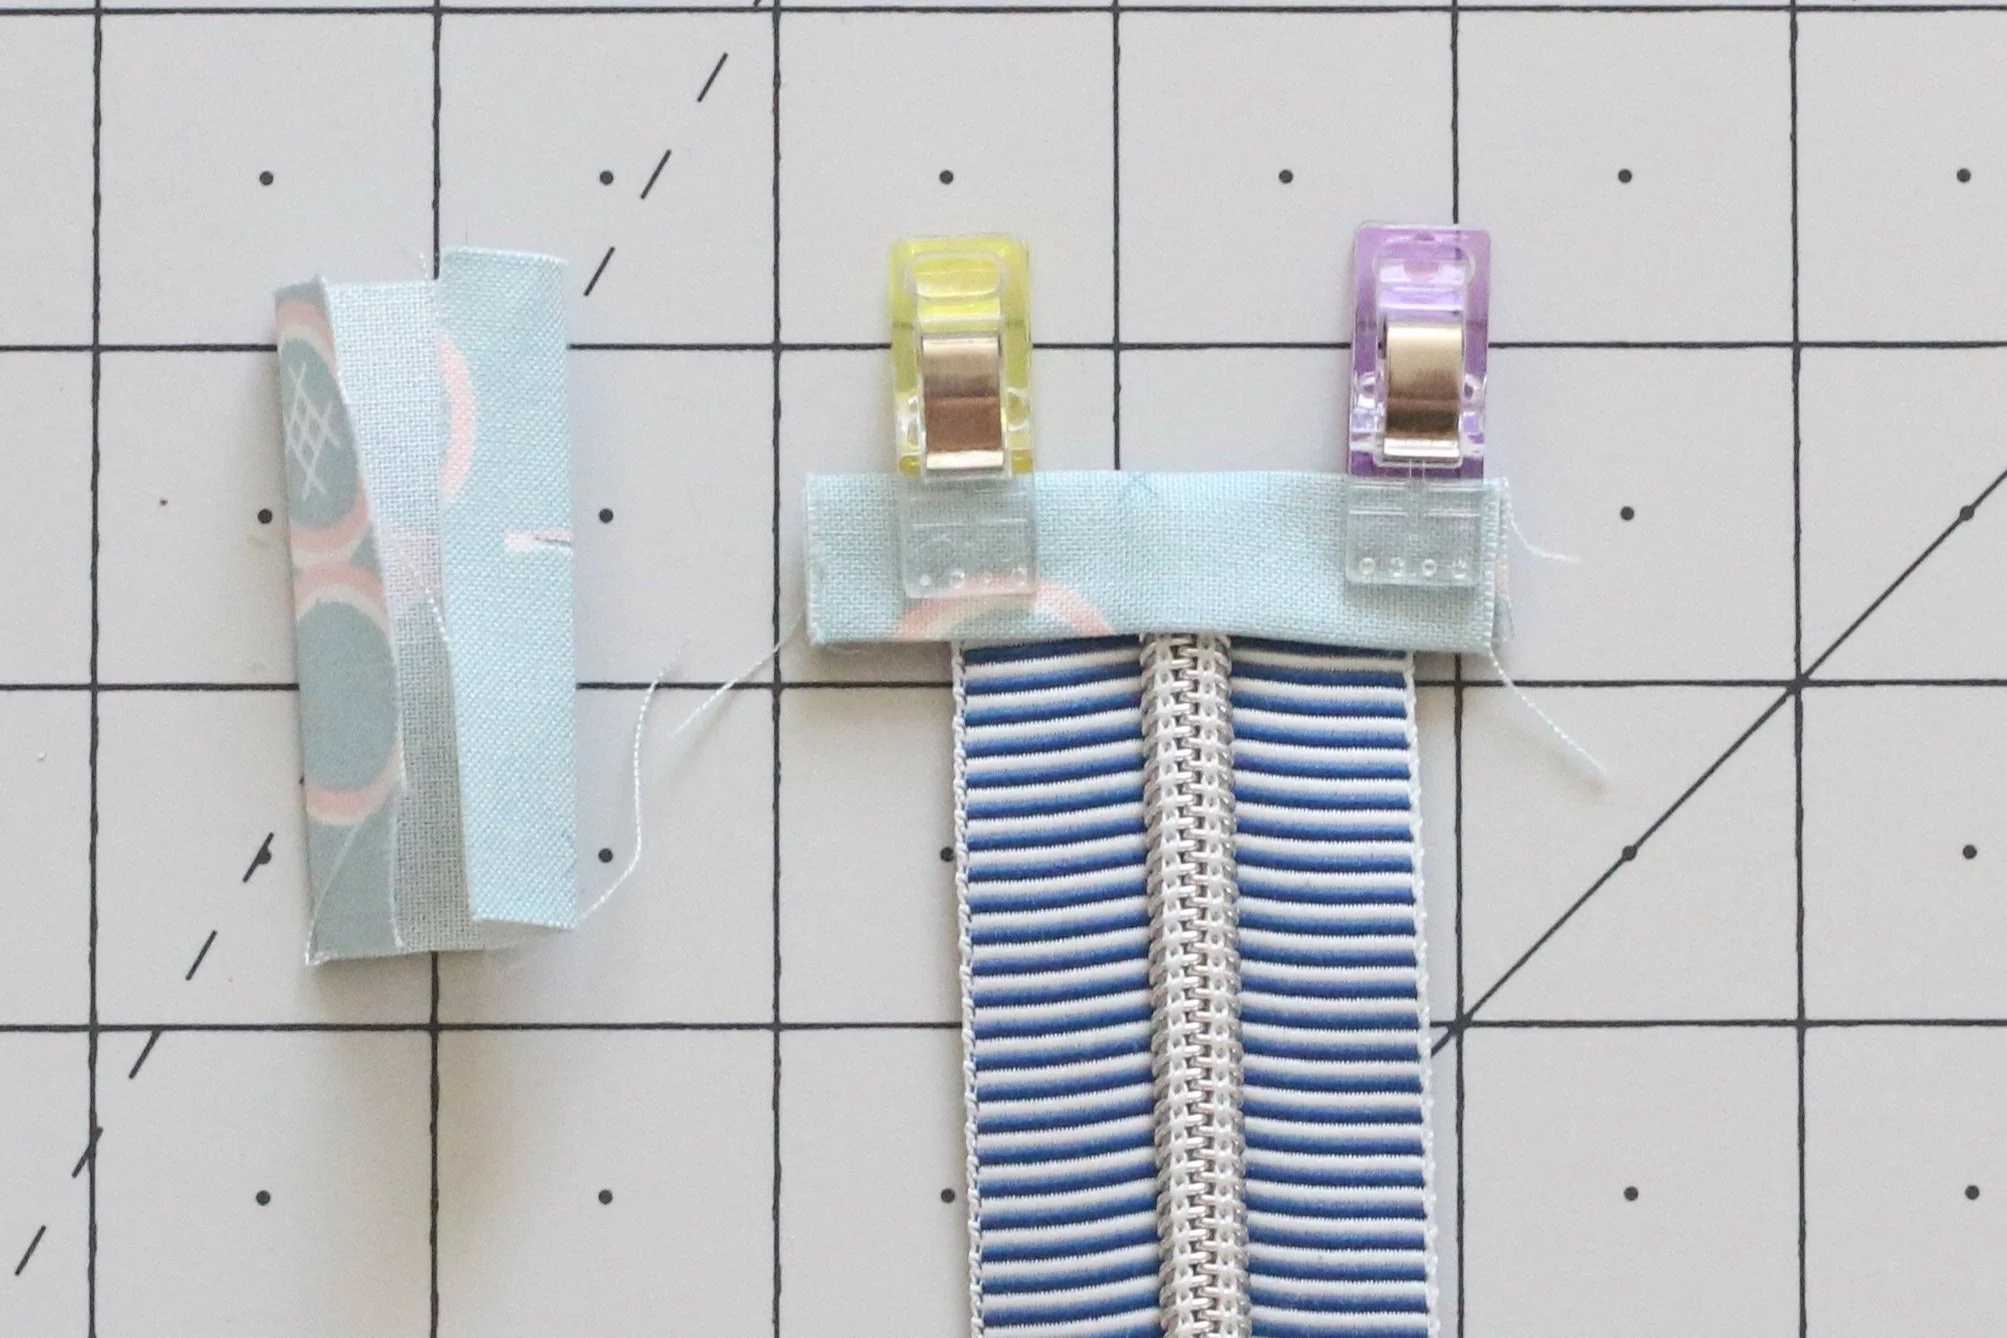
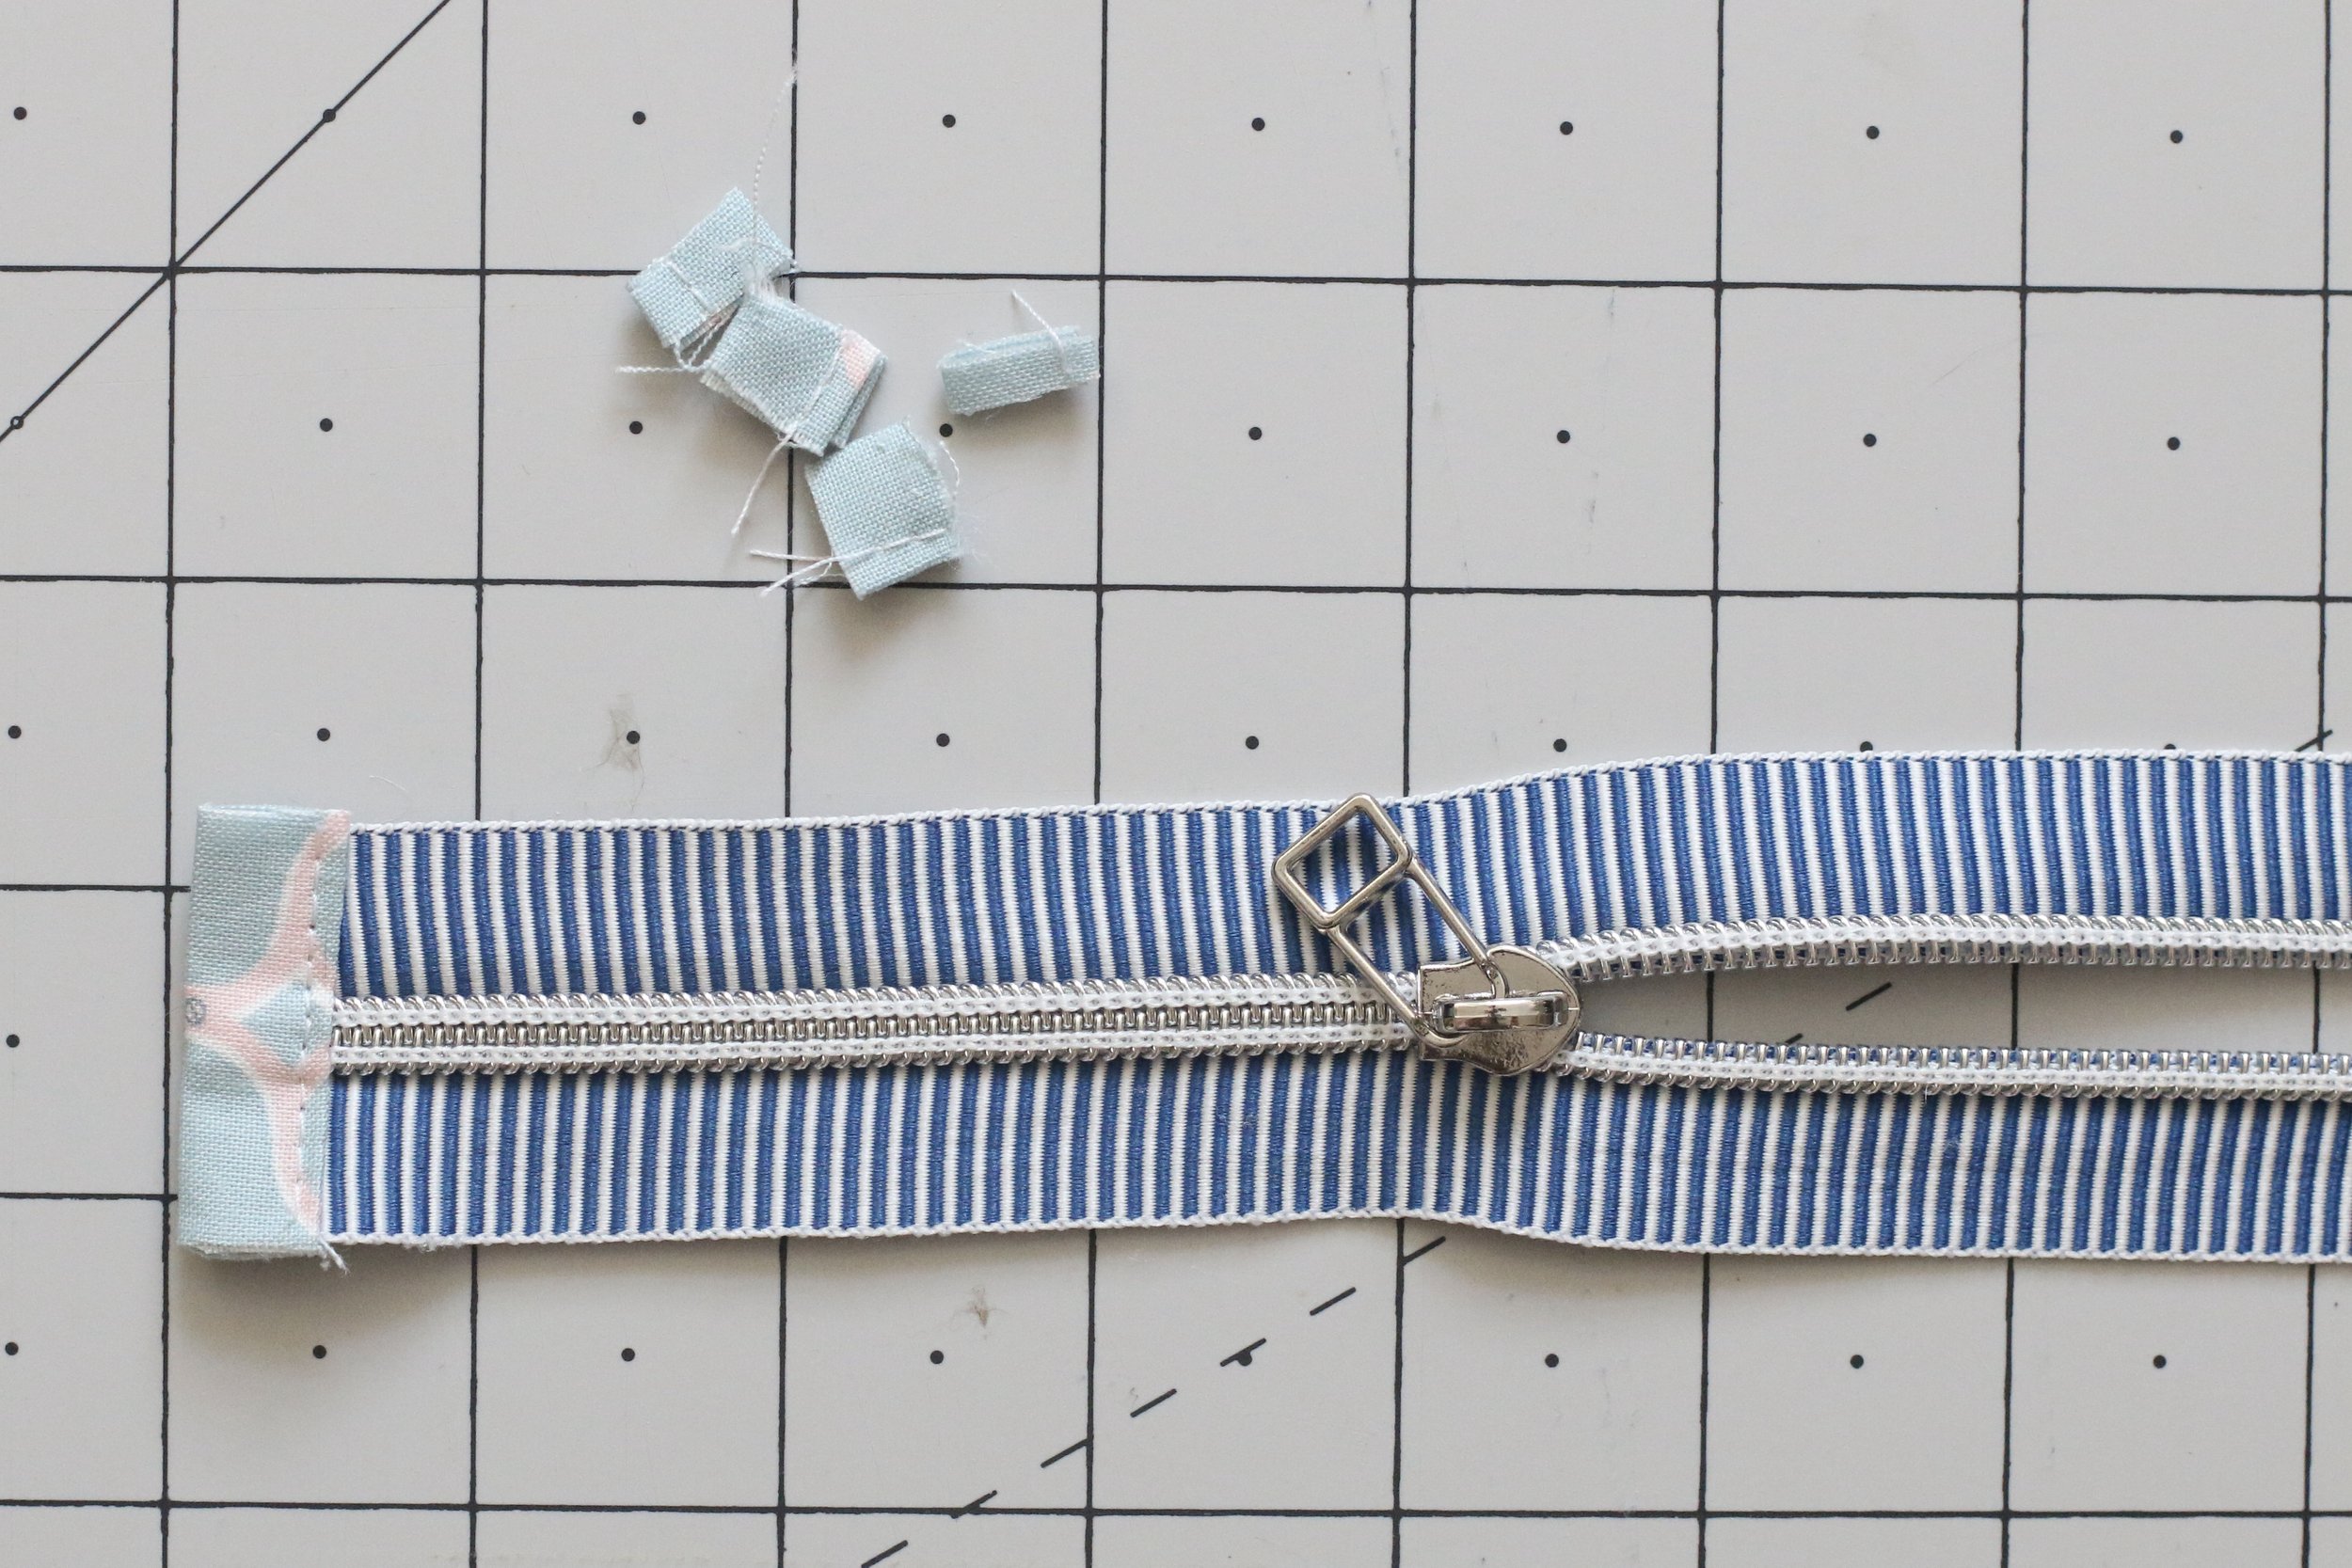
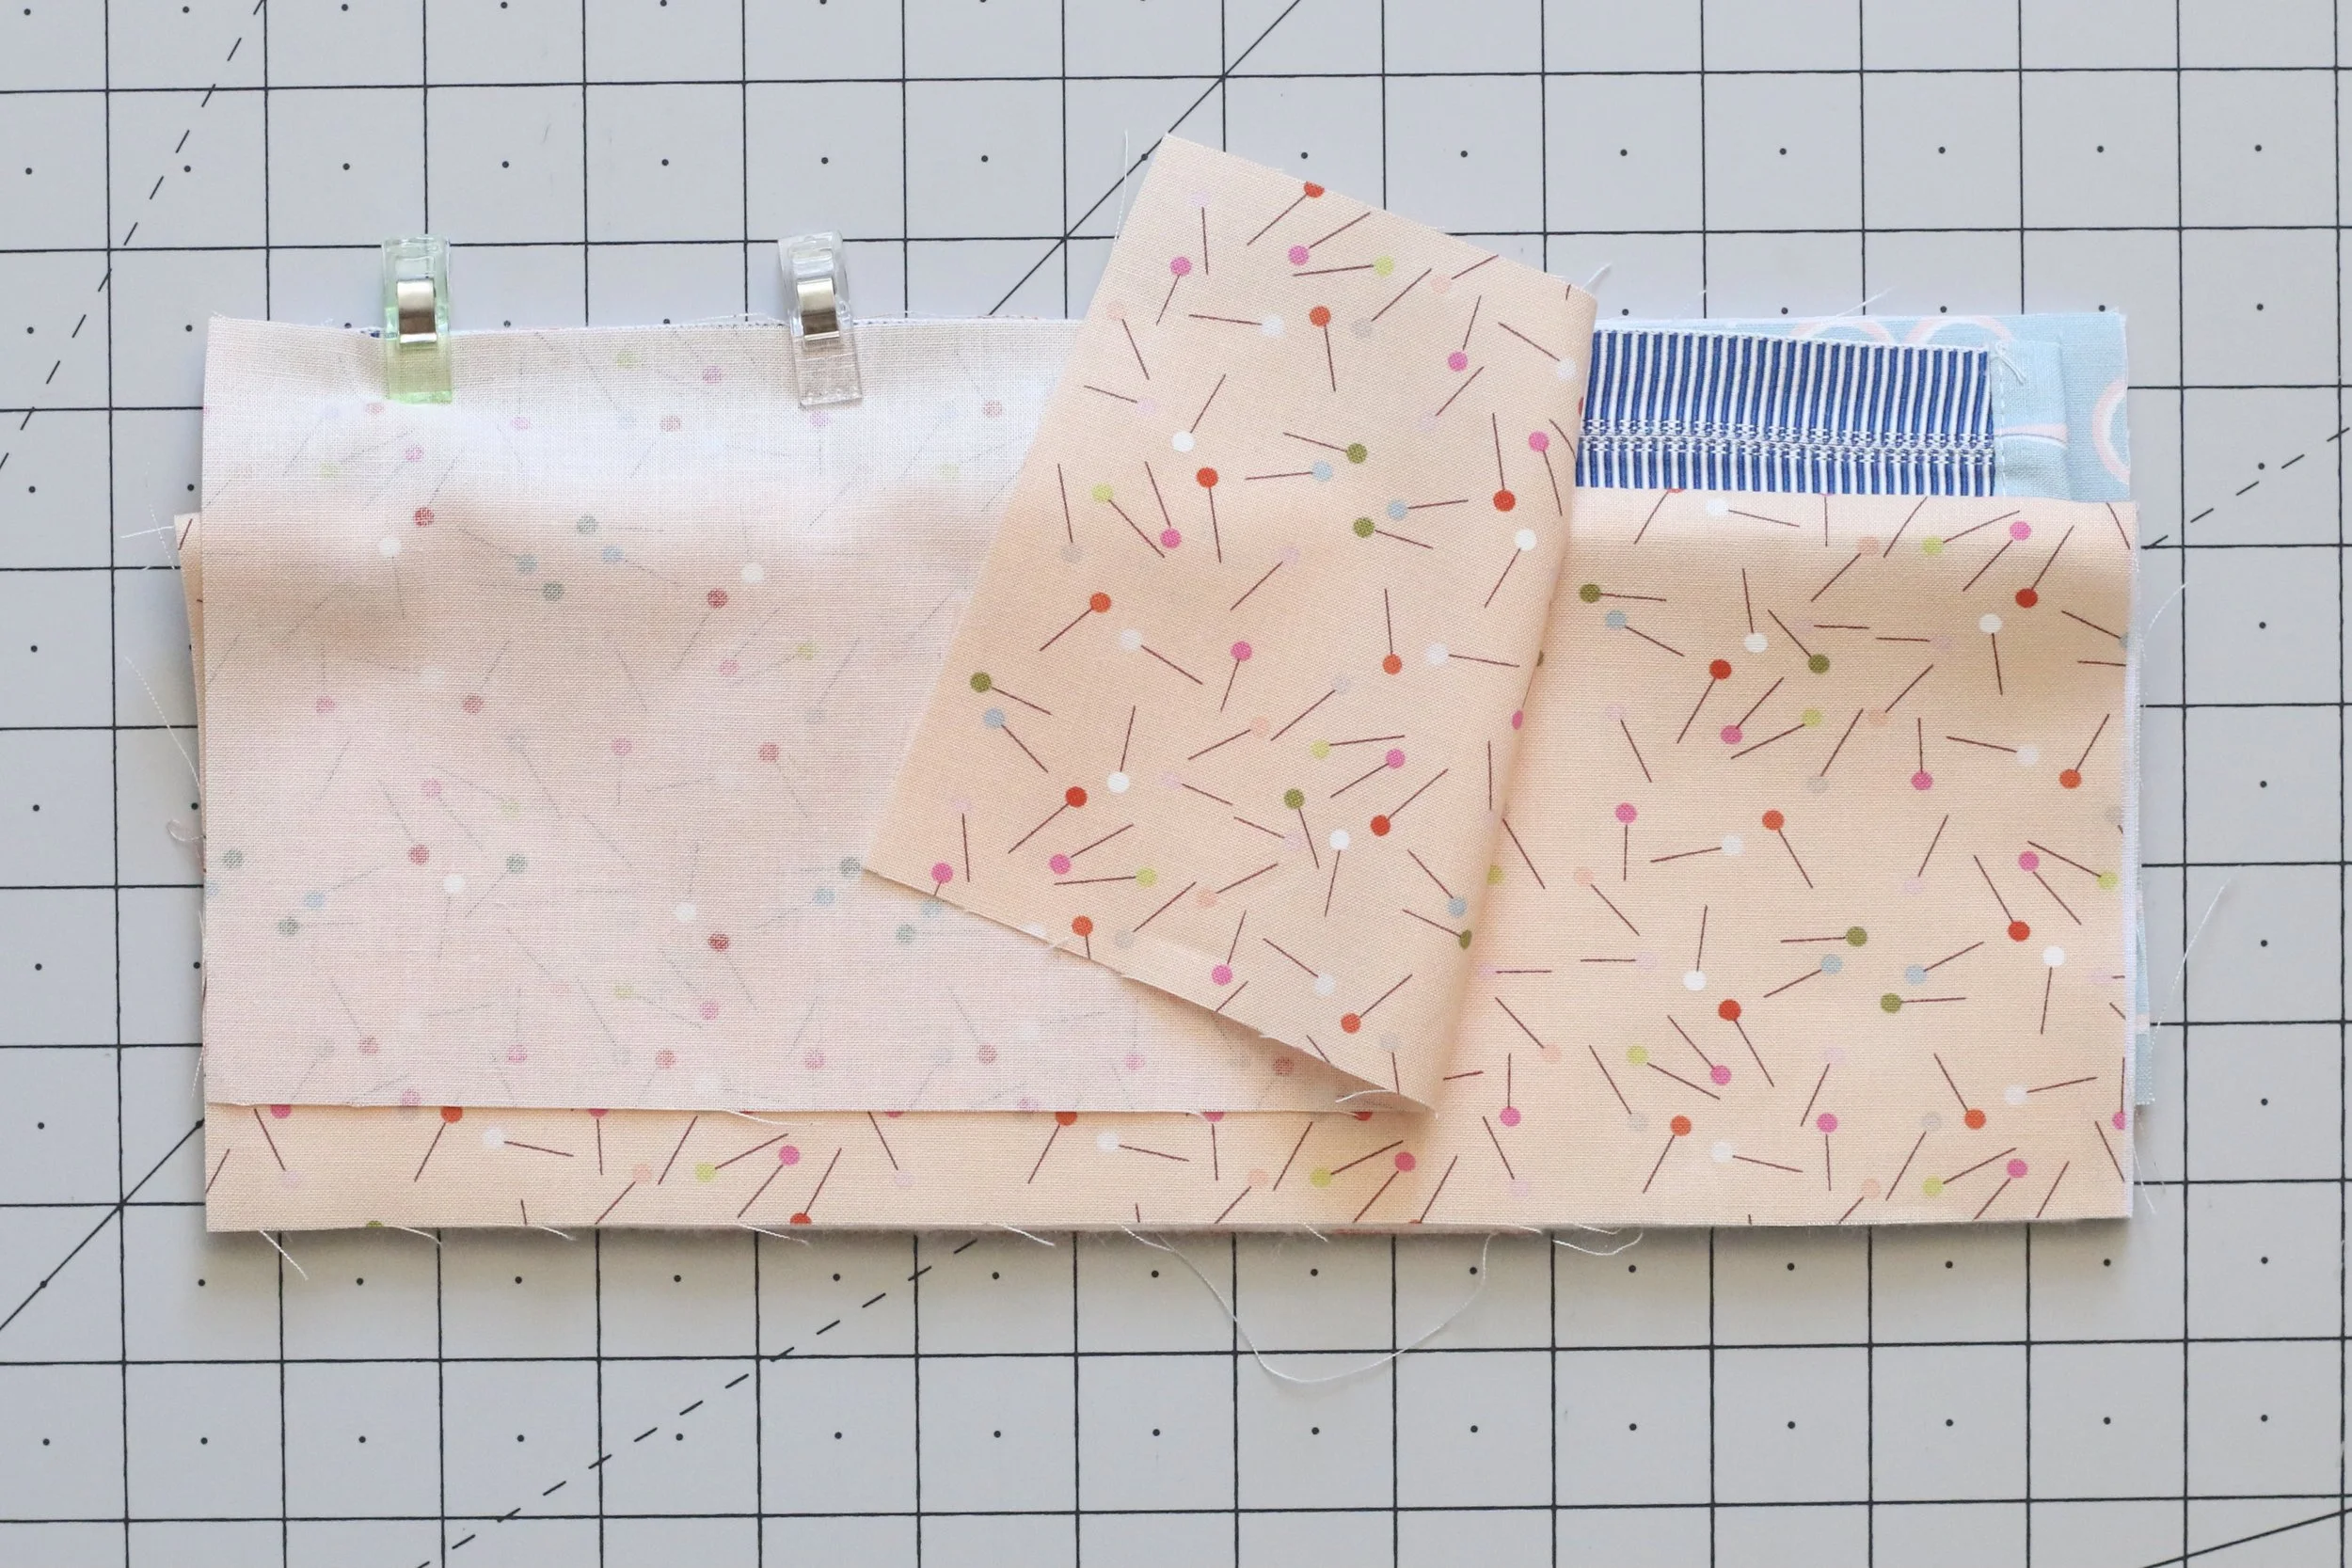
3. Fold the 2” x 2” zipper tabs in half and press, then open and fold the outer edges in towards the center fold. Fold once more and press to create double fold tabs. Sandwich the ends of zipper inside each tab and topstitch 1/8” from the edge. Trim the excess from the tabs on either side of the zipper tape.
*If you’re using zipper by the yard, make sure you have placed the zipper pull onto the tape before adding the second zipper tab.
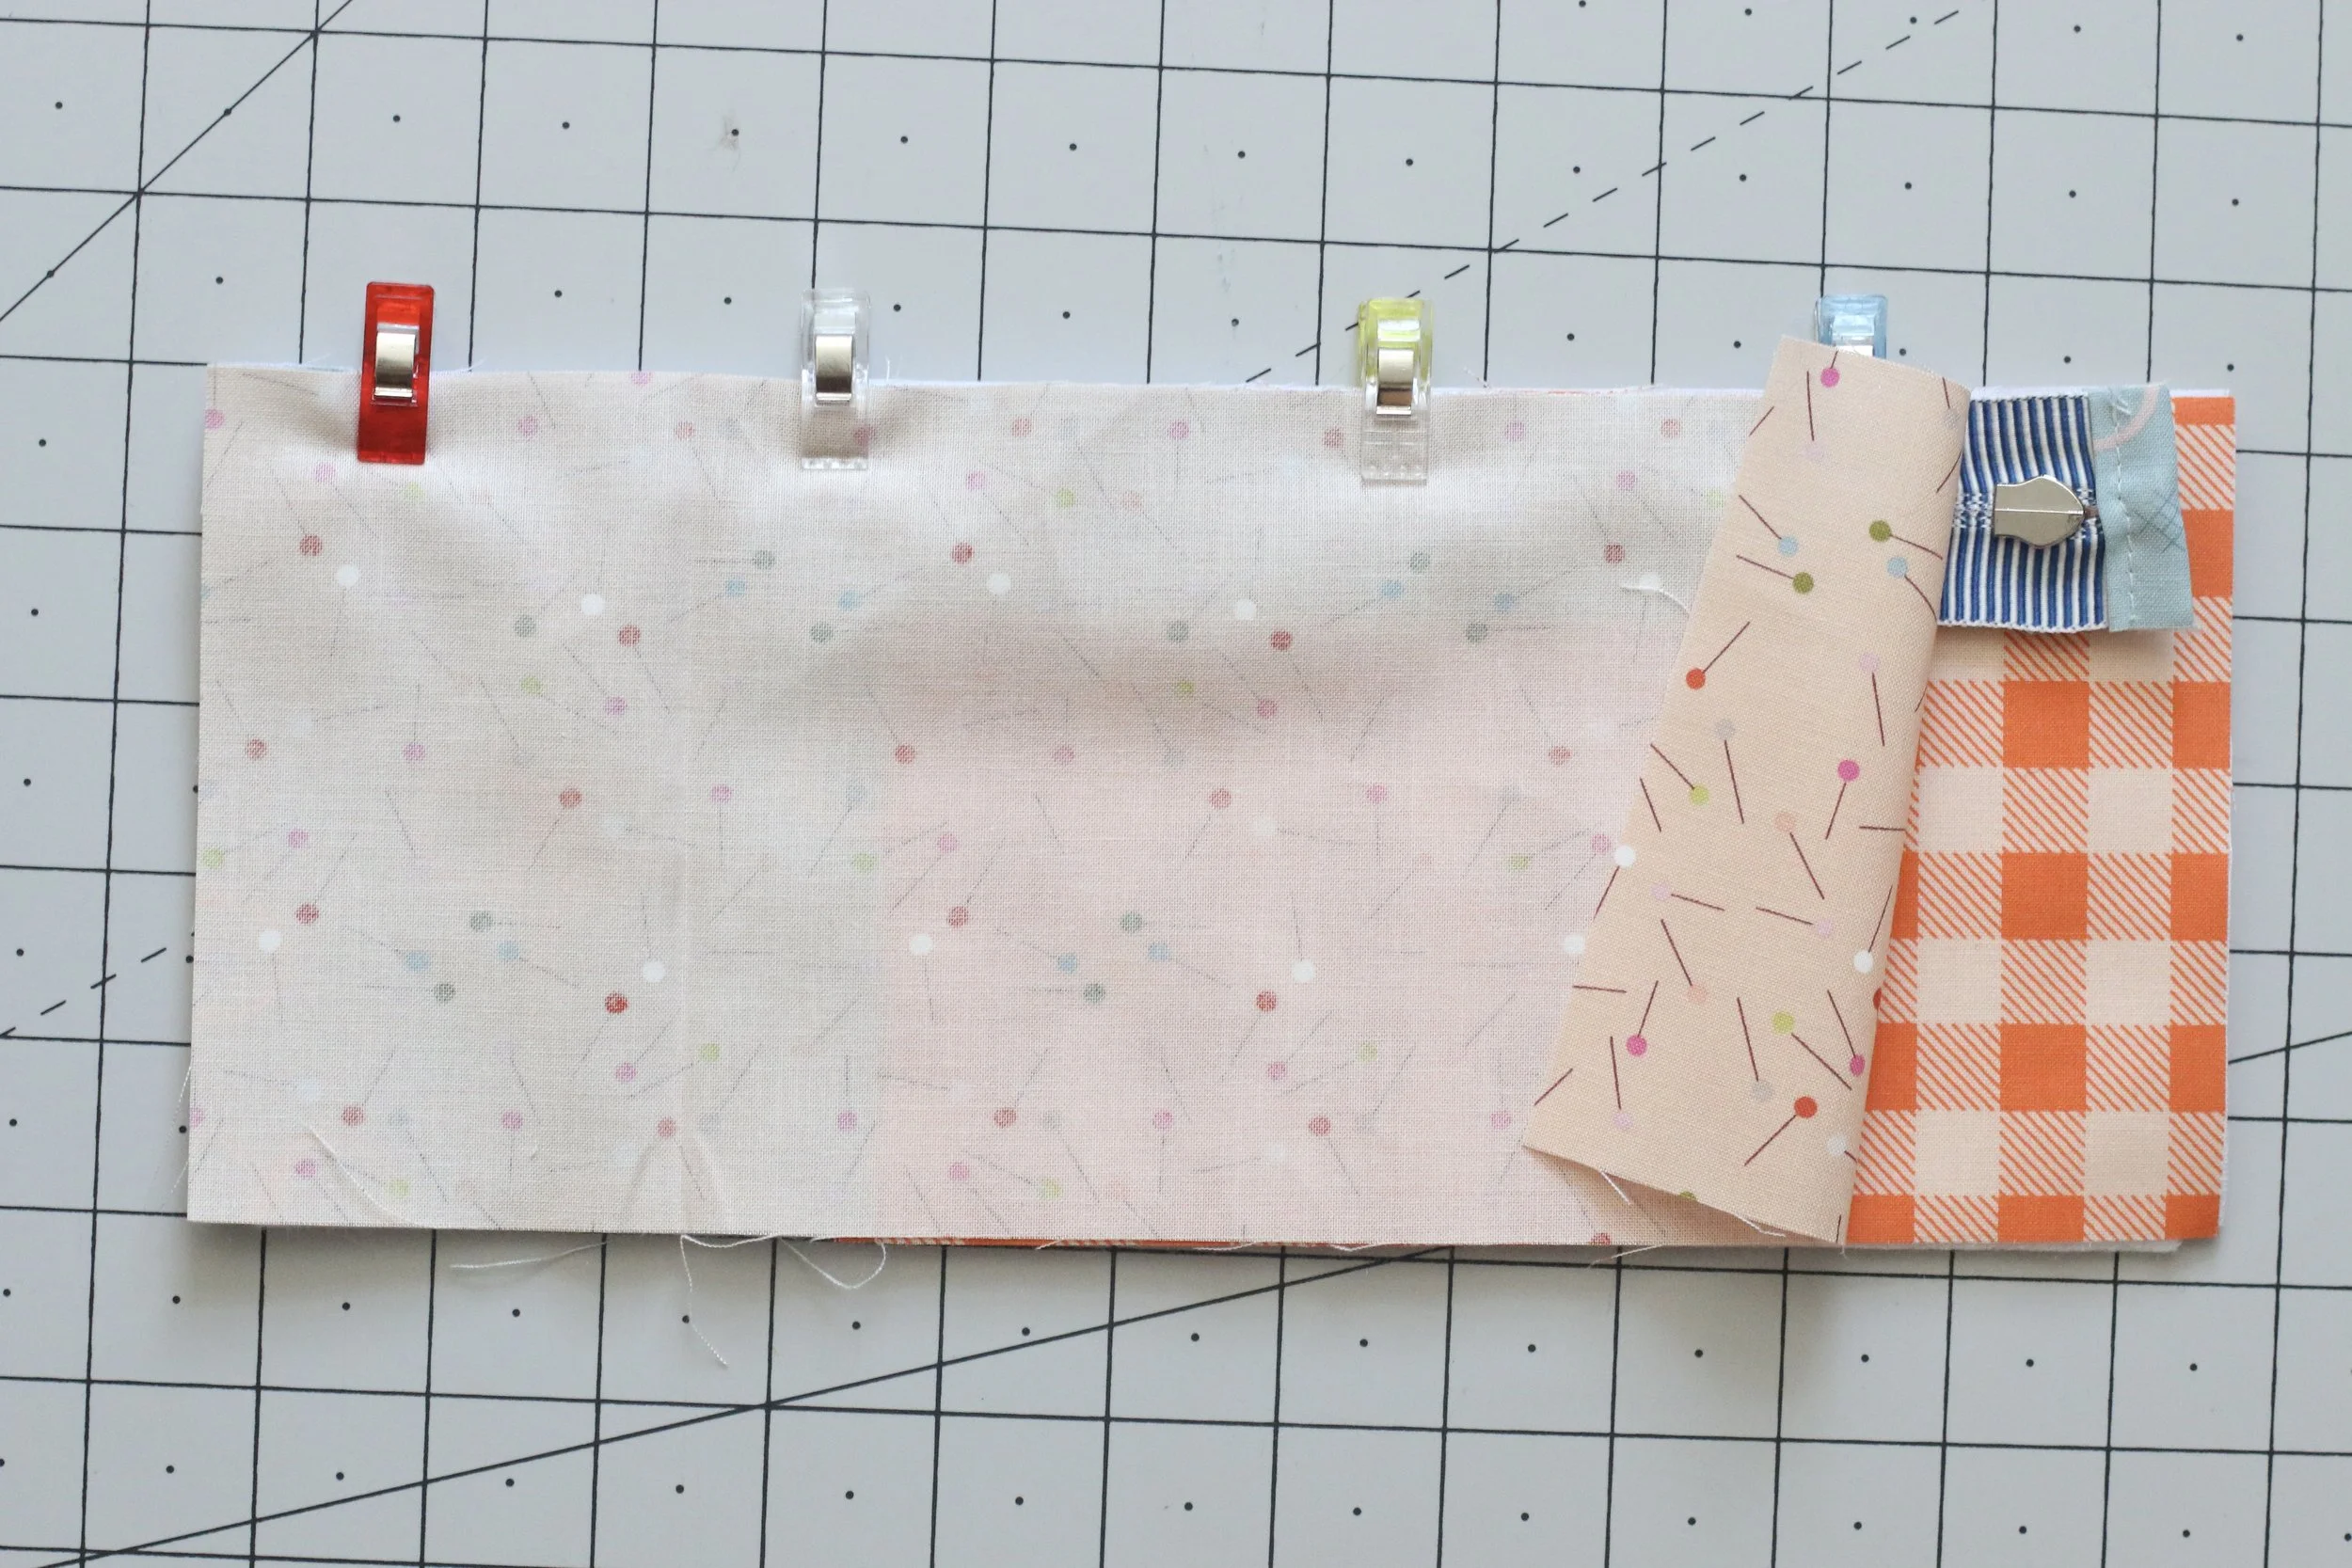
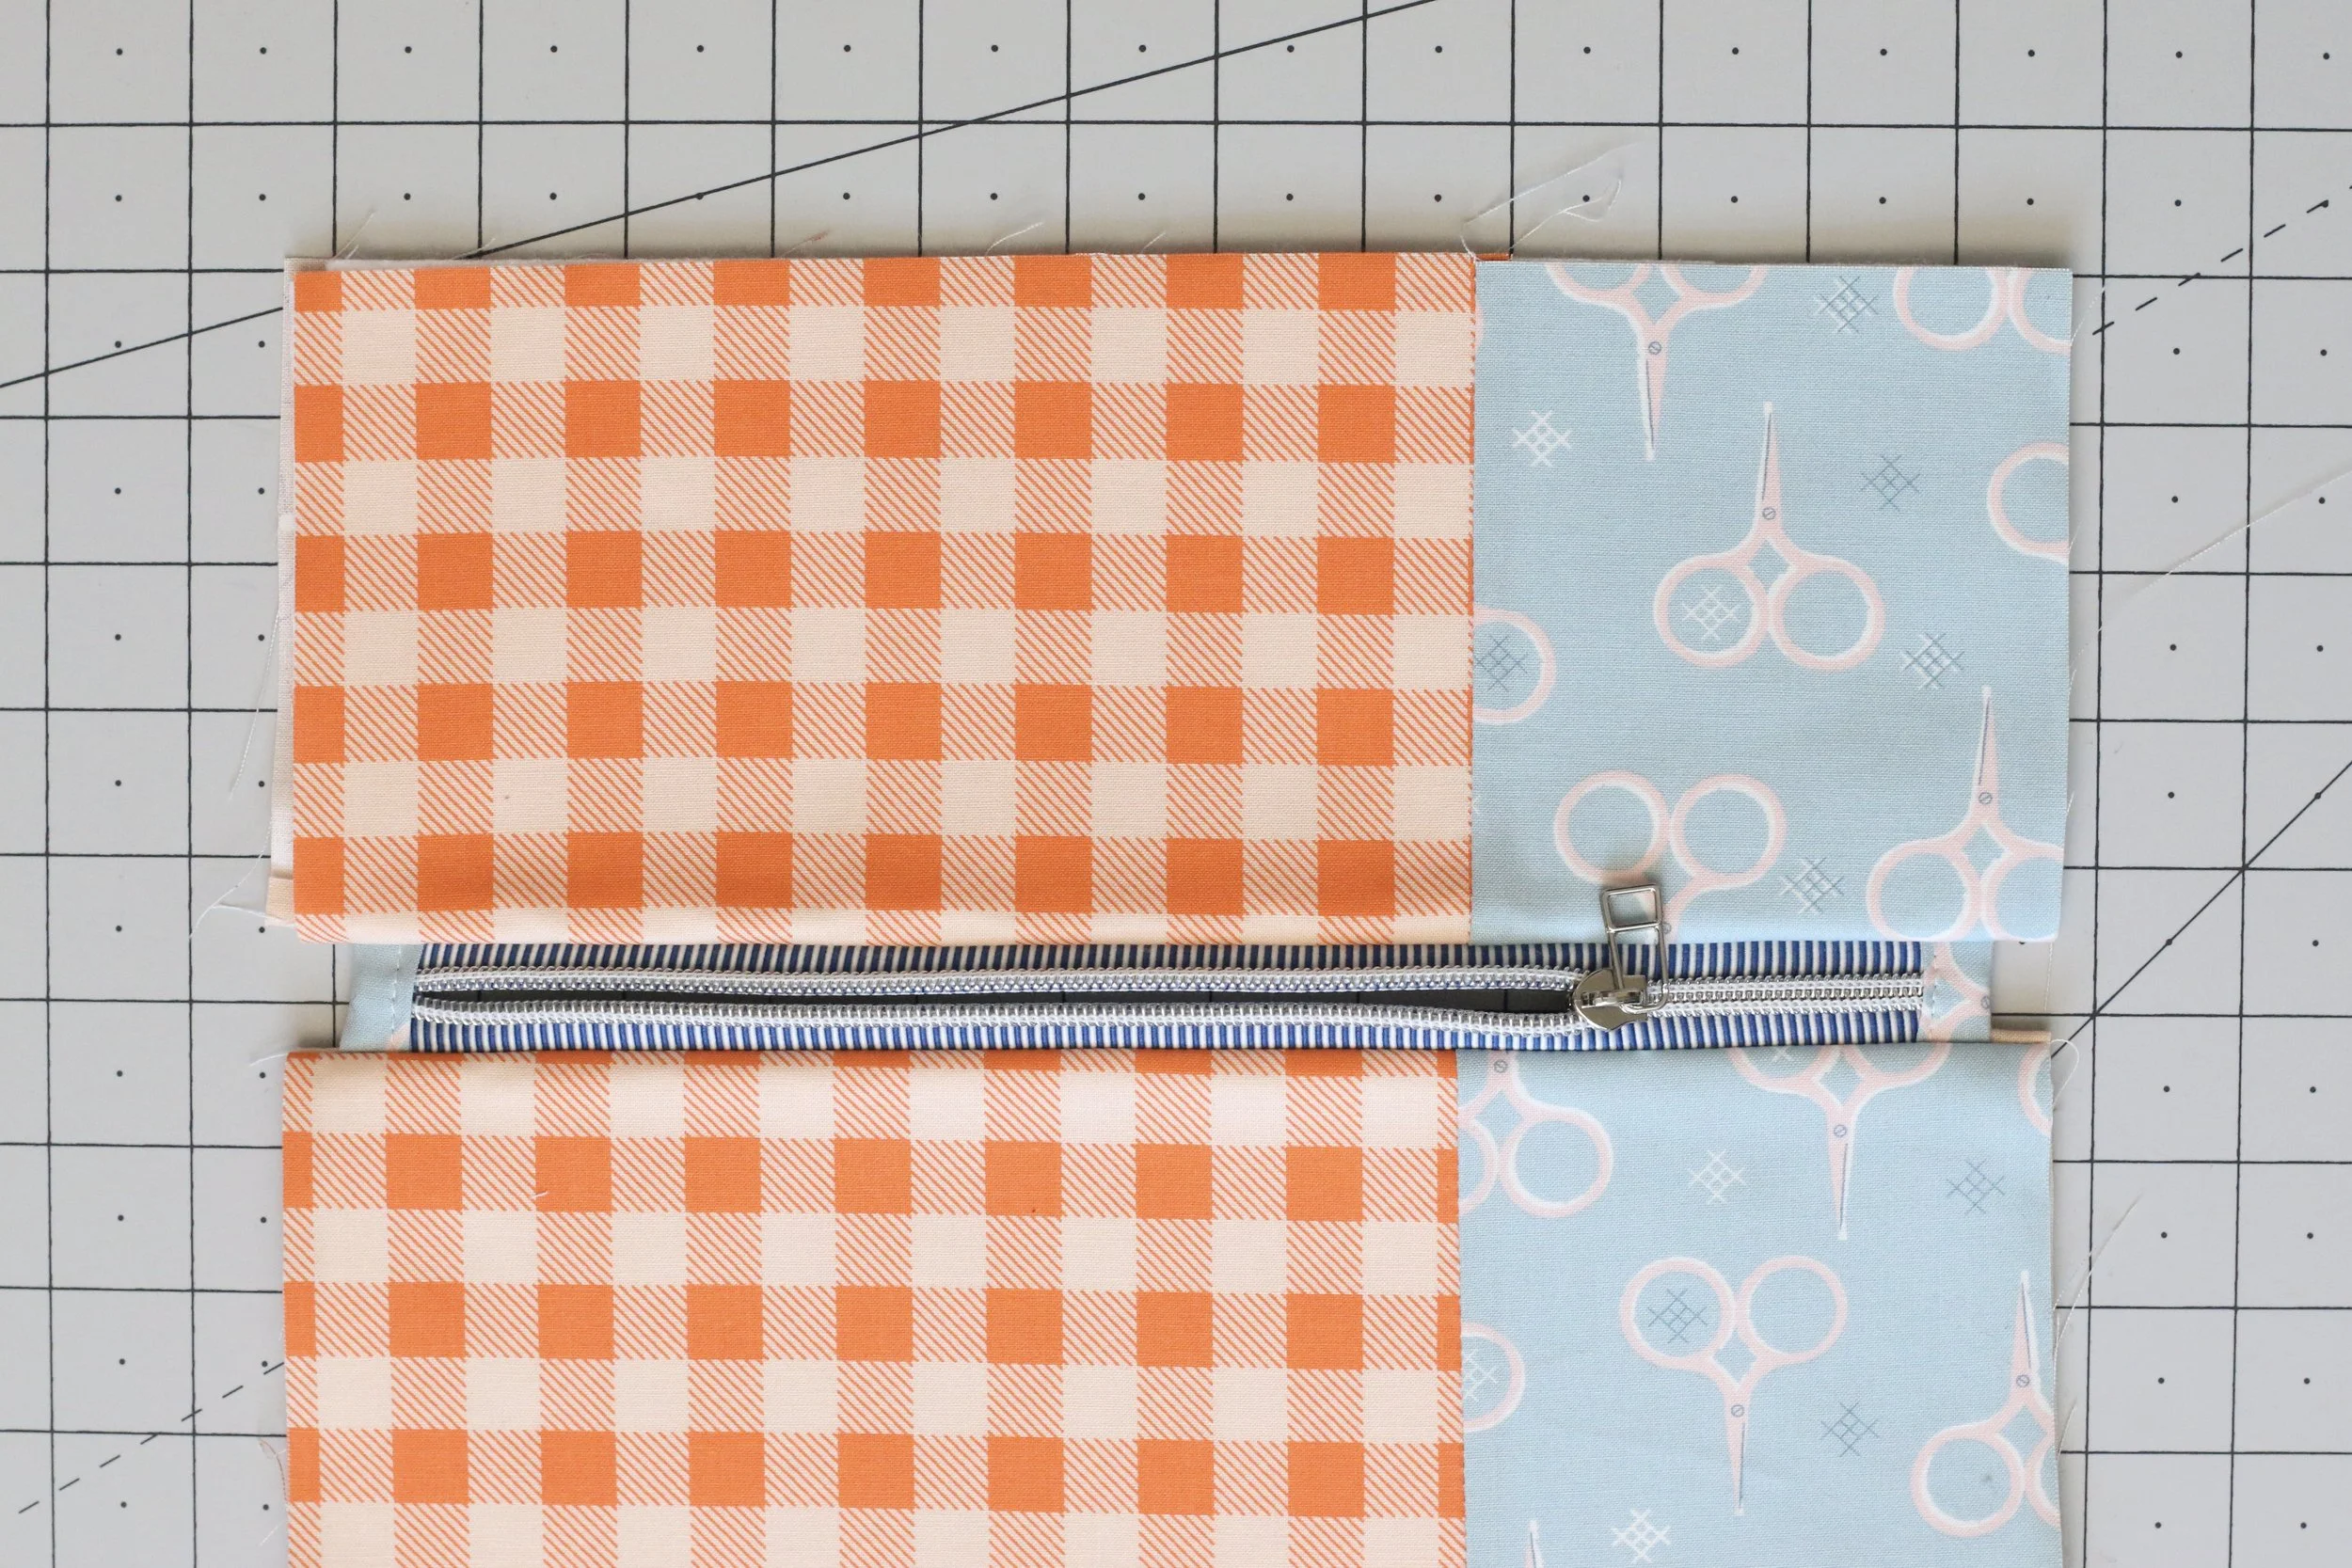
4. Make a zipper sandwich by stacking the pieces in this order: exterior panel, right side up - zipper, right/teeth side down - interior fabric, right side down. Line the fabrics and zipper up along the top edge using clips or pins, and centering the zipper with a 1/2” space on each end. Next, sew using a 1/4” seam allowance along the top edge, moving the zipper pull out of the way as you come to it.
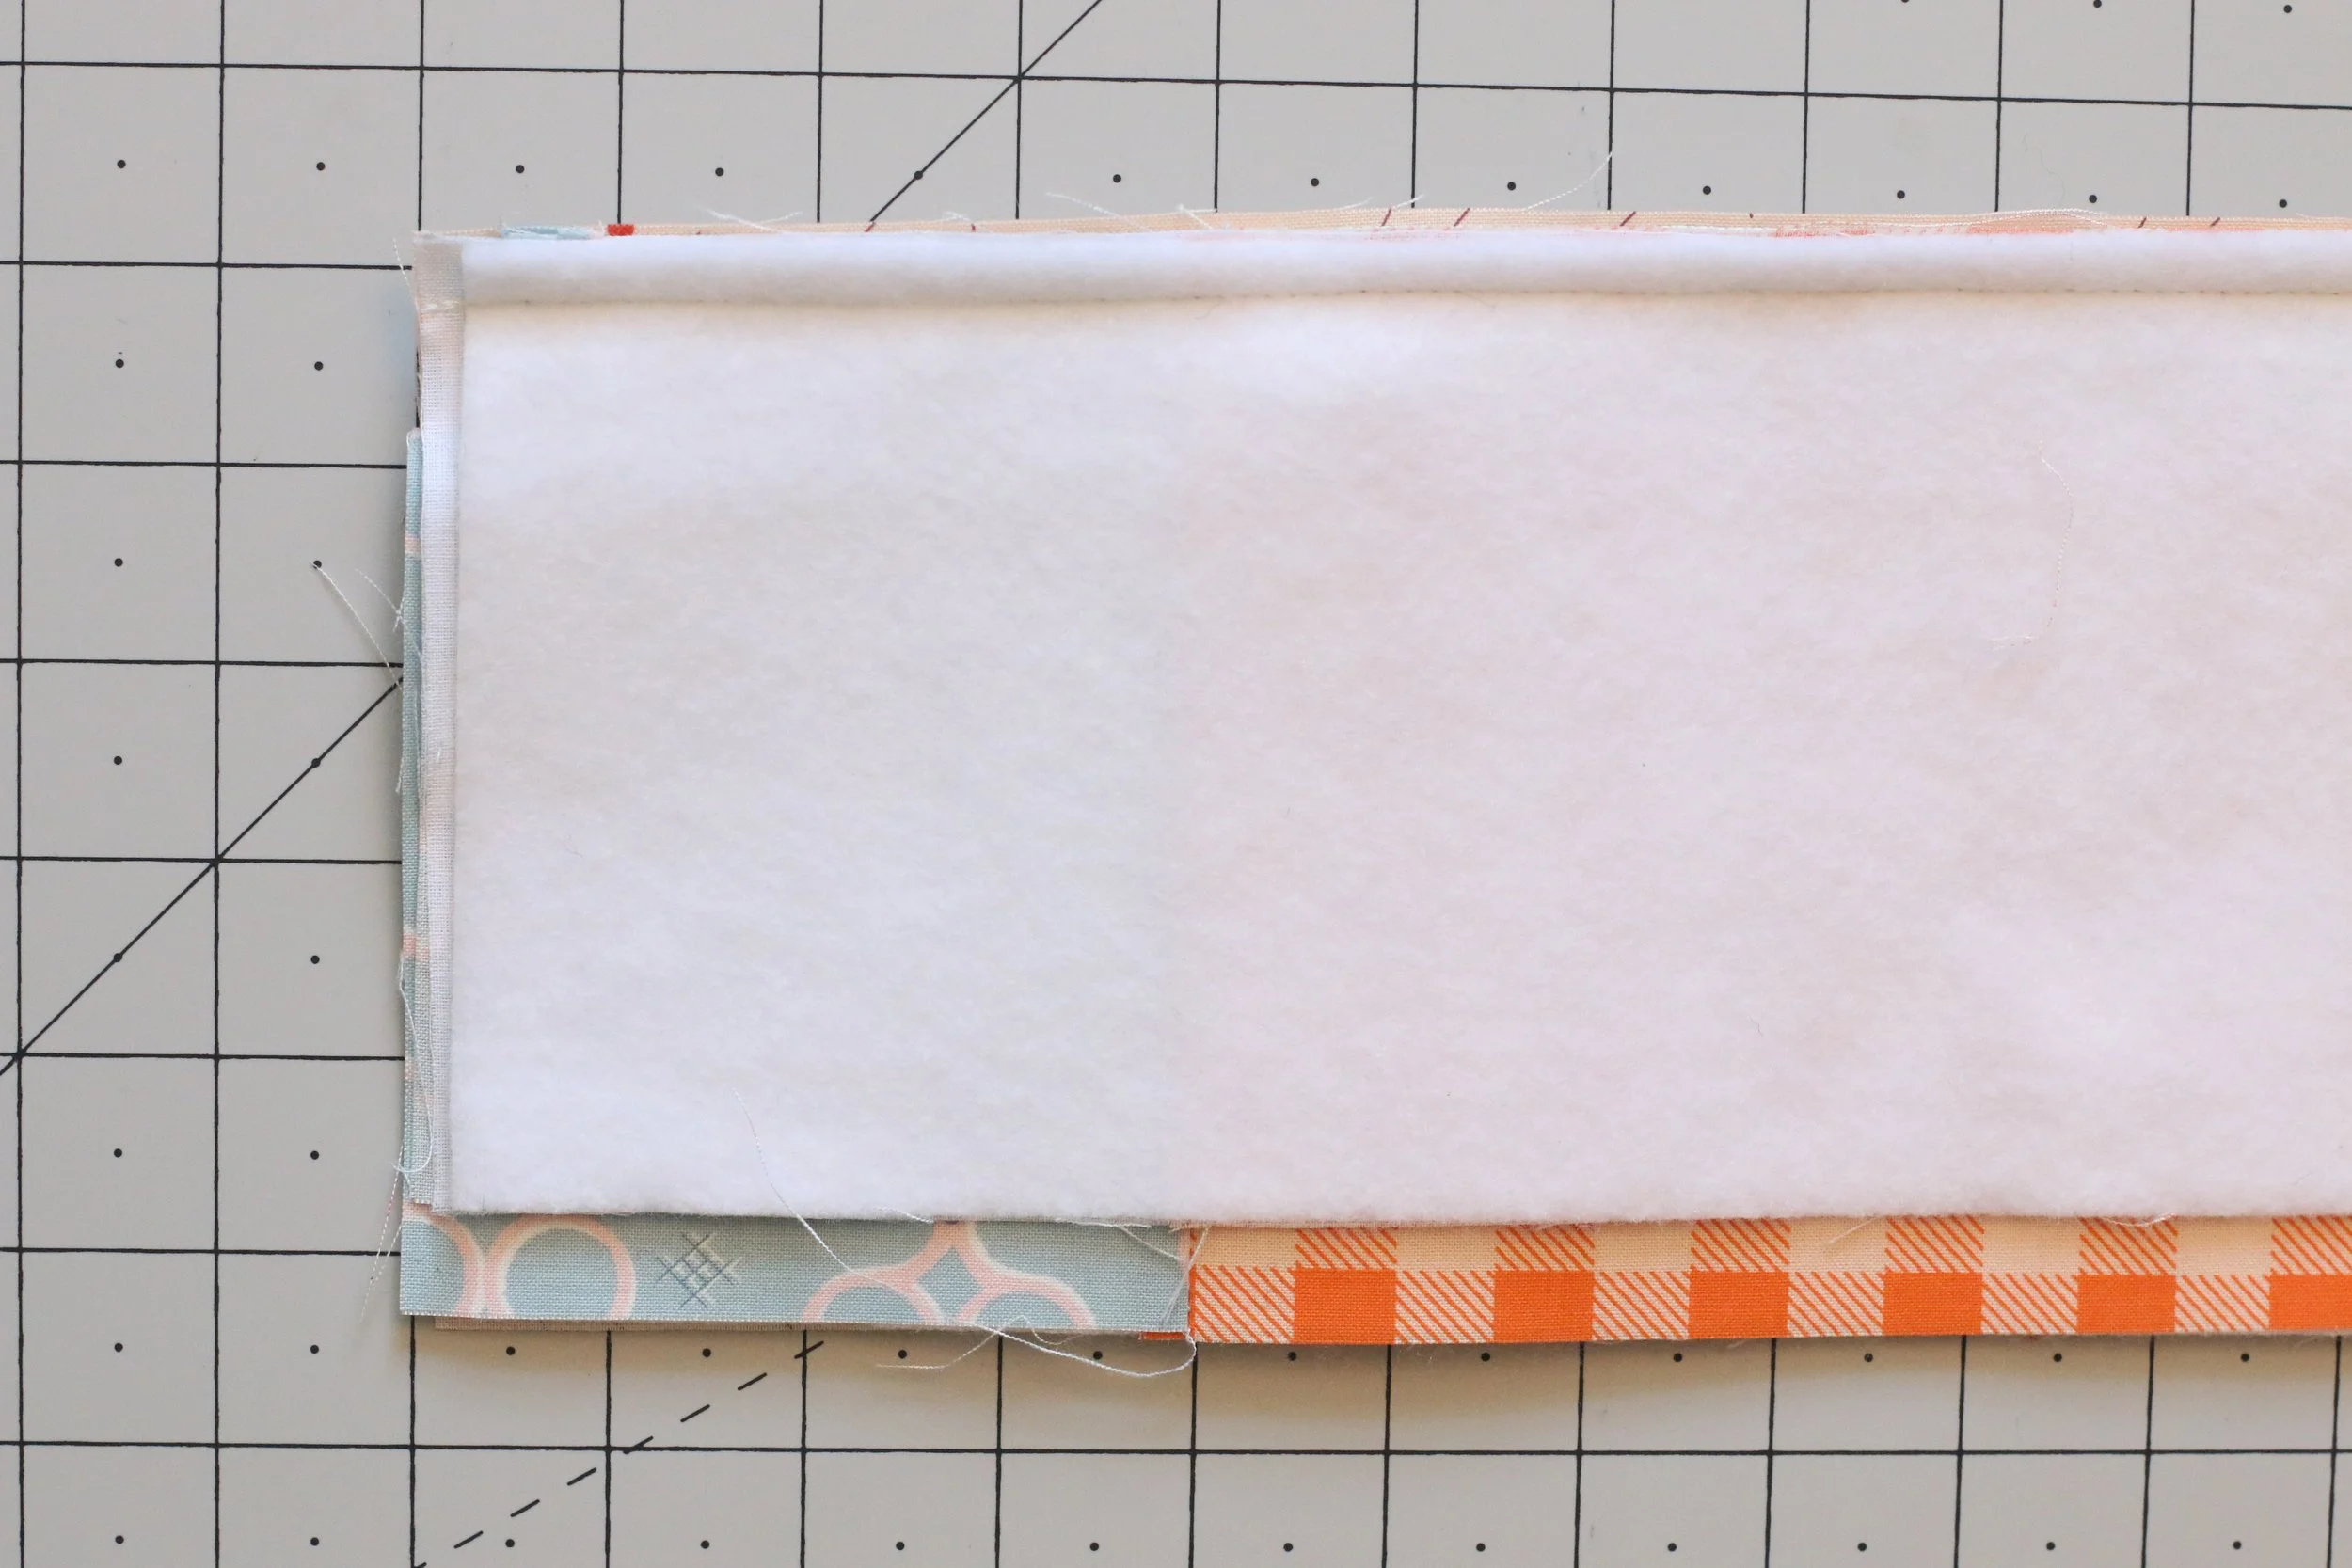
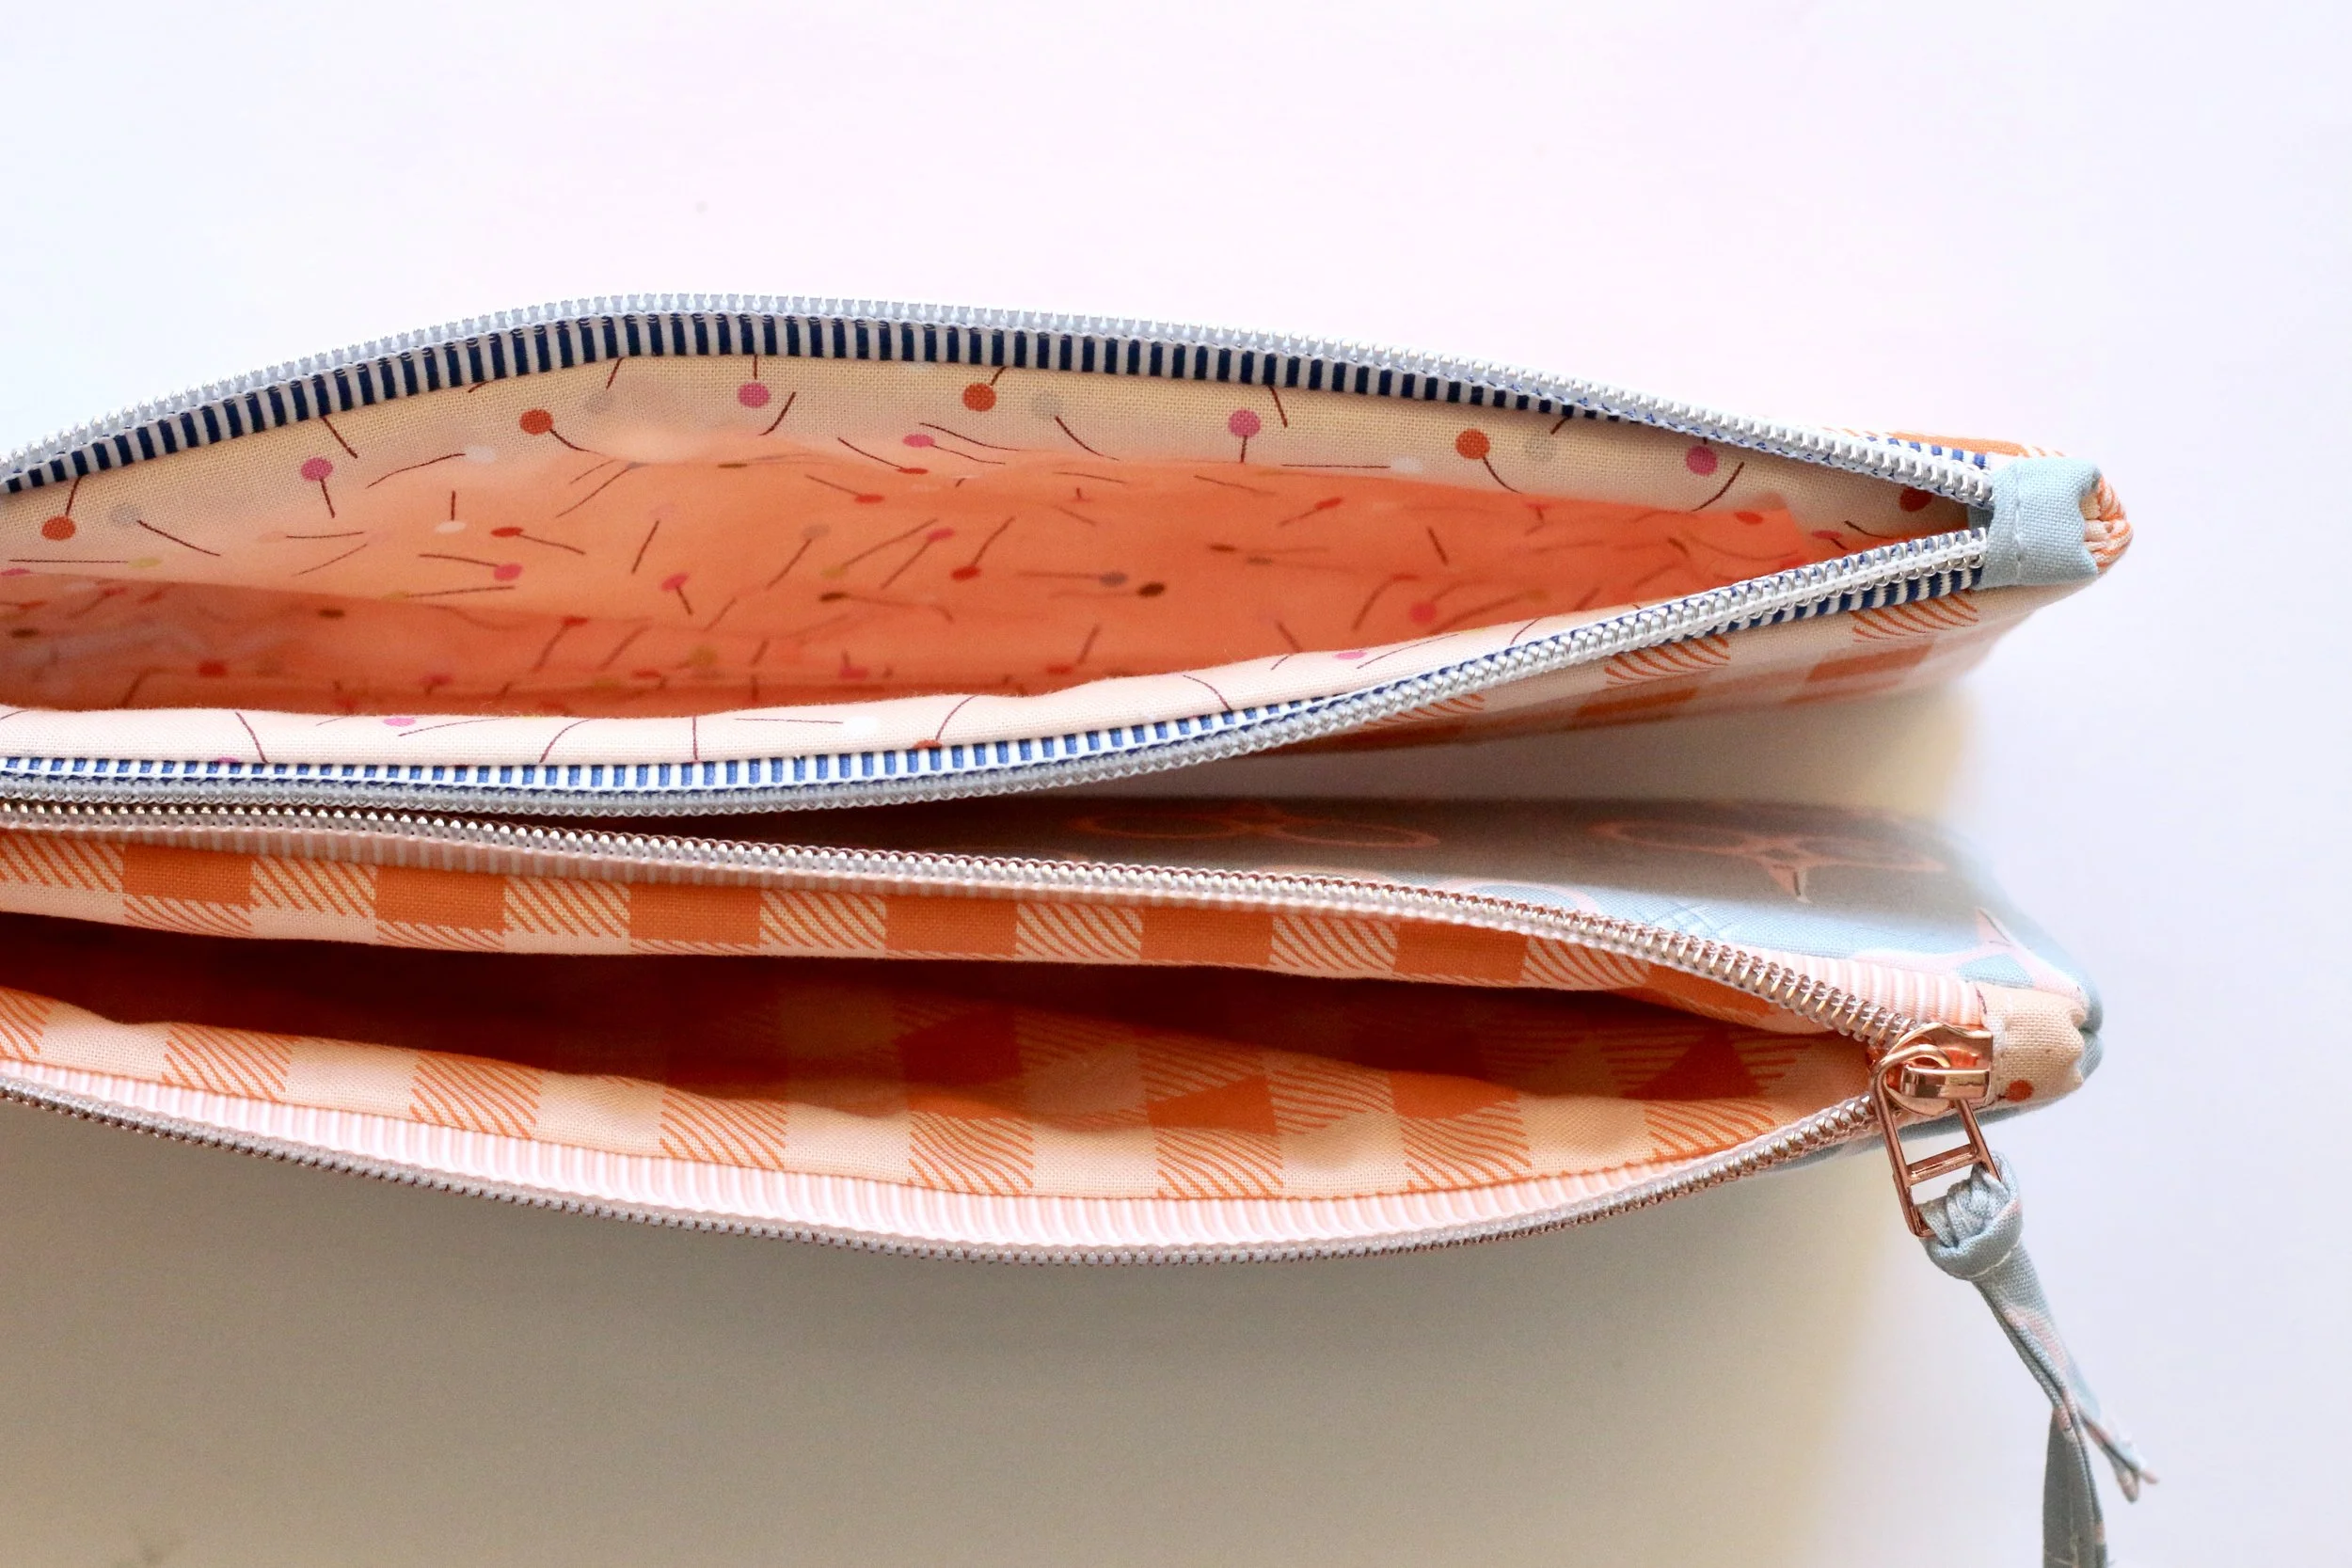
5. Press the exterior and interior fabrics away from the zipper with their wrong sides together. Then repeat Step 4 making a zipper sandwich on the other side of the zipper. Exterior fabrics and interior fabrics will each be right sides together as show in the photo below.
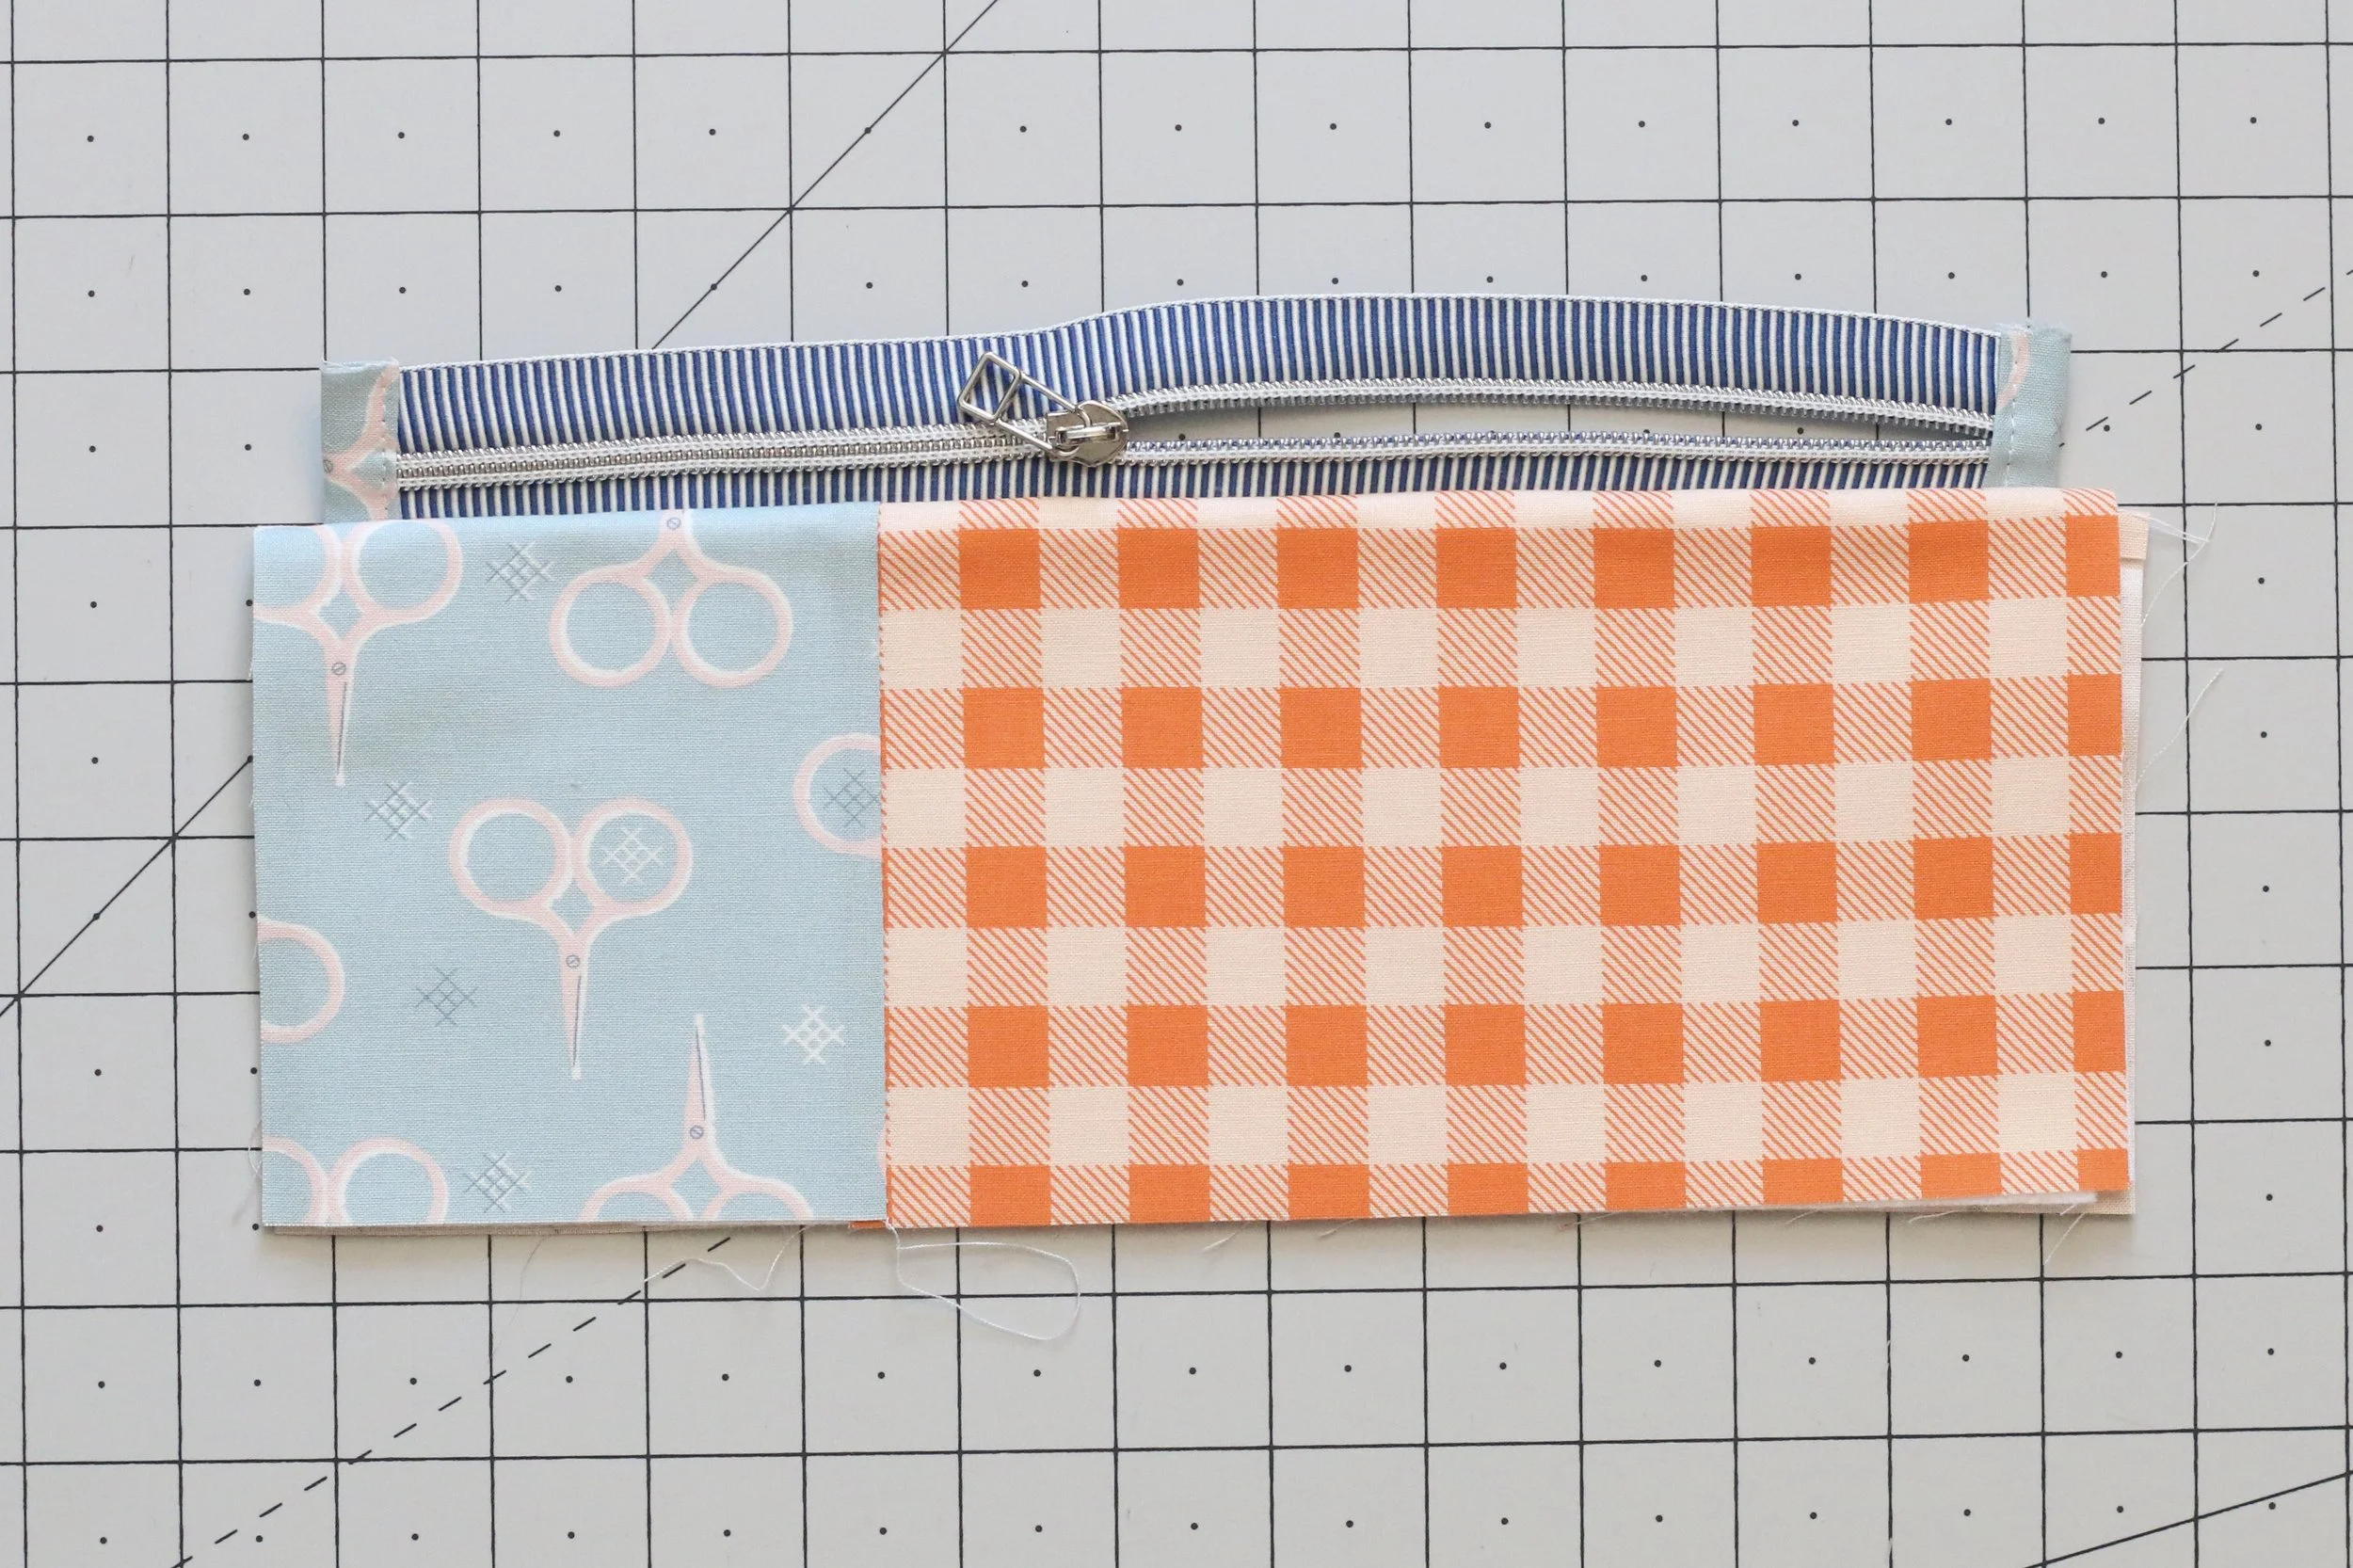
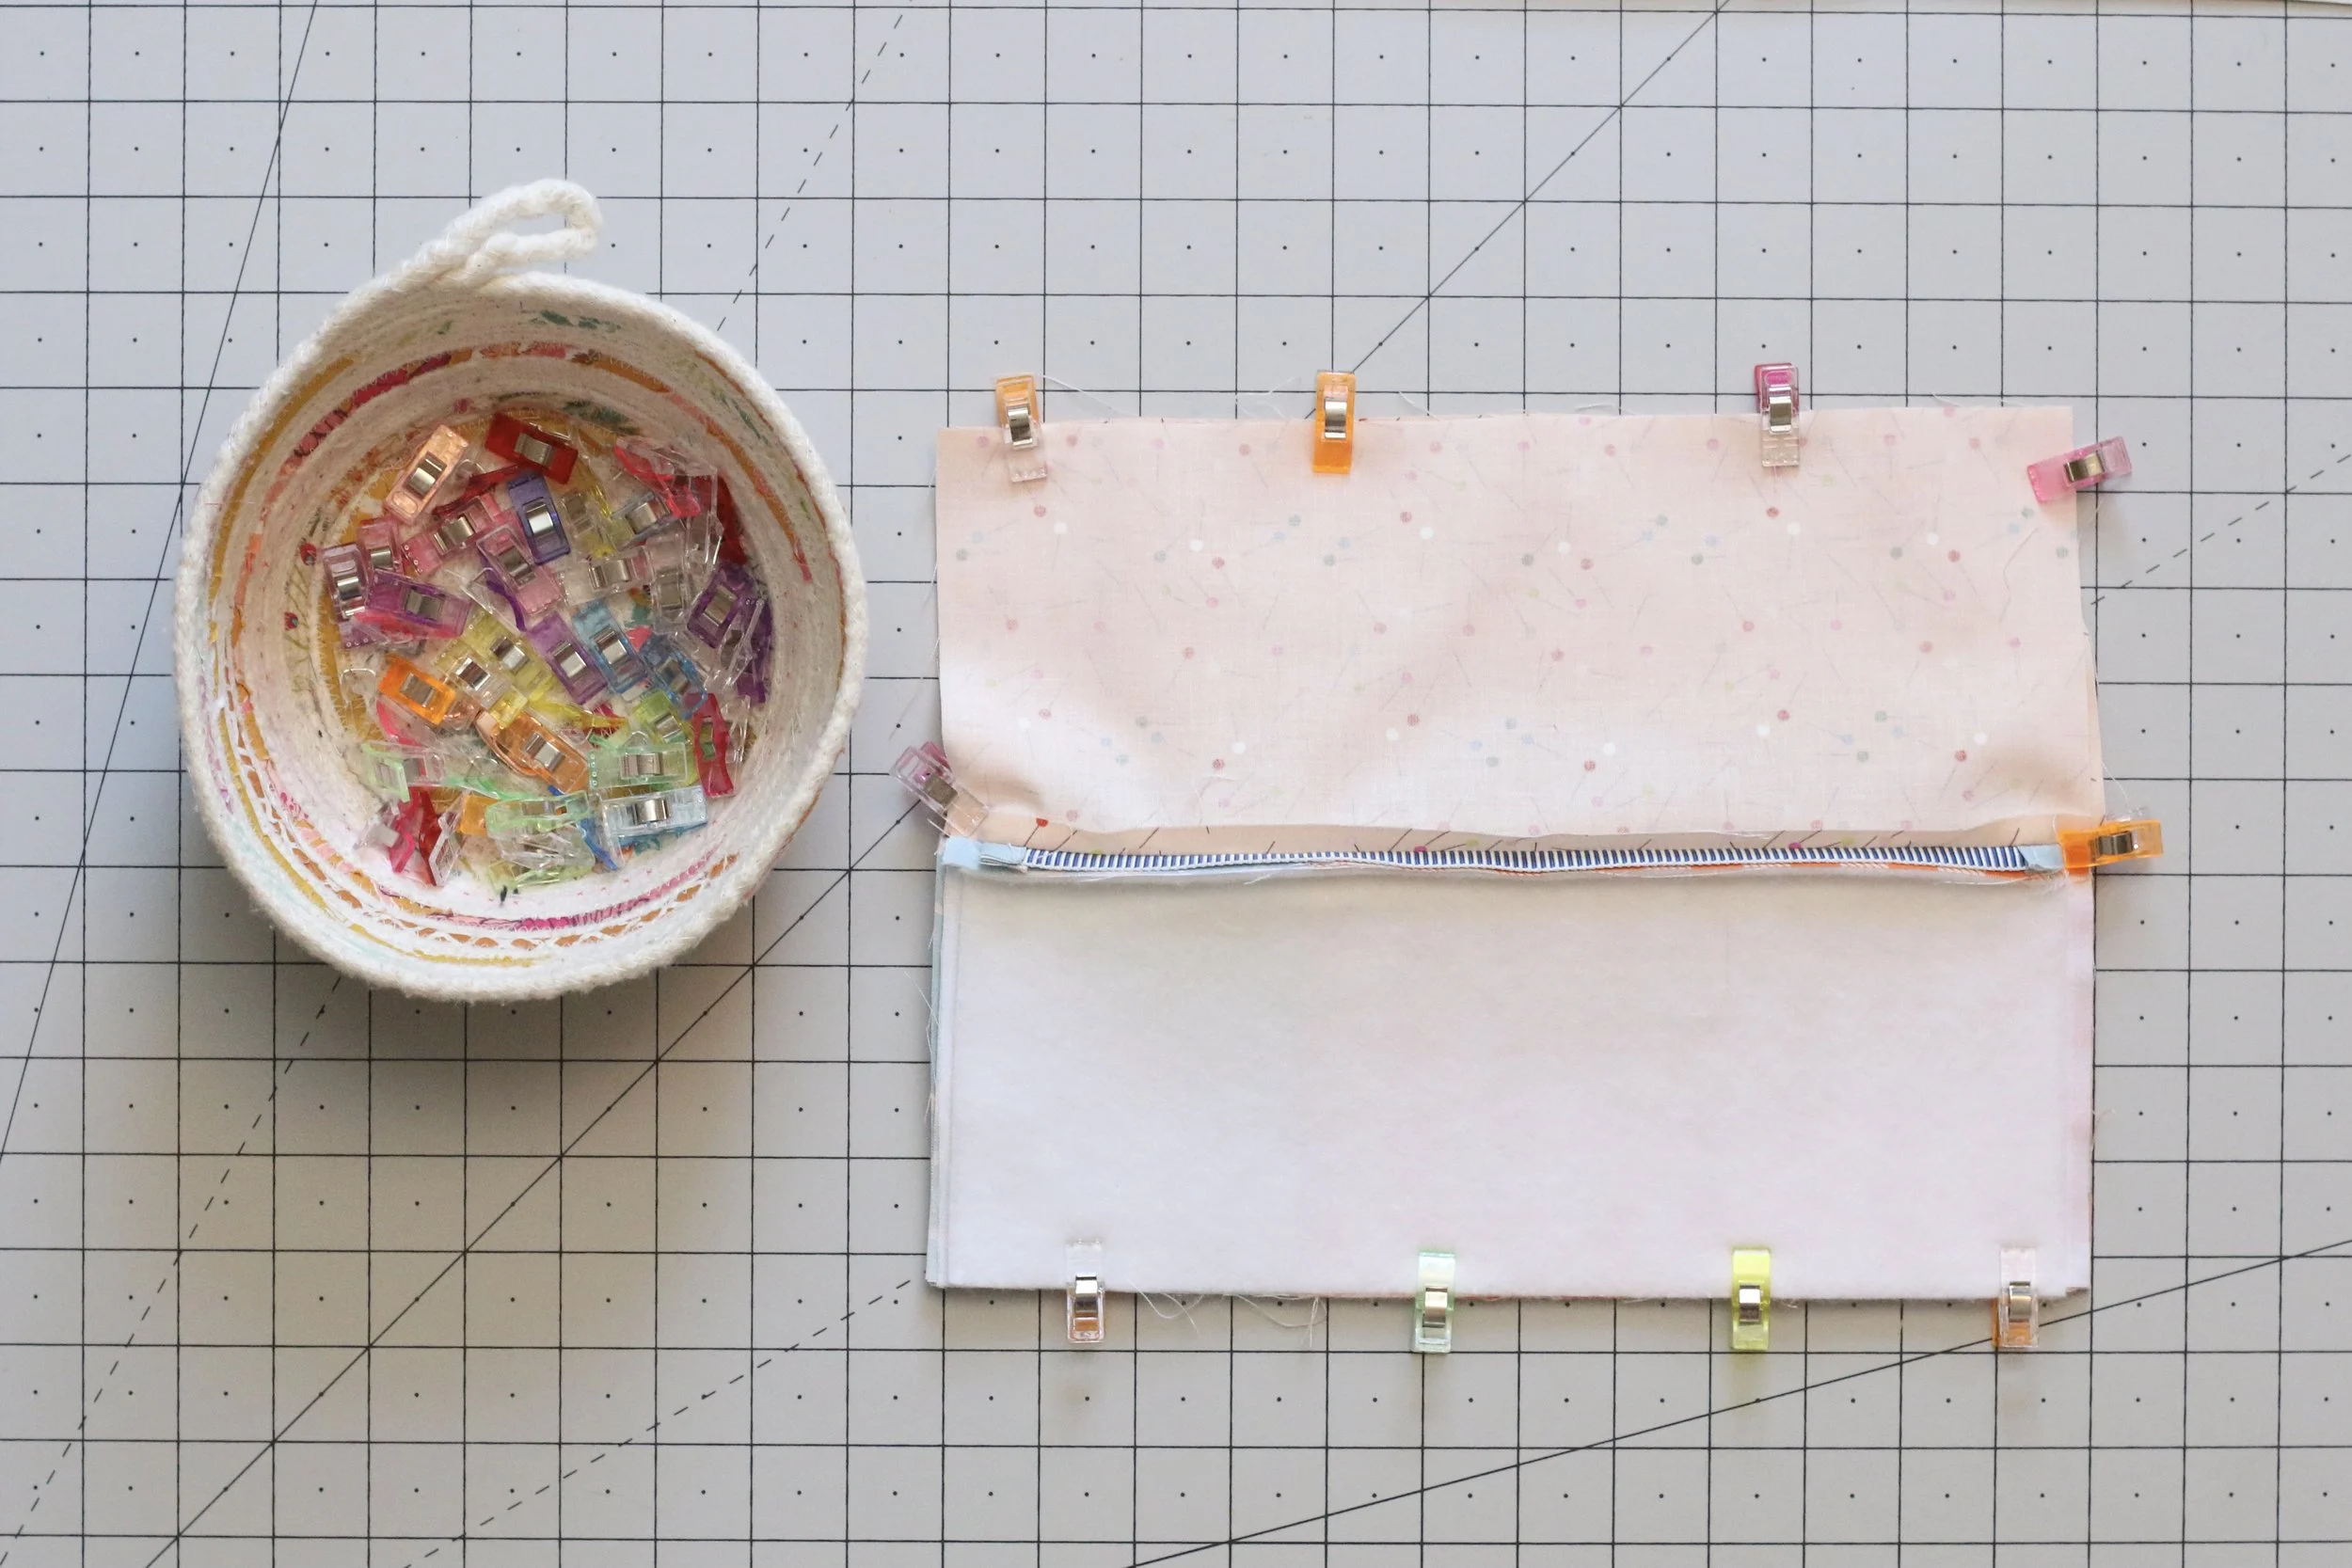
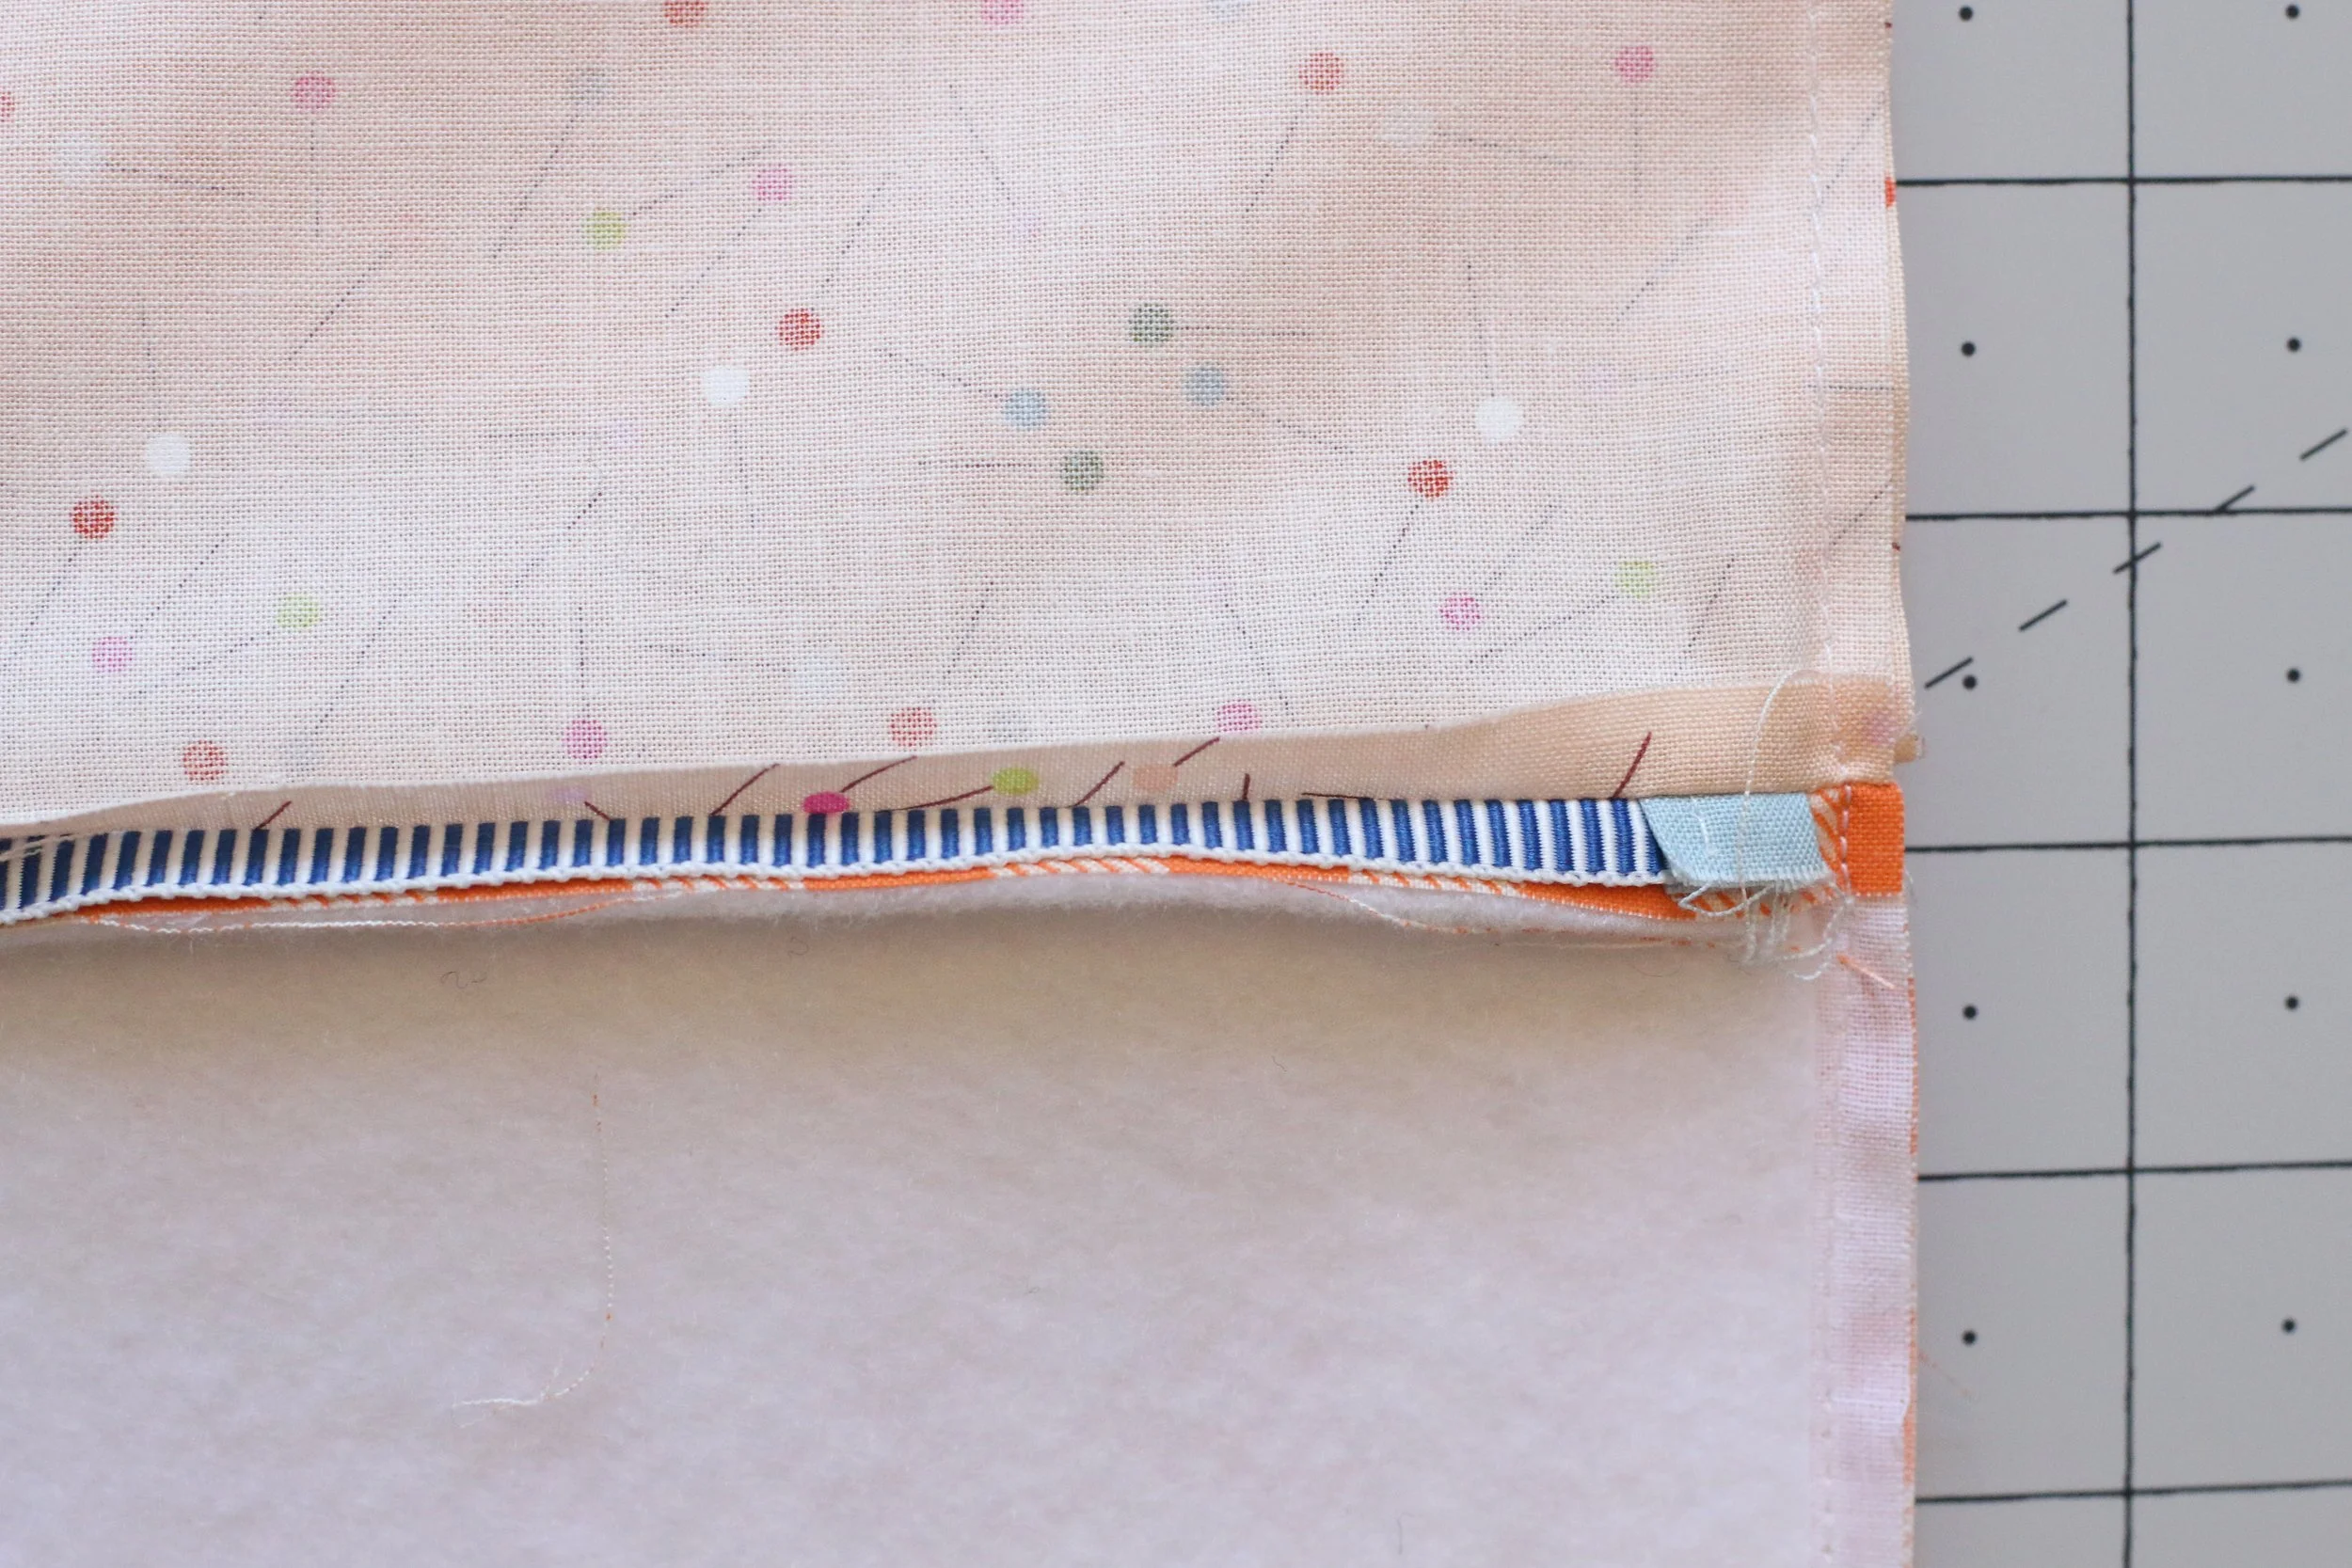
6. Fold the fabrics away from the other side of the zipper and press just as you did in Step 5. Open the zipper halfway (this is VERY important)! Then clip the exterior panels right sides together and the interior fabrics right sides together. Be sure to line up the seams of your main and coordinating fabrics so they meet on the bottom edge of the bag.
See the photo below for how to clip/pin by the end of the zippers. I like to press the center seams open to reduce bulk and so I can see exactly where the zipper tabs are.

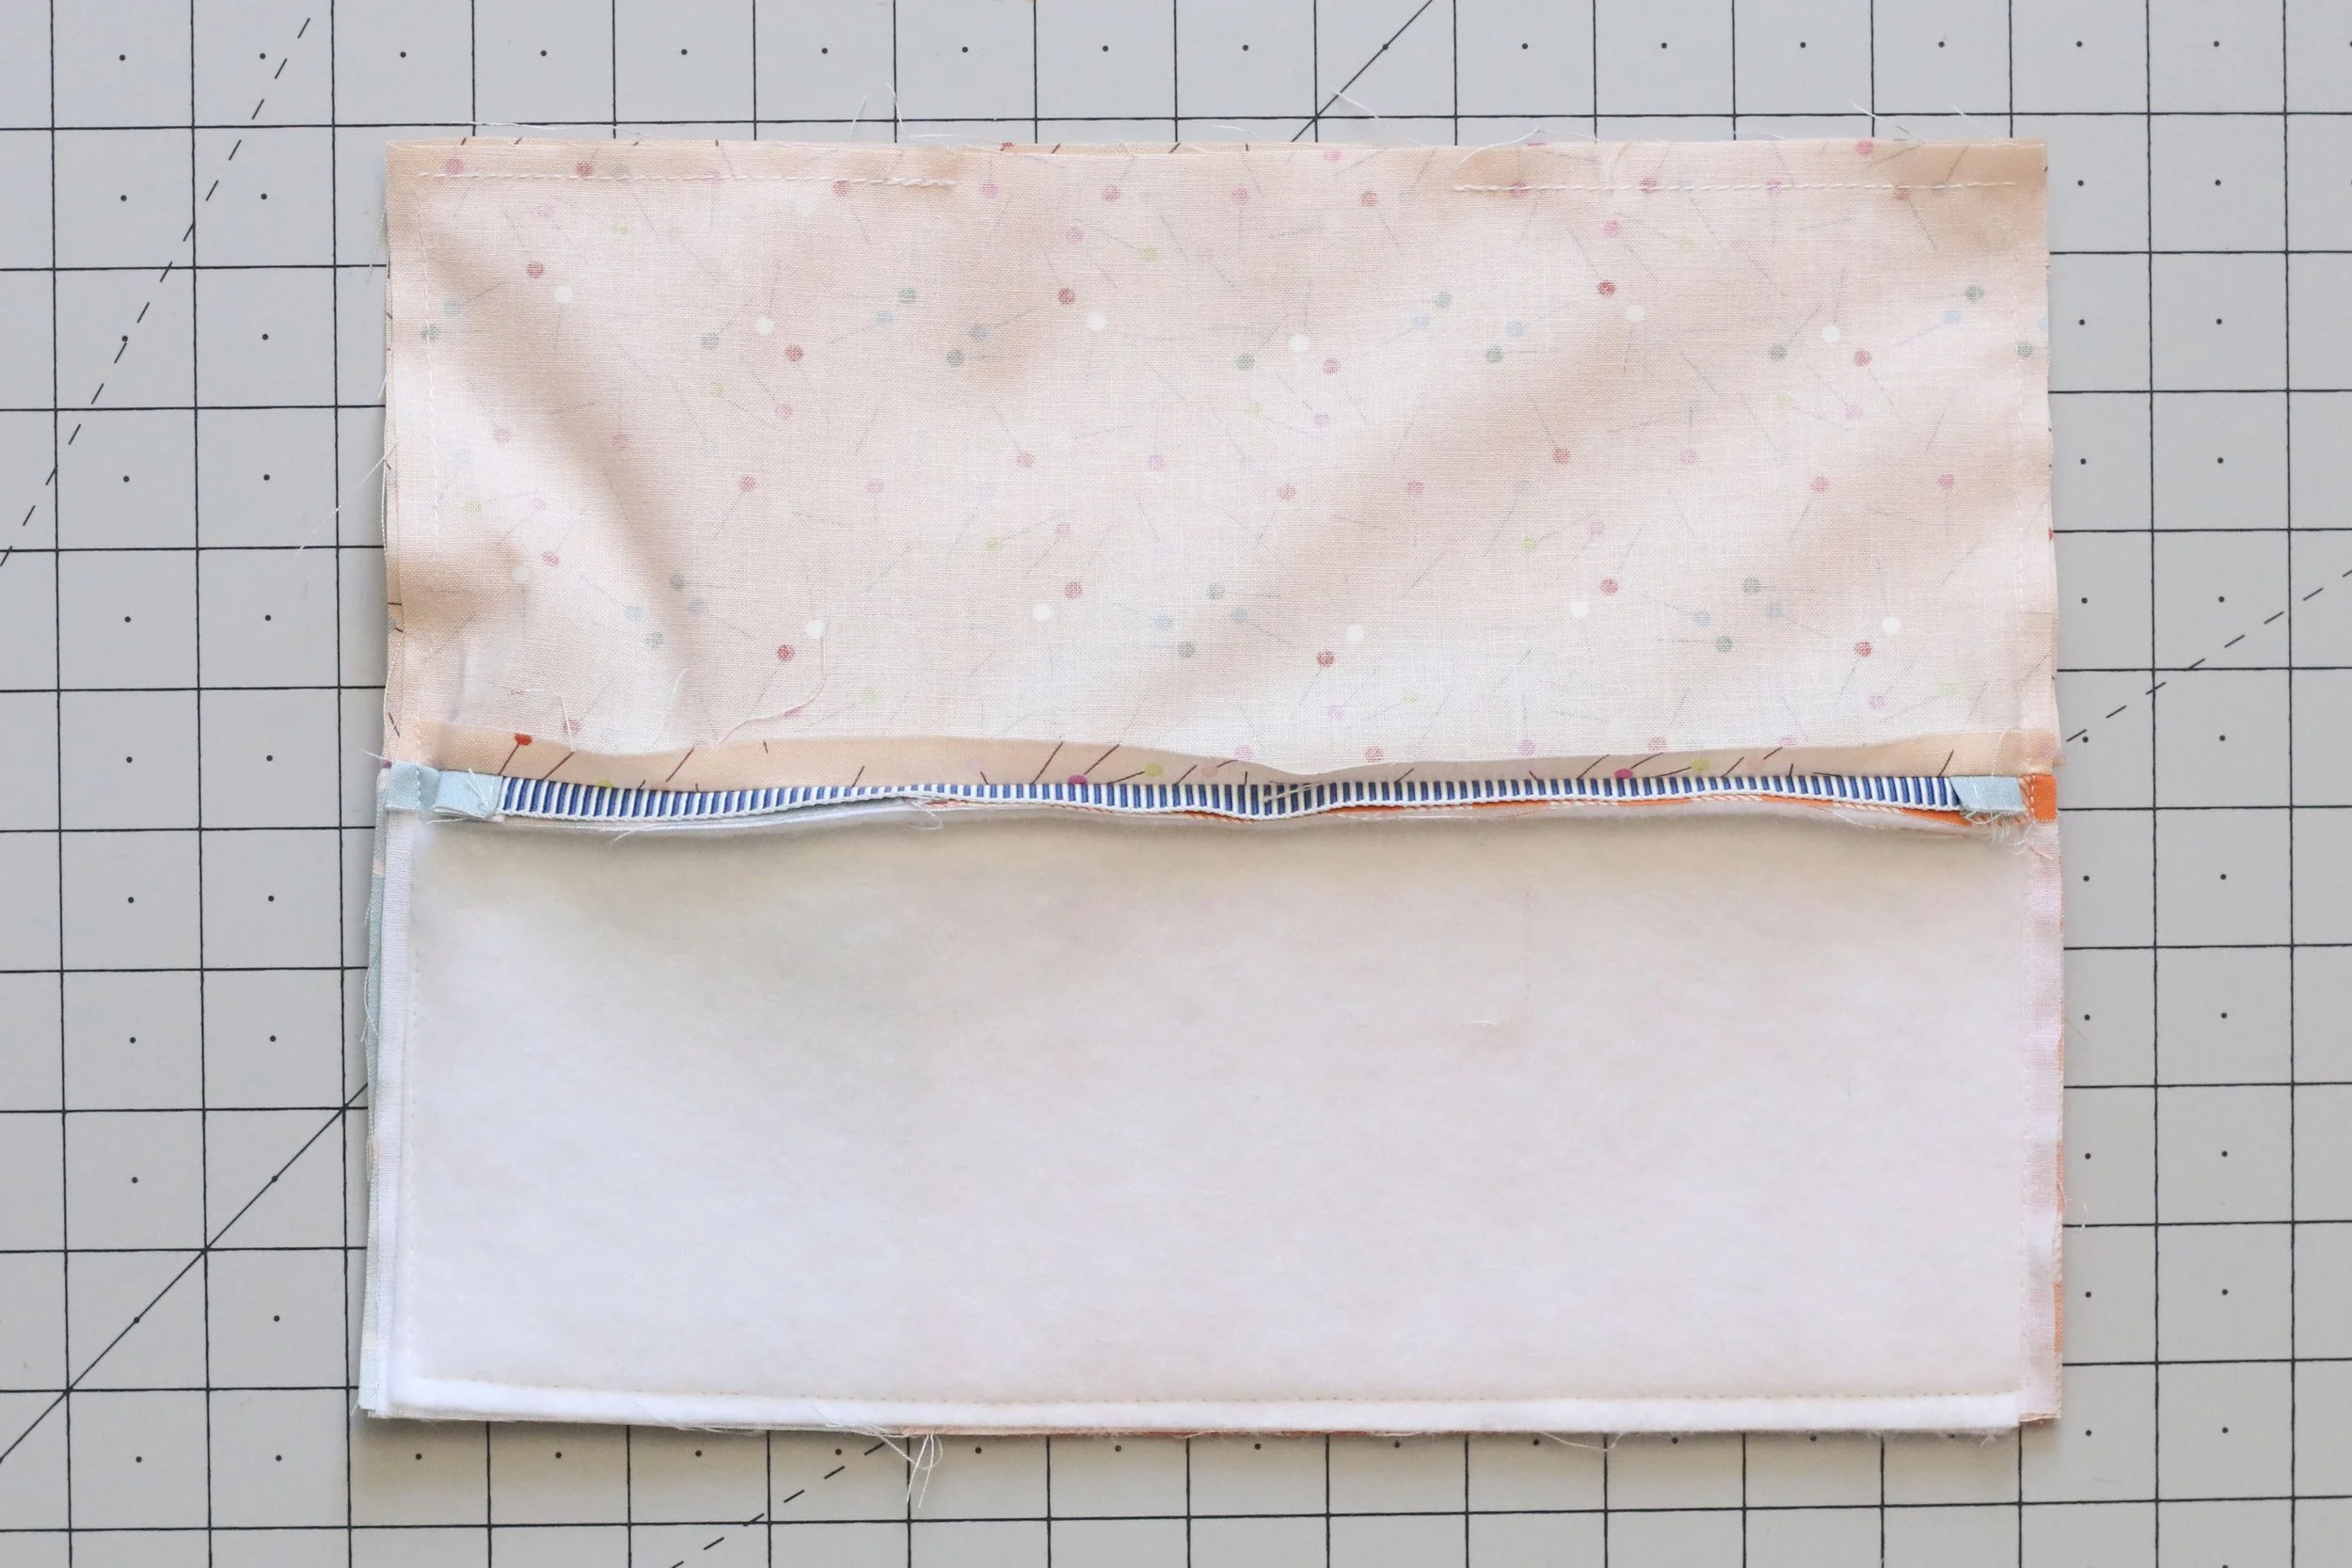
7. Stitch along the entire perimeter of the bag using a 1/4” seam allowance and leaving a 3-4” opening in the lining fabric. Make sure you do NOT sew over the zipper tabs! (In the photos below you can see the blue zipper tabs have not been sewn through.)
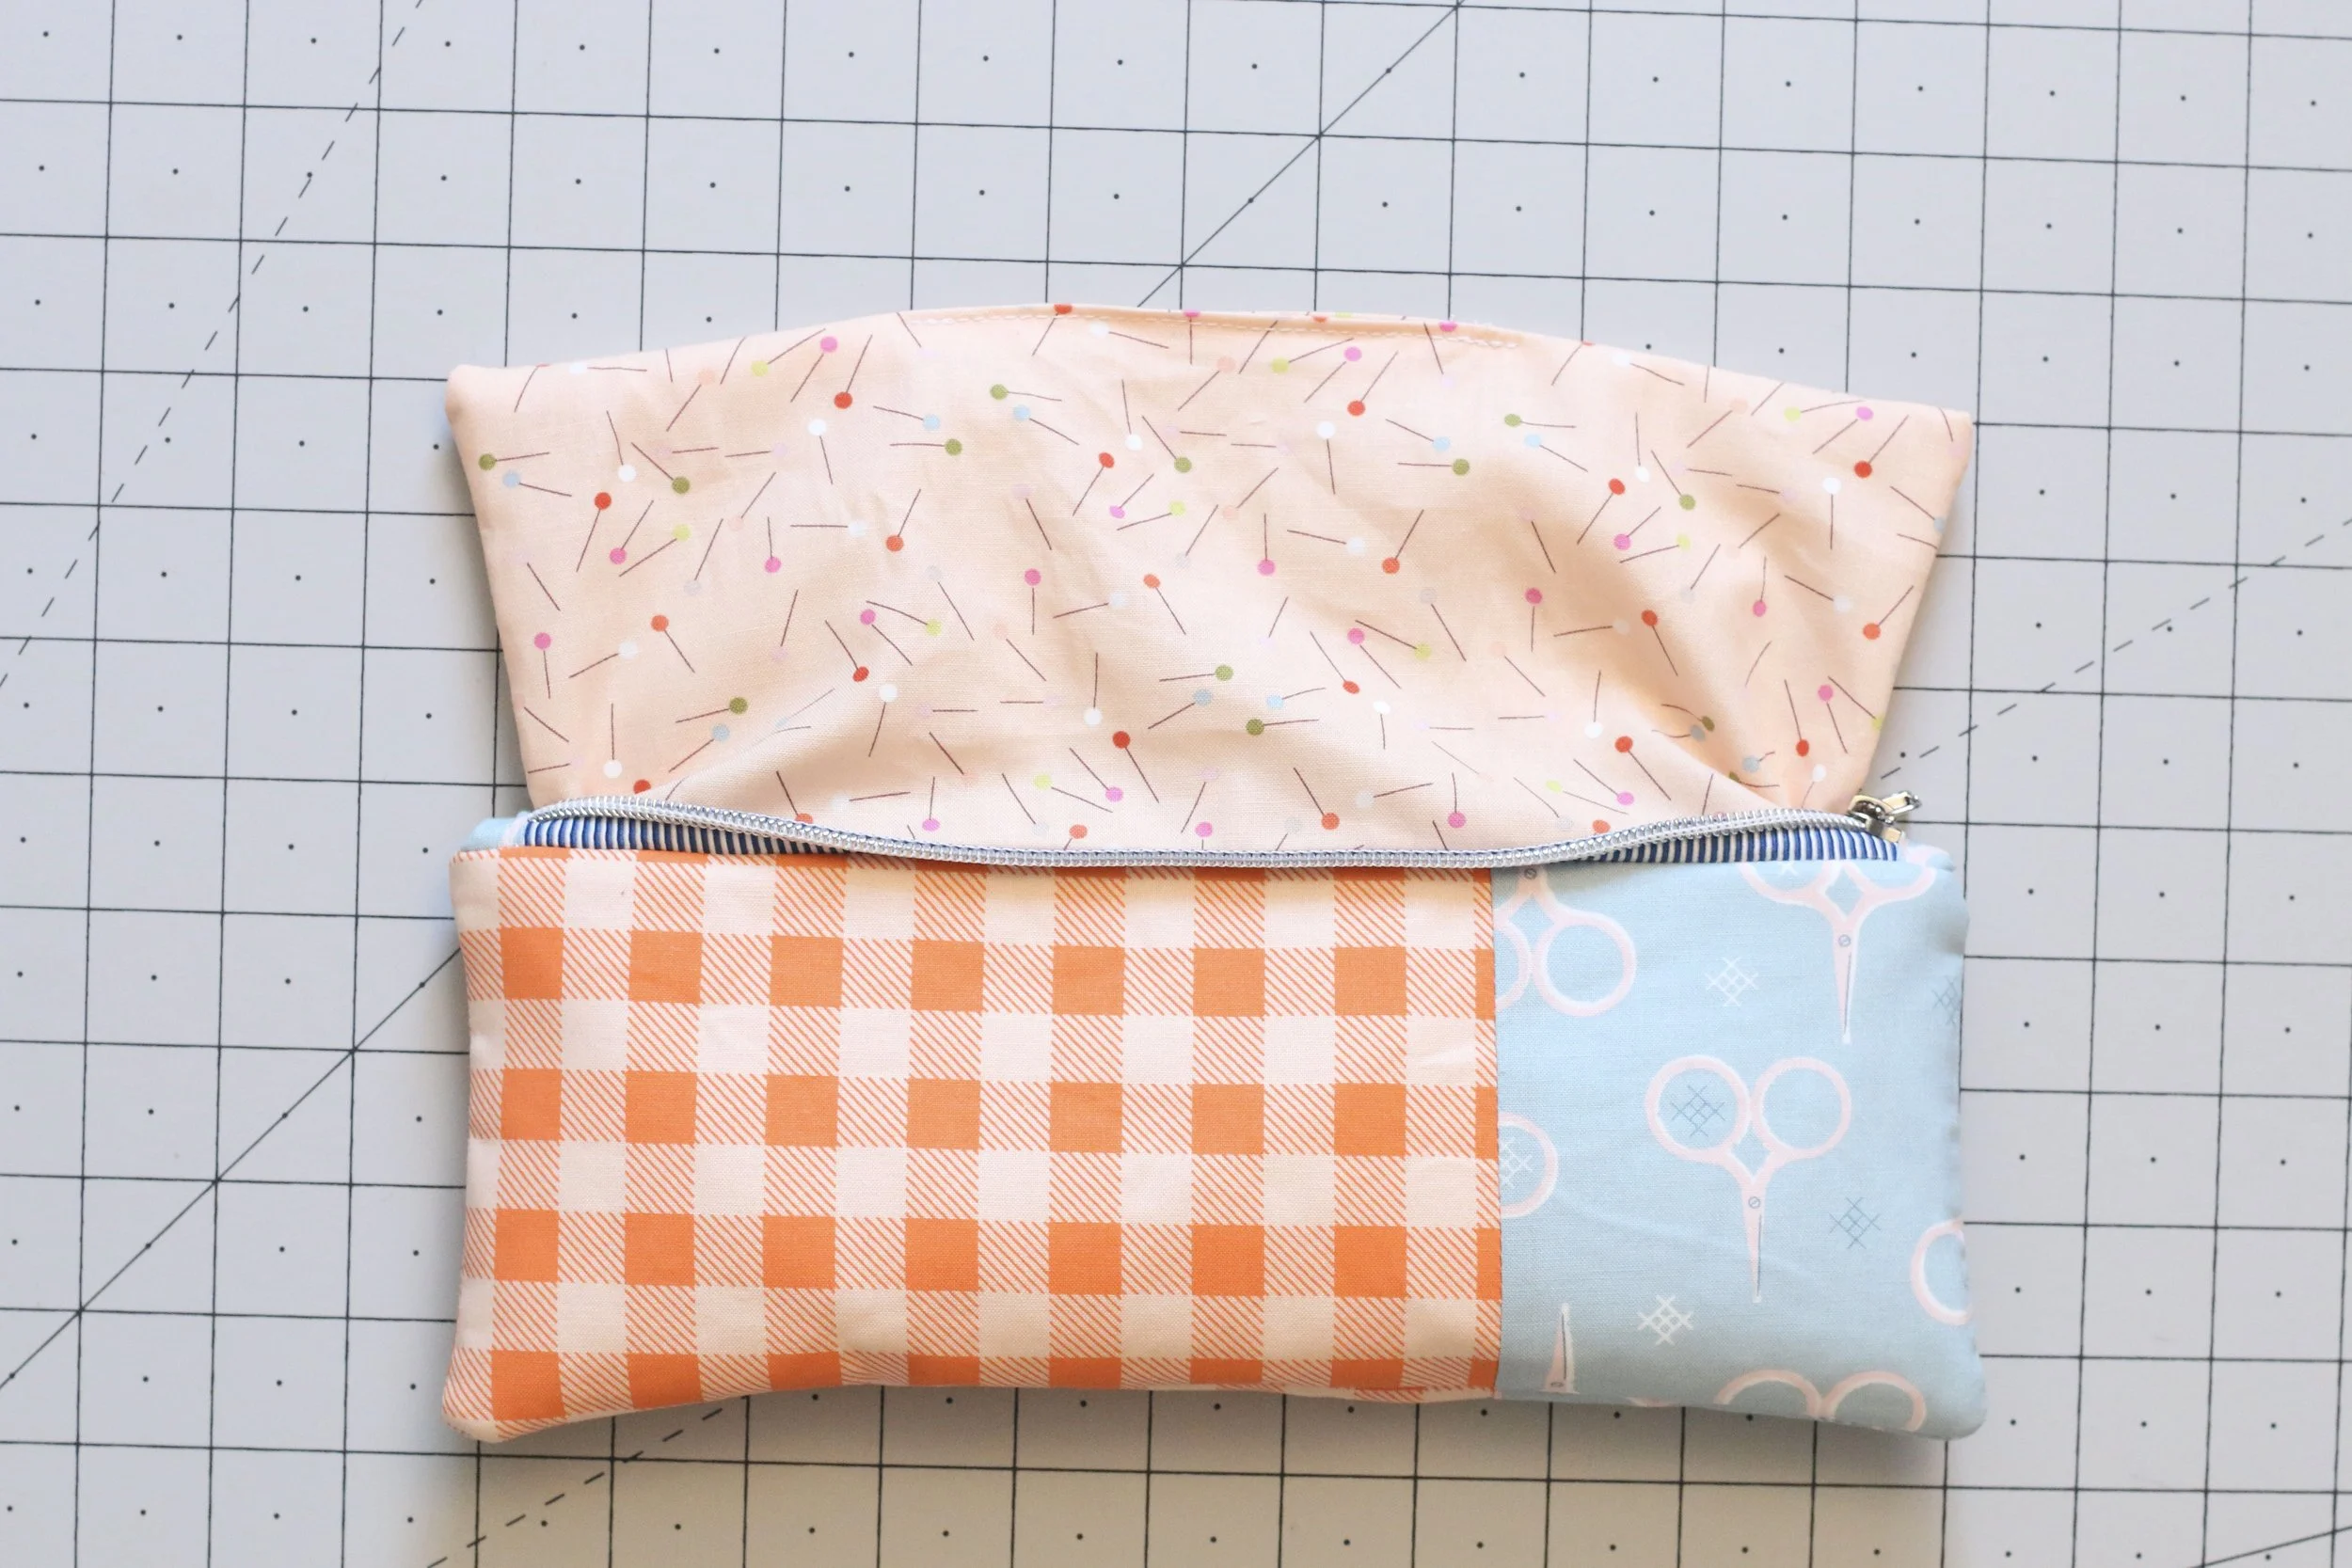
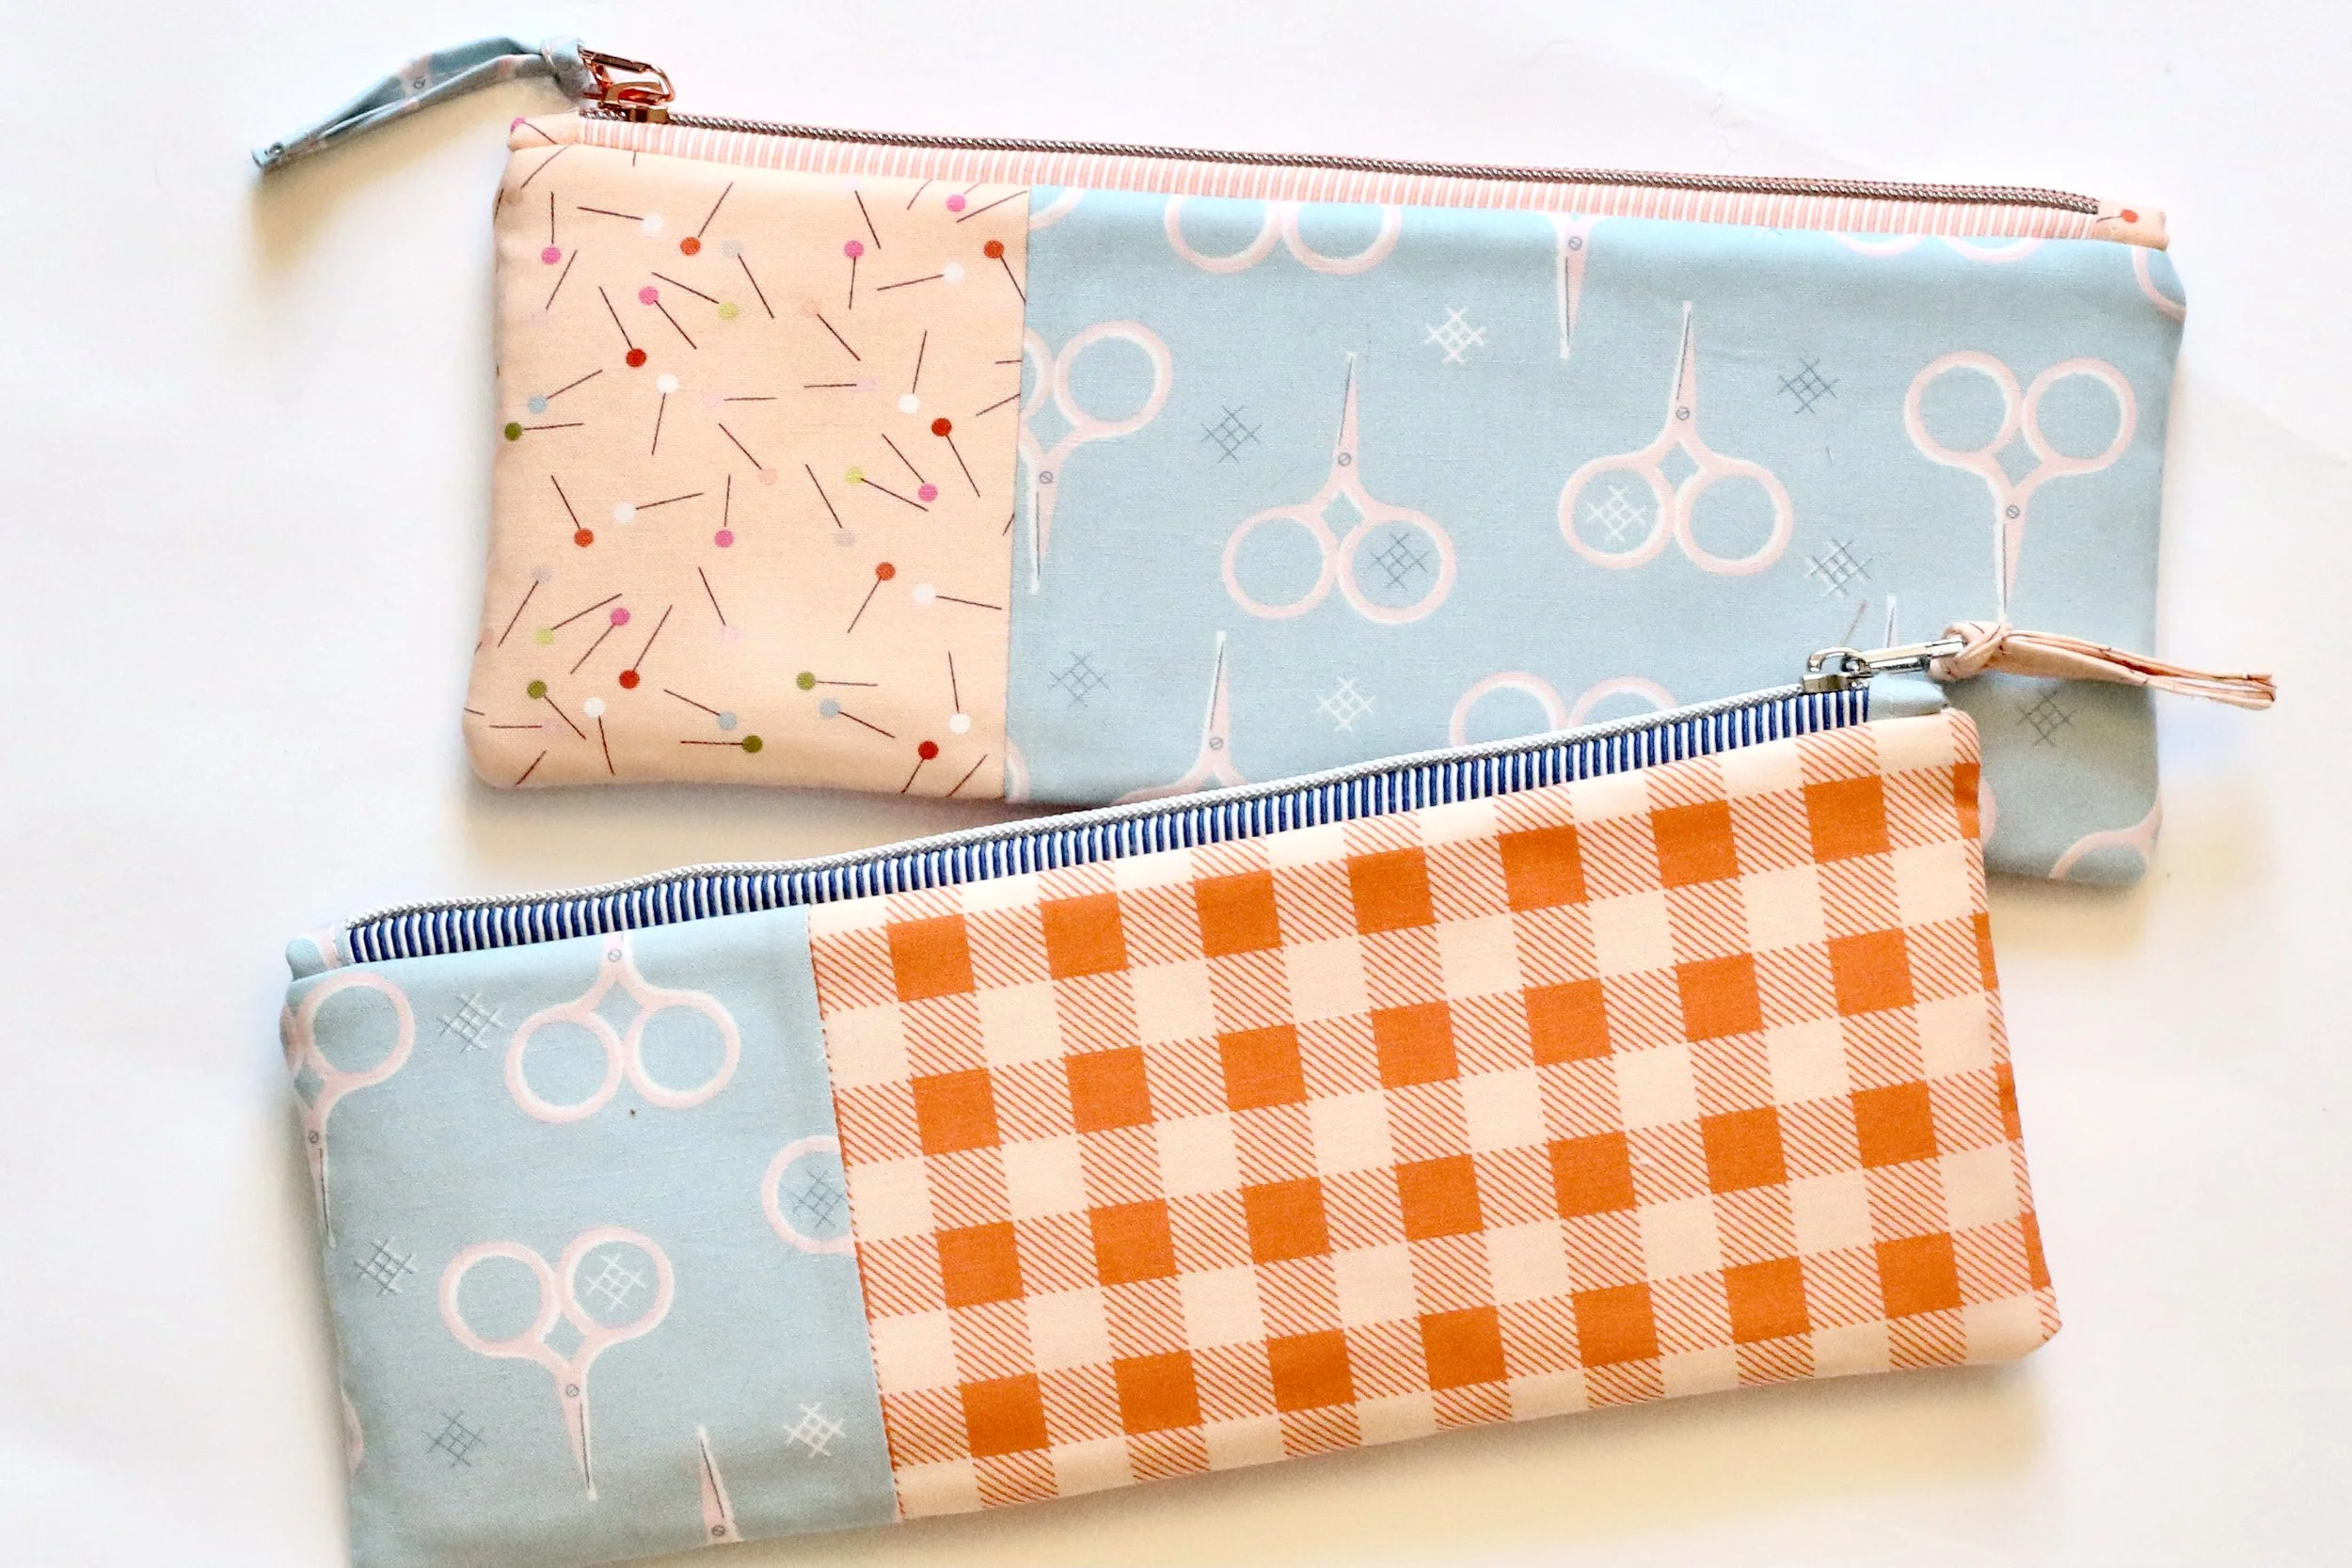
8. Turn the bag right side out using the opening you left in the lining and the open zipper. Fold the seam allowance inside the lining and topstitch along the opening to close the hole. Then tuck the lining in, close the zipper, and give your bag a good press.
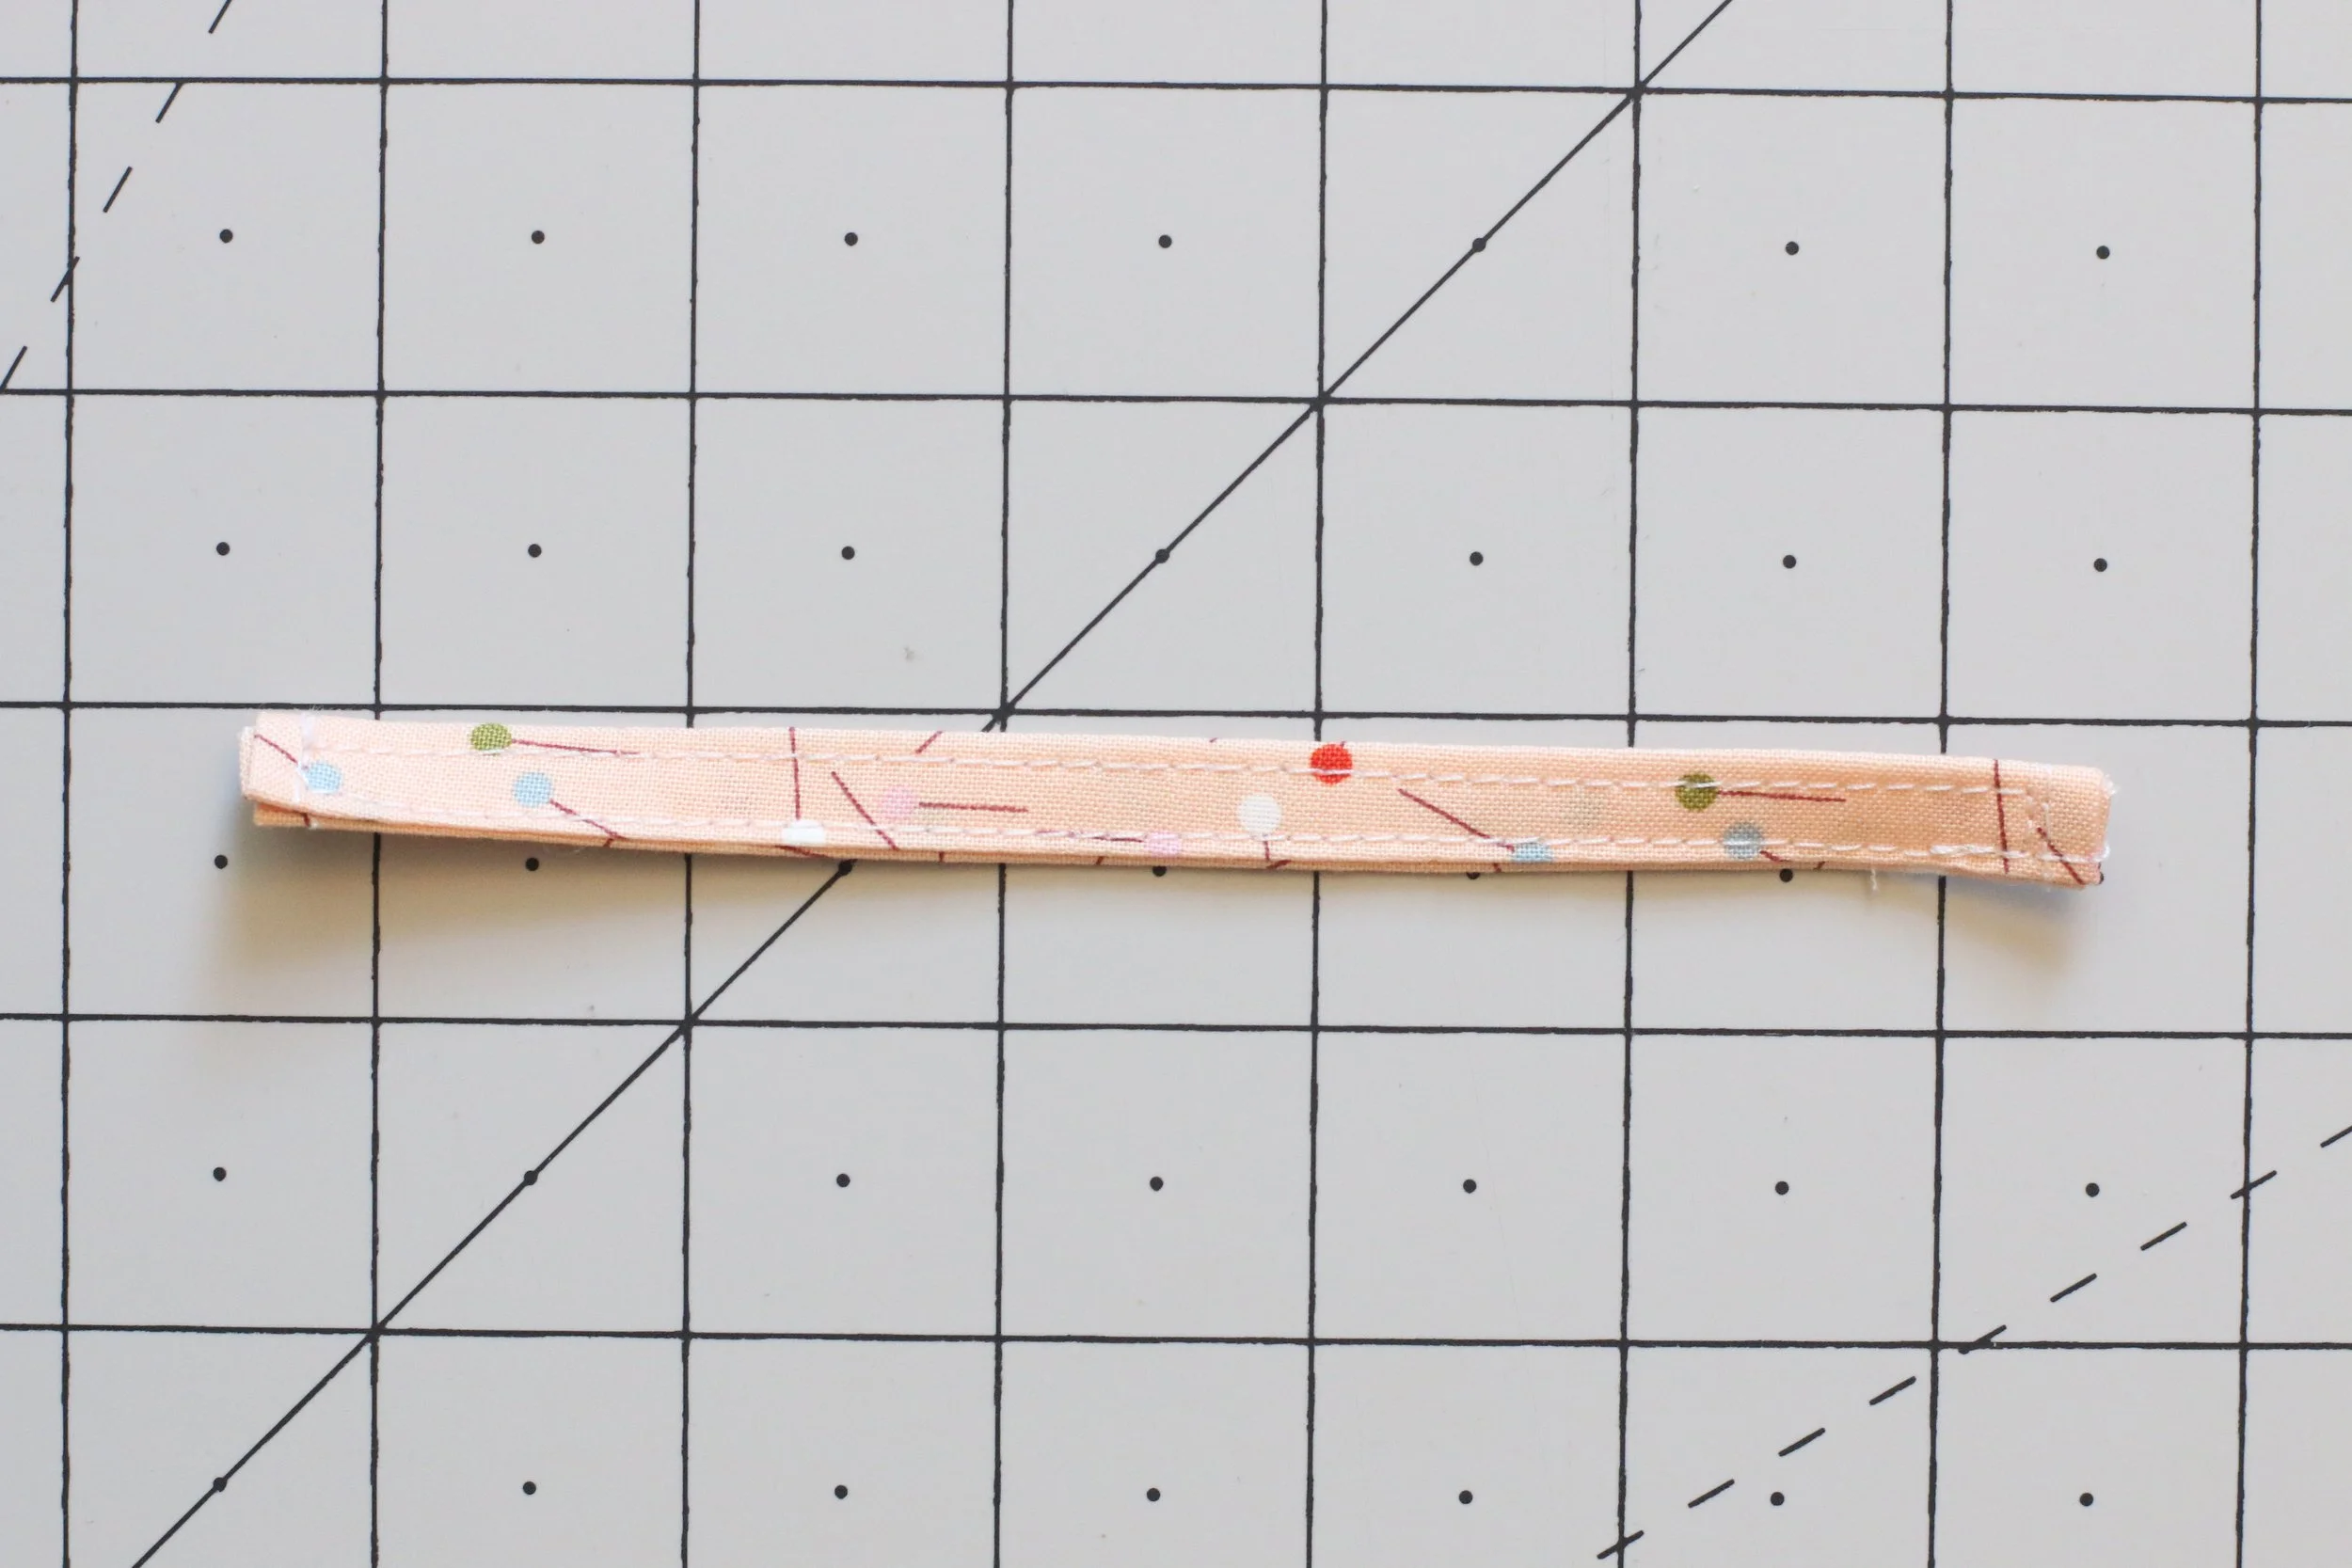
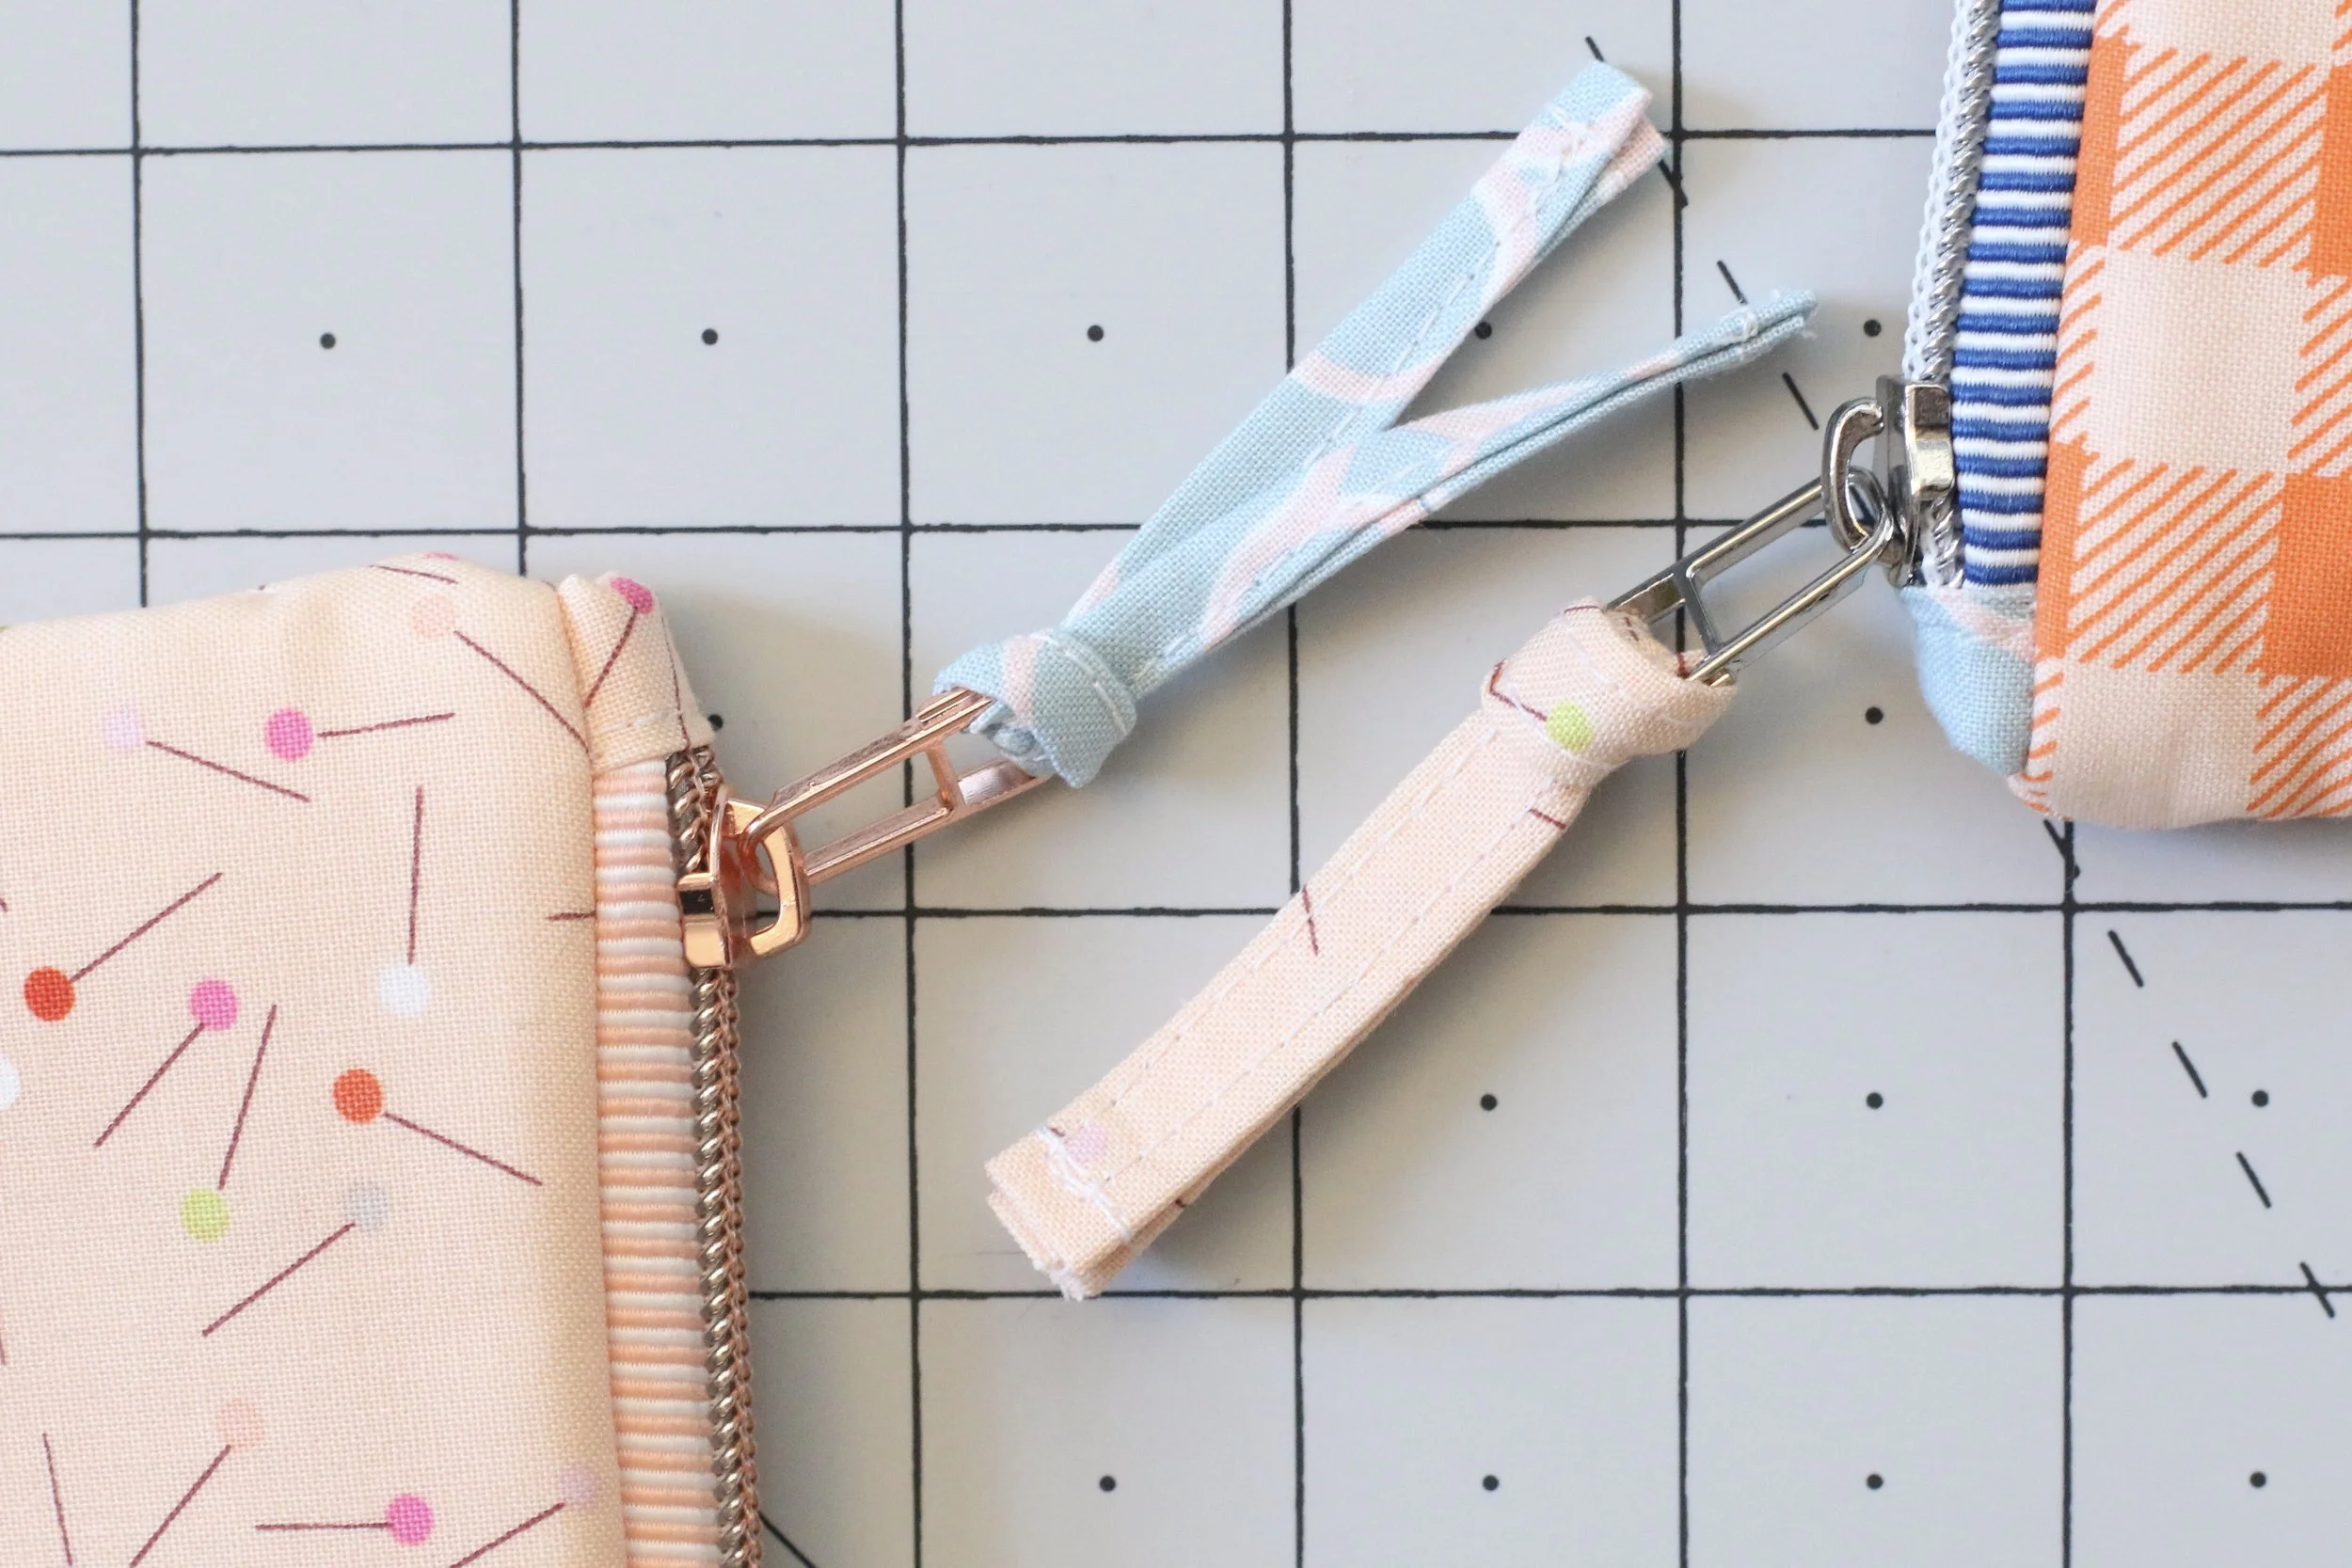
9. To make a matching zipper pull, fold the short ends of the 1-1/4” x 6-1/2” piece over 1/4” and sew using a 1/8” seam allowance. Then fold the piece in half and press. Open and fold the outer edges towards the center fold. Fold a final time and press to create a double fold zipper pull. Stitch around the perimeter of the zipper pull using a 1/8” seam allowance.

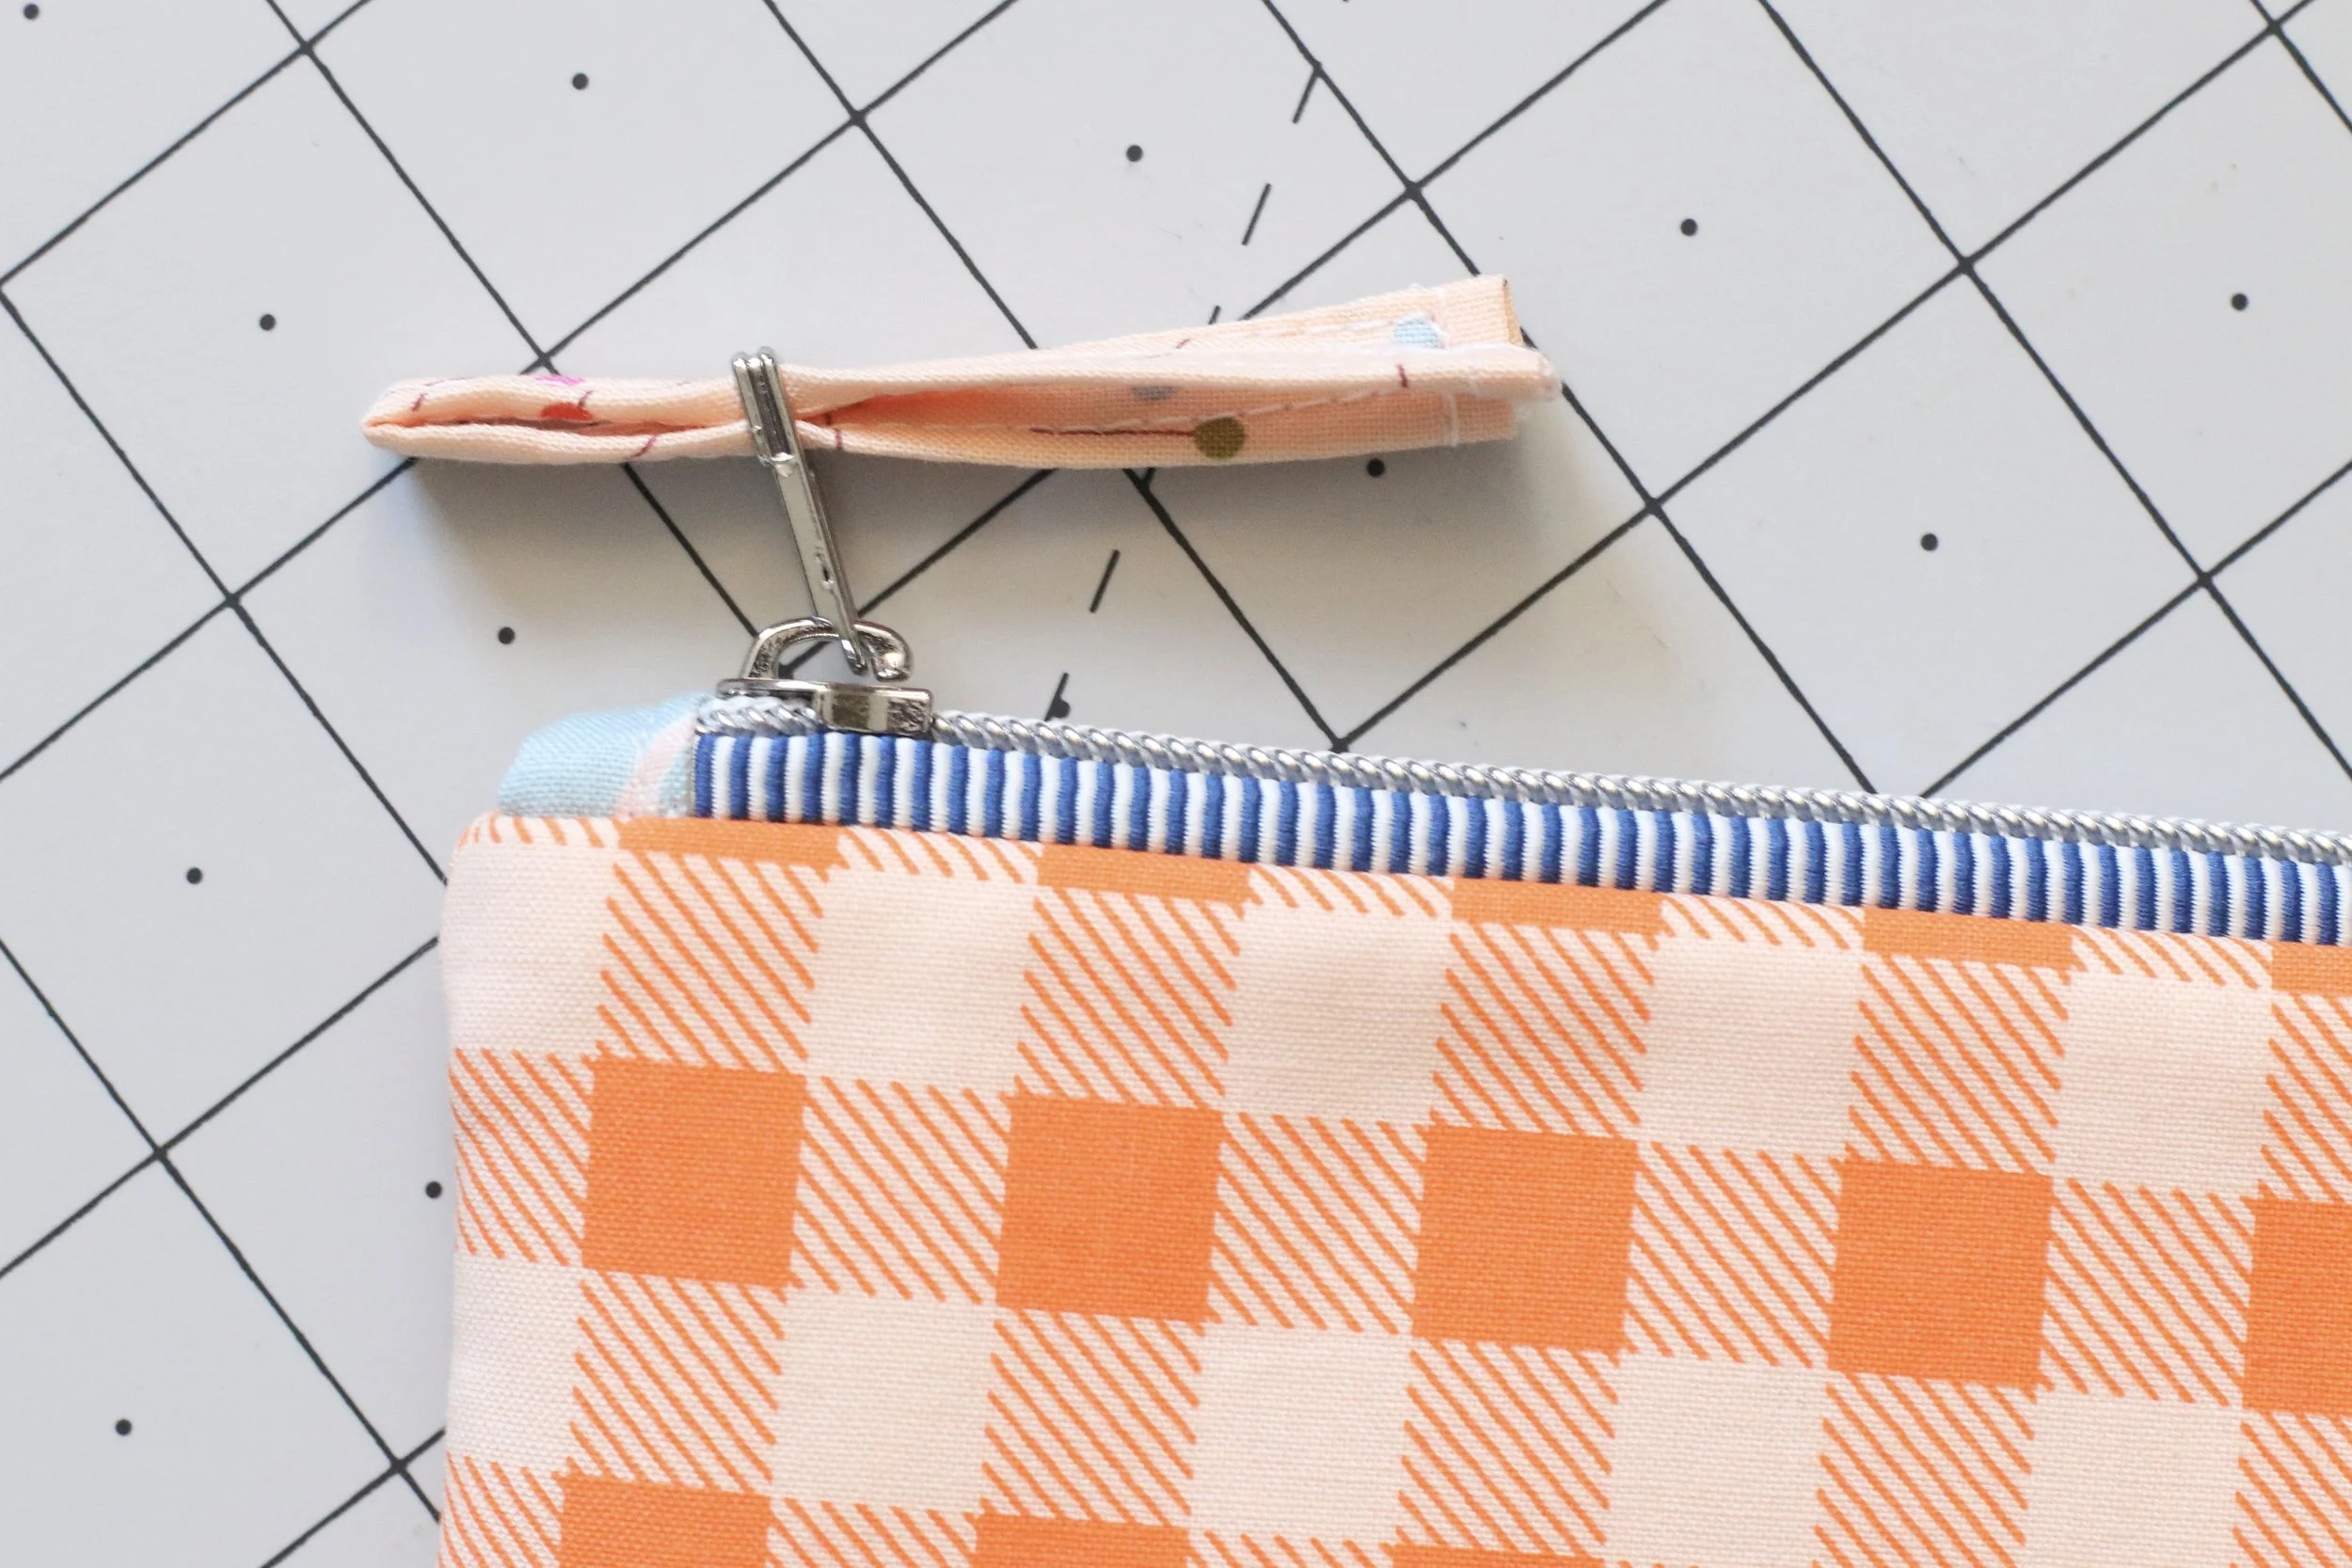
10. Fold the zipper pull in half and insert the folded end into your zipper slider. Then tuck the ends into the loop created and pull tightly to secure.
Thanks so much for visiting our blog! I hope you enjoyed making this project with me. For more bag making tips, check out these other posts:
- Making a Quilt-As-You-Go Panel
- Finding the Right Zipper for Your Next Bag Project
- Batch Sewing Zipper Pouches